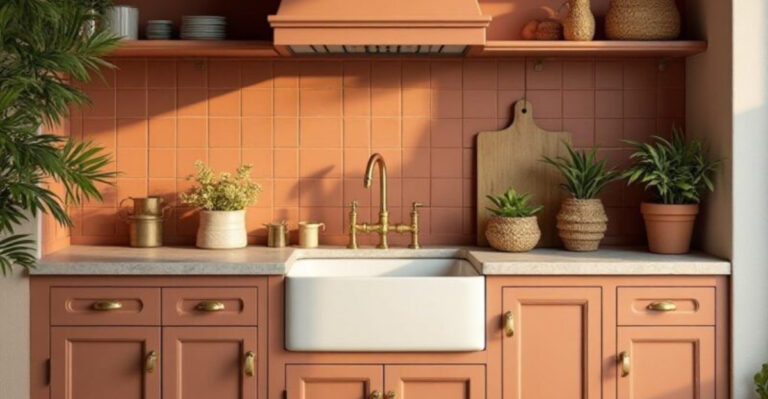
15 Ways To End A Backsplash On An Open Wall, According To Experts
Figuring out where to end your kitchen backsplash on an open wall can be tricky but important for a polished look. The right finishing technique can transform an awkward edge into a design feature that enhances your kitchen’s overall appearance.
Kitchen design experts offer several creative solutions that work with different styles and budgets, ensuring your backsplash looks intentional rather than unfinished.
1. Bullnose Tile Finish
Rounded edges create a smooth, finished look that’s both practical and visually appealing. Bullnose tiles feature one curved edge that softens the transition between your backsplash and wall.
Many tile manufacturers offer matching bullnose pieces specifically designed for this purpose. The gentle curve eliminates sharp corners, making it a popular choice for families with young children.
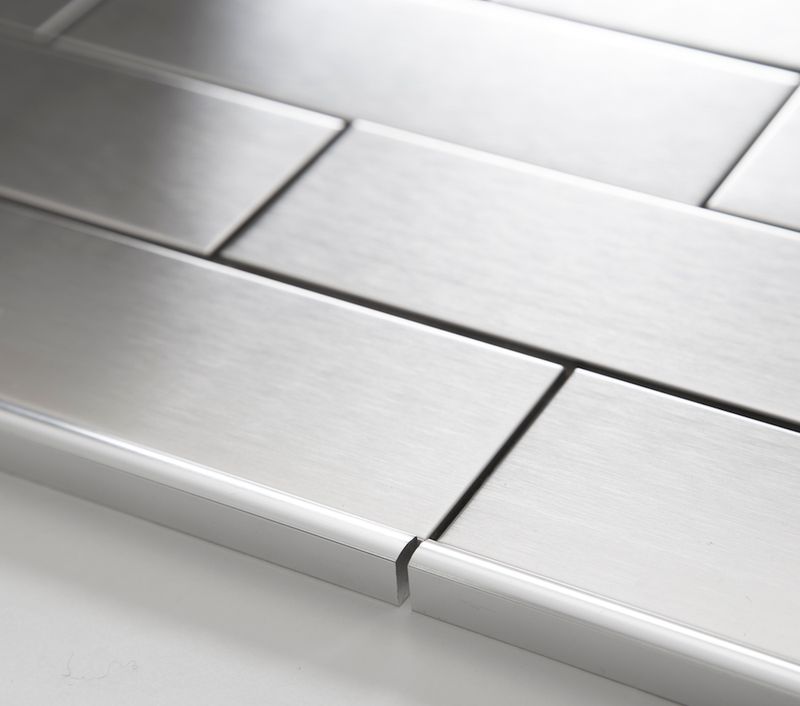
2. Metal Trim (Schluter Strip)
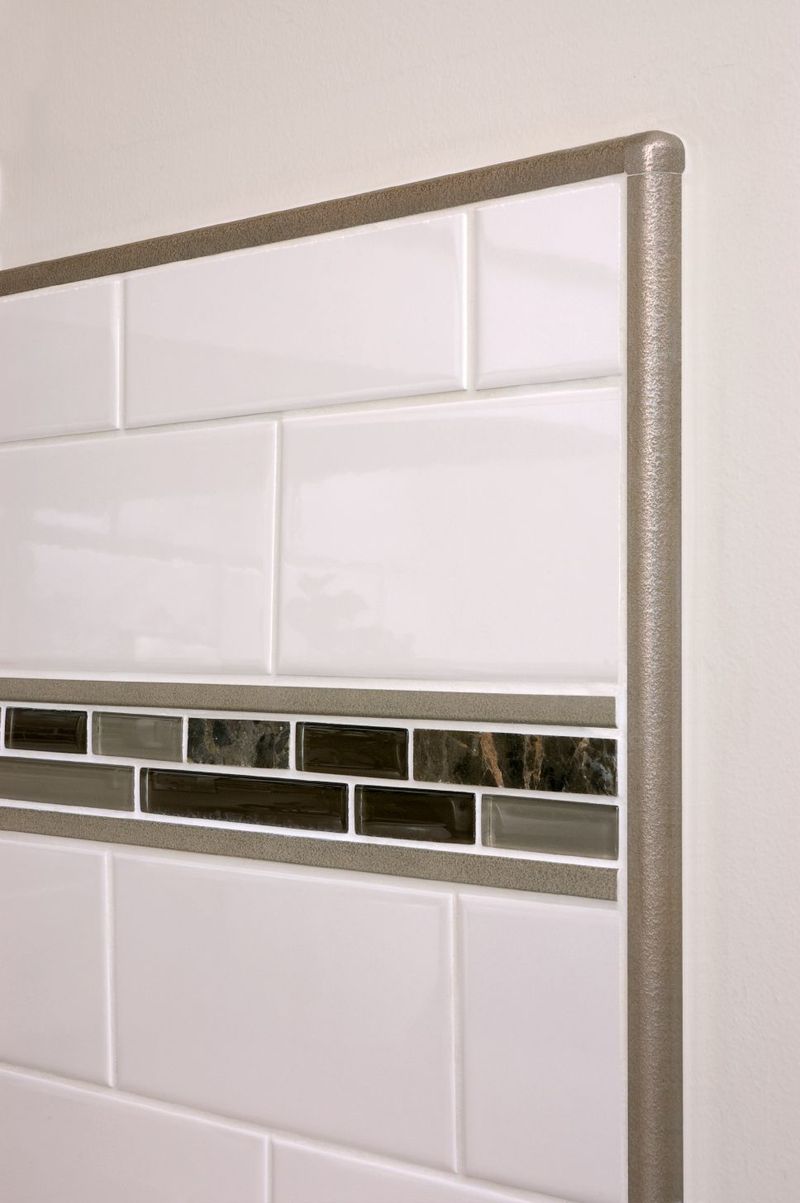
Sleek and modern, metal edge profiles provide clean lines while protecting vulnerable tile edges from chipping. Available in various finishes like brushed nickel, chrome, or bronze to complement your fixtures.
Installation is straightforward – the strip gets embedded under the last row of tiles. An added benefit: these metal edges create subtle shadow lines that add architectural interest to your kitchen.
3. Diagonal or Tapered Edge
Creating an intentional diagonal pattern where your backsplash meets the wall adds unique visual interest. Rather than ending abruptly, tiles gradually step down in a stair-like pattern.
Designers recommend this approach for subway tile installations. When executed properly, the diagonal edge draws the eye and transforms what could be an awkward transition into a deliberate design statement.
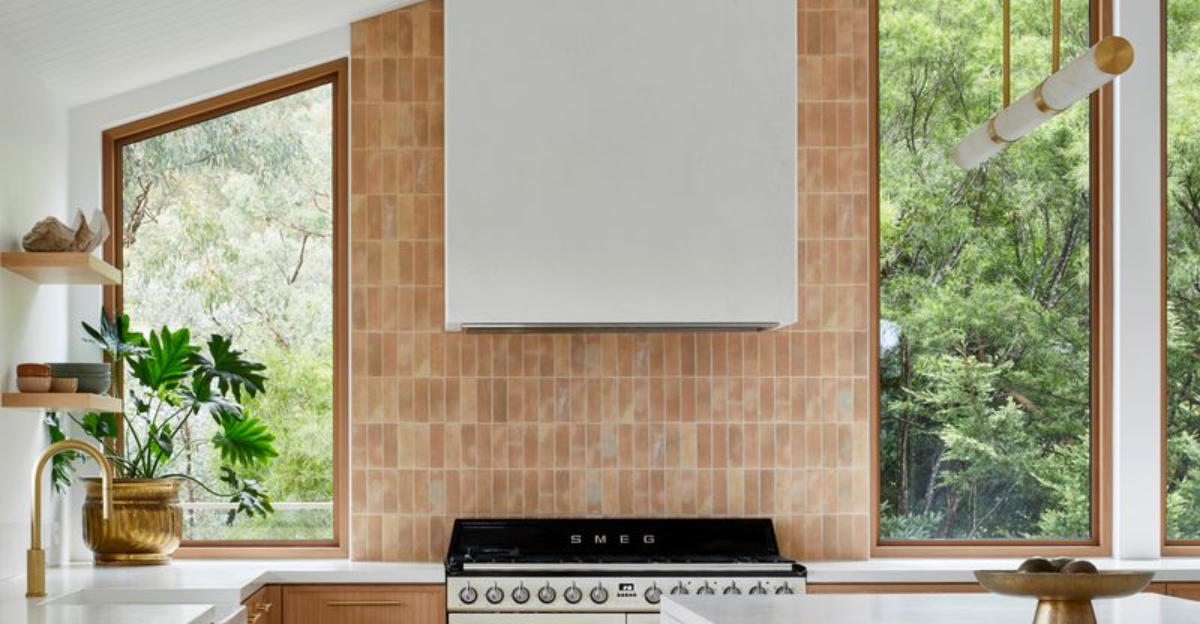
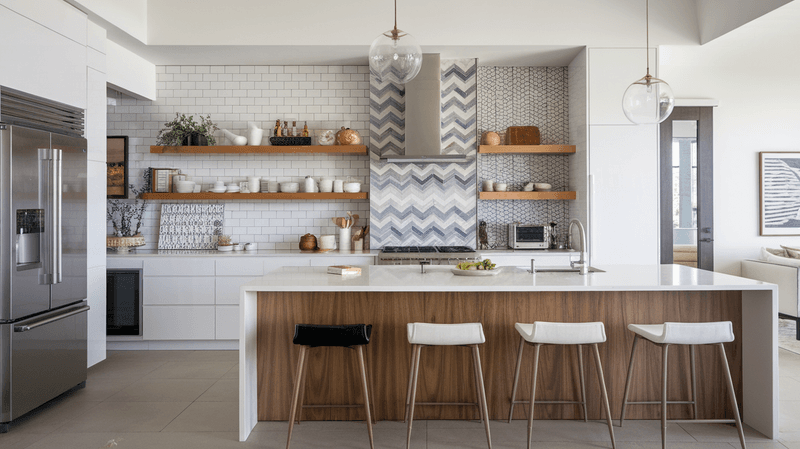
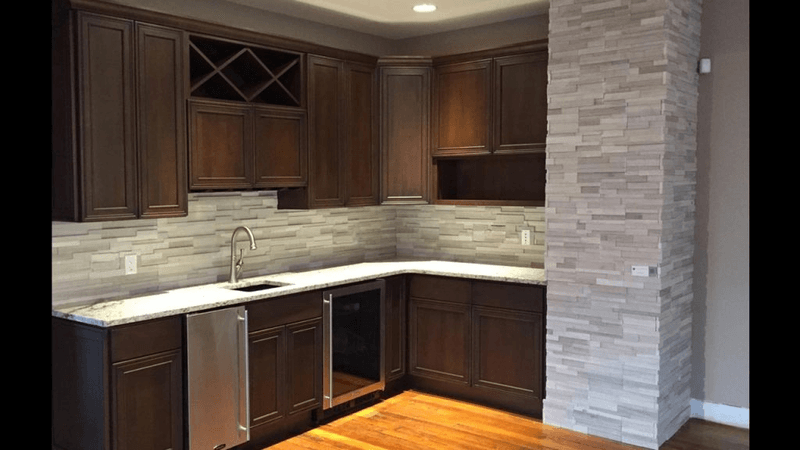
4. Natural Architectural Break
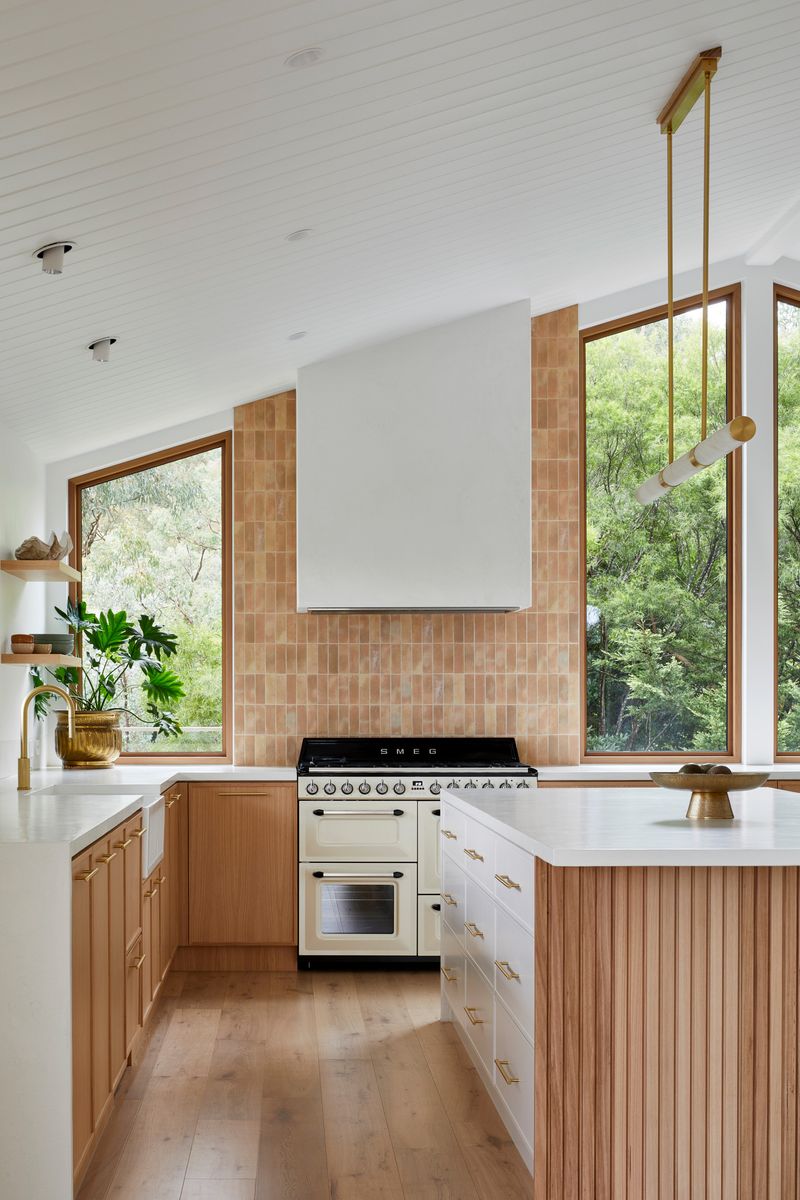
Doorways, windows, and cabinets provide logical stopping points that make your backsplash look intentionally designed rather than randomly ended. Interior designers often plan backsplash boundaries around existing architectural features.
By ending your tile at these natural transitions, you create visual harmony. The eye naturally accepts these boundaries, making the finished project appear more professional and thoughtfully executed.
5. Pencil Tile Border
Slender decorative tiles create a frame-like edge that elegantly contains your main backsplash pattern. Usually measuring about 1/2-inch wide, pencil tiles add a sophisticated border detail.
Available in countless colors and materials, from ceramic to marble, they provide a tailored finishing touch. For a cohesive look, choose pencil tiles that either match or intentionally contrast with your main backsplash material.
6. Align with Upper Cabinets
Extending your backsplash to precisely align with the edge of your upper cabinets creates clean, balanced sightlines. Professional designers often use this approach to maintain visual harmony in the kitchen.
When the eye follows the vertical line from cabinet to countertop, the alignment feels natural. A perfectly straight edge at this junction gives your kitchen a custom, well-planned appearance that elevates the entire space.
7. Geometric Tile Edge
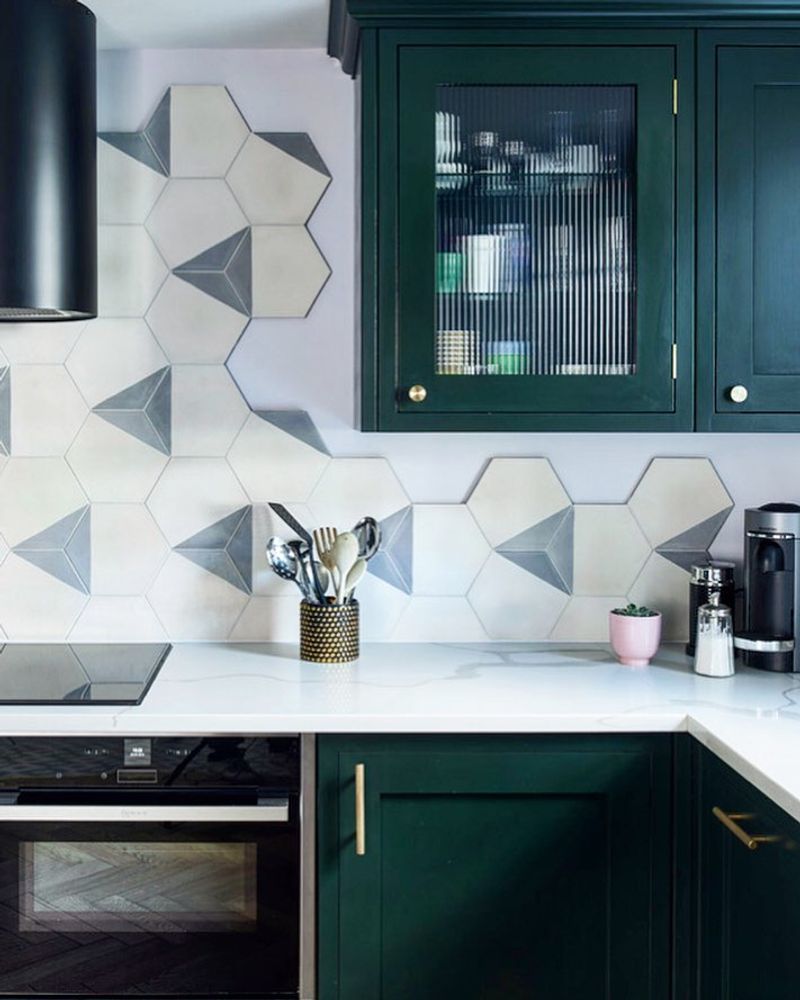
Playing with shapes creates an artistic border that makes your backsplash ending look intentional and decorative. Hexagons, diamonds, or triangles can transition into your wall color in a visually interesting way.
Creative homeowners are increasingly choosing this method for a custom look. When the geometric pattern gradually dissolves into the wall, it creates a beautiful focal point rather than an abrupt ending.
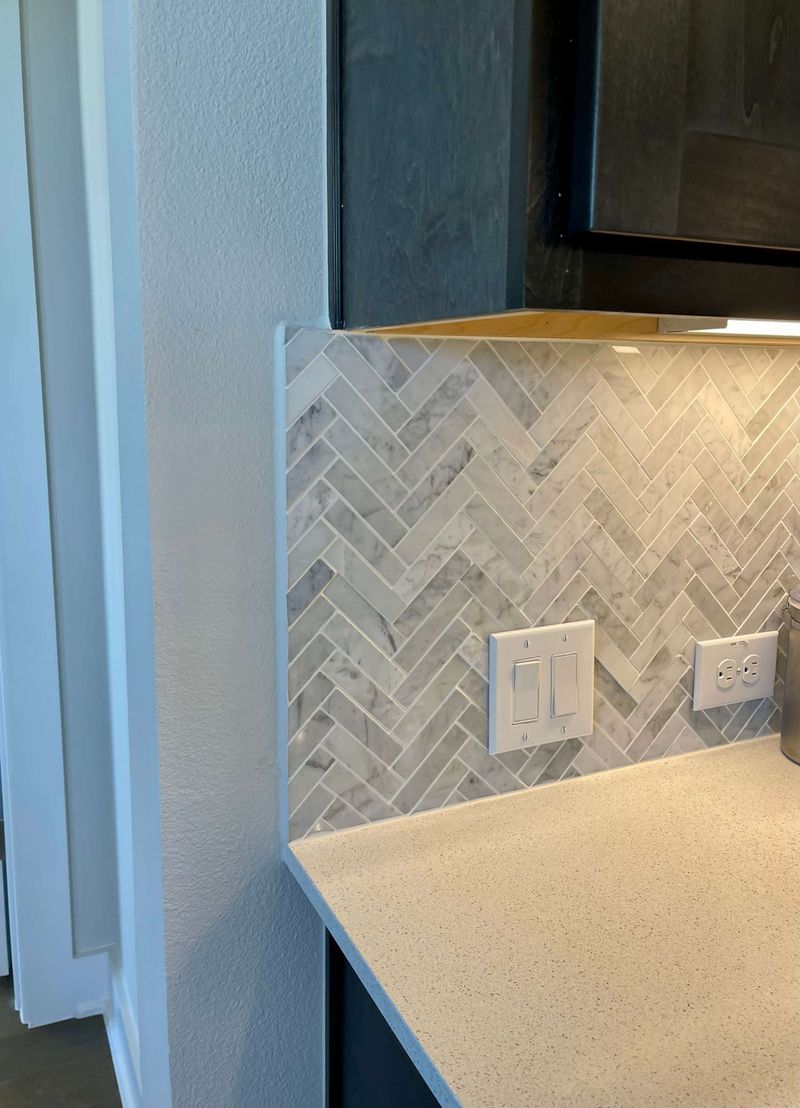
8. Match Countertop Edge
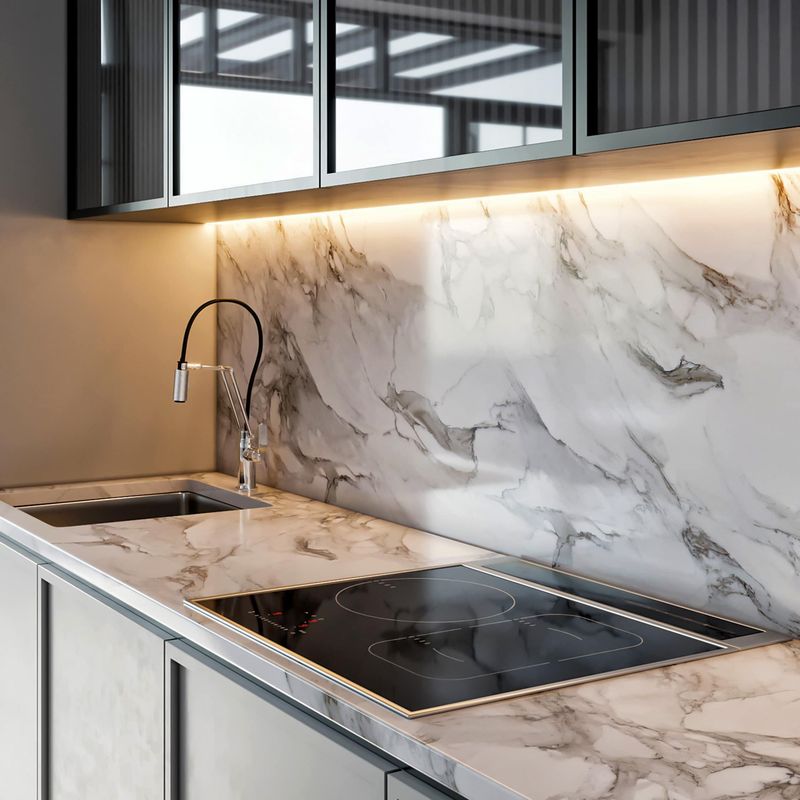
Carrying your countertop material up the wall for a few inches creates a cohesive transition between horizontal and vertical surfaces. Granite, quartz, or marble fabricators can create a perfect match.
Famous for its seamless appearance, this technique eliminates the need for transition pieces altogether. Particularly effective in contemporary kitchens, the matching edge gives your space a high-end, custom-designed feel that impresses guests.
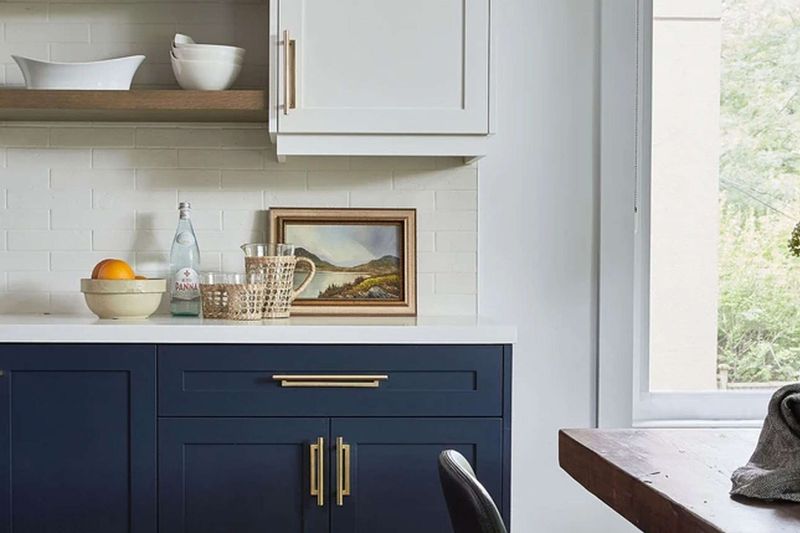
9. Blend with Wall Paint
For a minimalist approach, simply ending your backsplash with a clean edge and painting the wall a complementary color creates a subtle transition. Professional painters can match colors that harmonize with your tile.
Careful caulking ensures a tidy junction between tile and wall. When executed properly, this straightforward solution works beautifully in modern kitchens where simplicity and clean lines are valued over ornate details.
10. Contrasting Trim Tiles
Bold borders make a statement while providing a defined endpoint for your backsplash. Selecting trim tiles in a contrasting color or material creates visual interest and definition.
Designers often recommend this approach for traditional kitchens. Using glass, metallic, or hand-painted decorative tiles as your border adds personality and charm while solving the practical problem of where to end your backsplash.
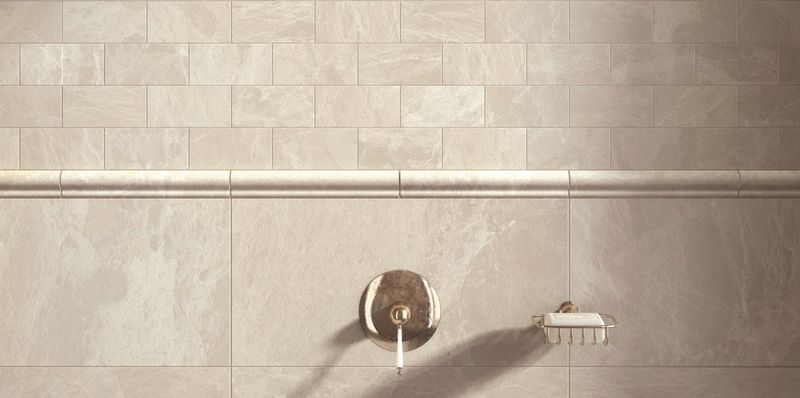
11. Stone or Quartz Strip Cap
Elegant and sophisticated, a thin strip of natural or engineered stone creates a refined finish to your backsplash edge. Usually cut to 2-4 inches in height, these strips provide a substantial border.
Many homeowners choose material that matches their countertops for cohesion. When properly installed, the stone cap creates a weighty, architectural element that frames your backsplash and adds significant value to your kitchen’s overall design.
12. End Behind Floating Shelf
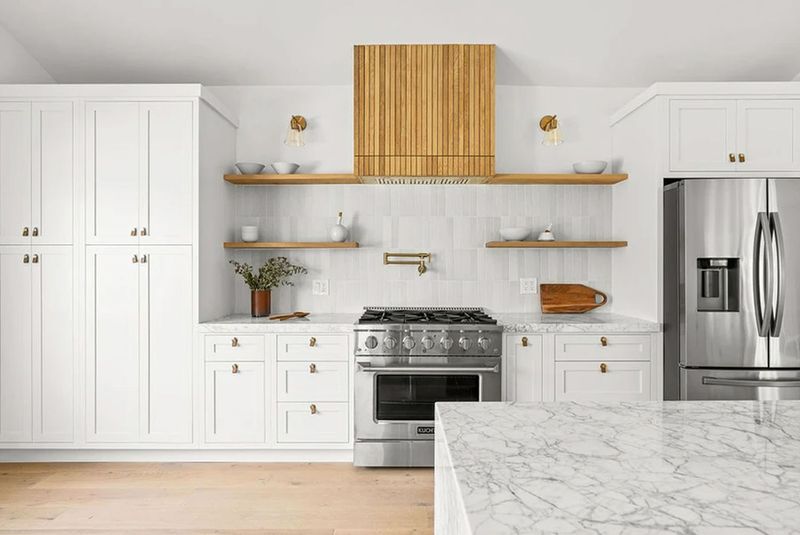
Strategically placed floating shelves provide both function and a natural stopping point for backsplash tile. Wood, metal, or glass shelves installed at the backsplash edge create a purposeful transition.
Kitchen designers increasingly recommend this dual-purpose solution. Not only does it solve the edge dilemma, but it also adds valuable storage and display space for cookbooks, plants, or decorative items.
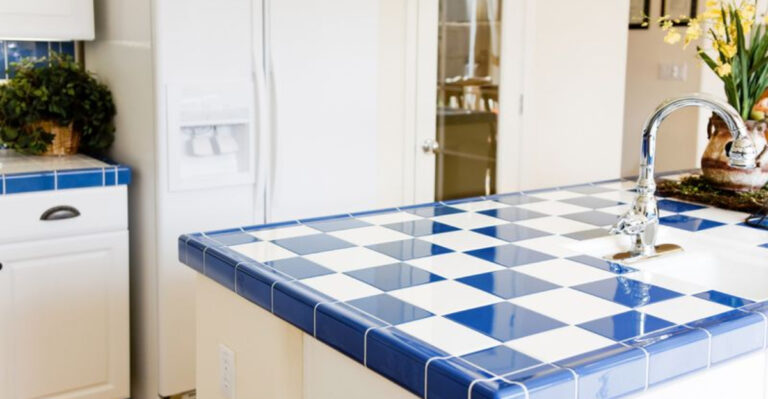
13. Stop at Counter Run Edge
Limiting your backsplash to only the areas directly above countertop surfaces creates a practical, clean-lined solution. Where your counter ends, so does your backsplash – simple and logical.
Professional installers often recommend this approach for its simplicity. By keeping the backsplash confined to functional areas, you create a cohesive look while saving on material costs – a win-win for both aesthetics and budget.
14. Decorative Edge Tiles

Specialty pieces like rope molding, chair rail, or medallion tiles transform your backsplash edge into a design feature. Manufacturers offer various decorative options specifically designed for finishing edges with flair.
Vintage-inspired kitchens particularly benefit from these ornamental touches. While slightly more expensive than basic solutions, the decorative edge adds character and charm that elevates your entire kitchen design from ordinary to extraordinary.
15. Full-Height to Defined Point
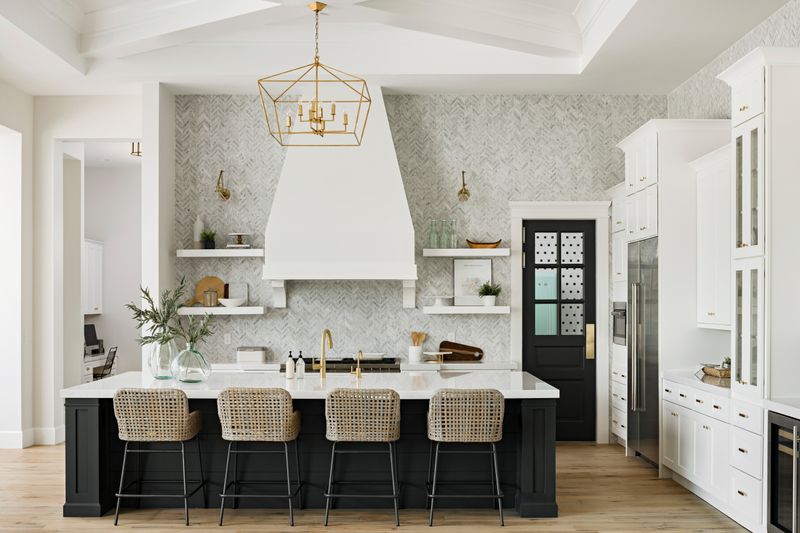
Making a bold statement, extending your backsplash all the way to the ceiling on an open wall eliminates the need for an edge transition altogether. Contemporary designers often recommend this dramatic approach.
Particularly effective with striking tiles or patterns you want to showcase. By treating your backsplash as a feature wall, you create a powerful visual anchor that becomes the focal point of your kitchen design.