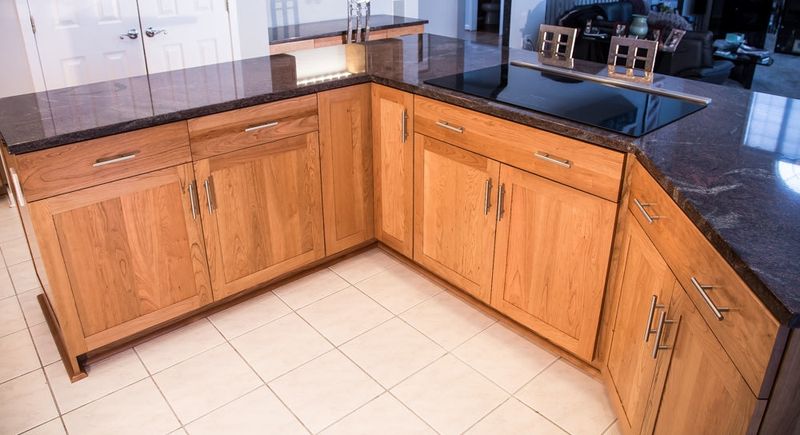
16 Ways To Update Dated Honey-Toned Cabinets On A Budget
Those honey-oak cabinets that were all the rage in the 90s might be making your kitchen look stuck in a time warp. But before you shell out thousands for brand-new cabinetry, there are plenty of budget-friendly ways to breathe new life into those dated honey-toned fixtures.
With a little creativity and elbow grease, you can transform your kitchen into a space that feels fresh and current without emptying your wallet.
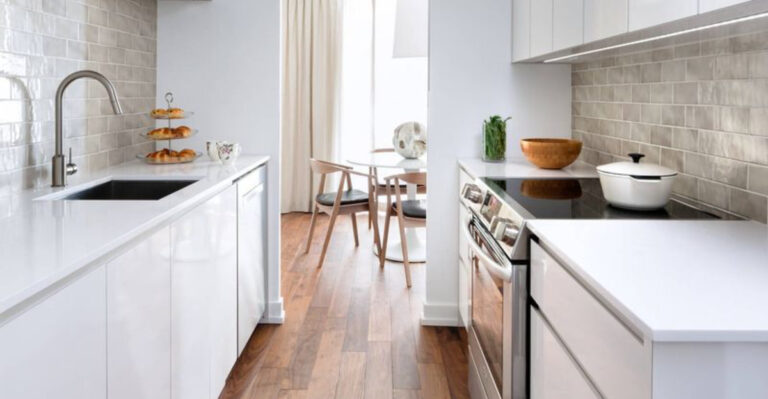
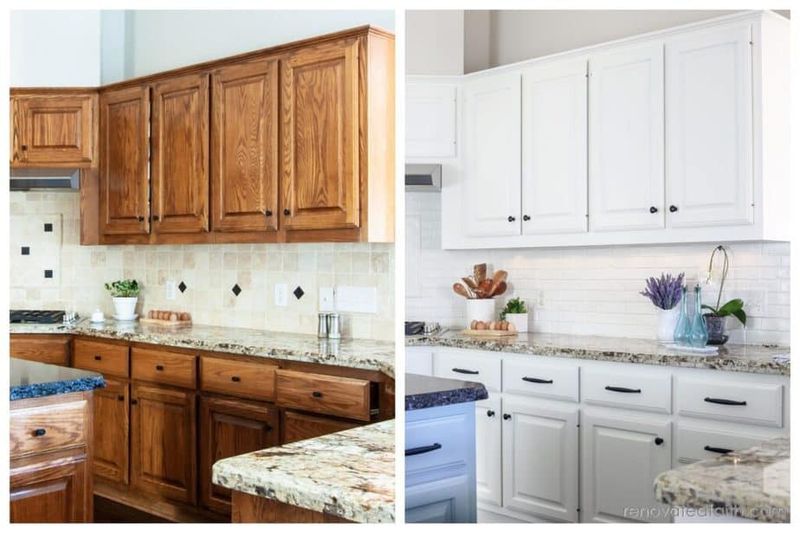
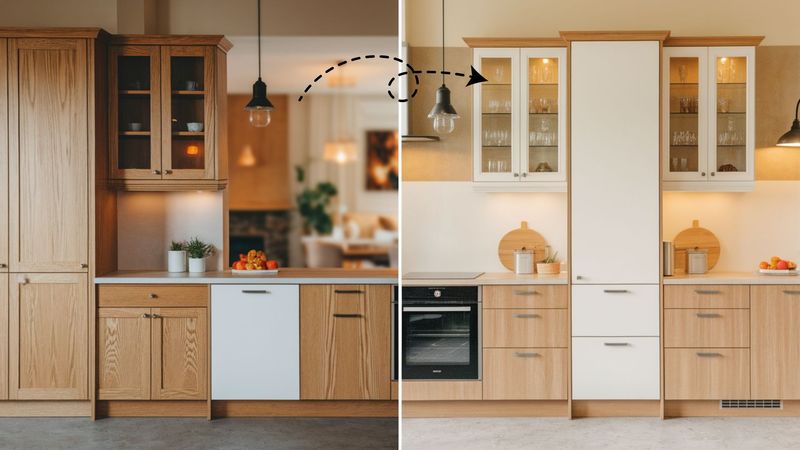
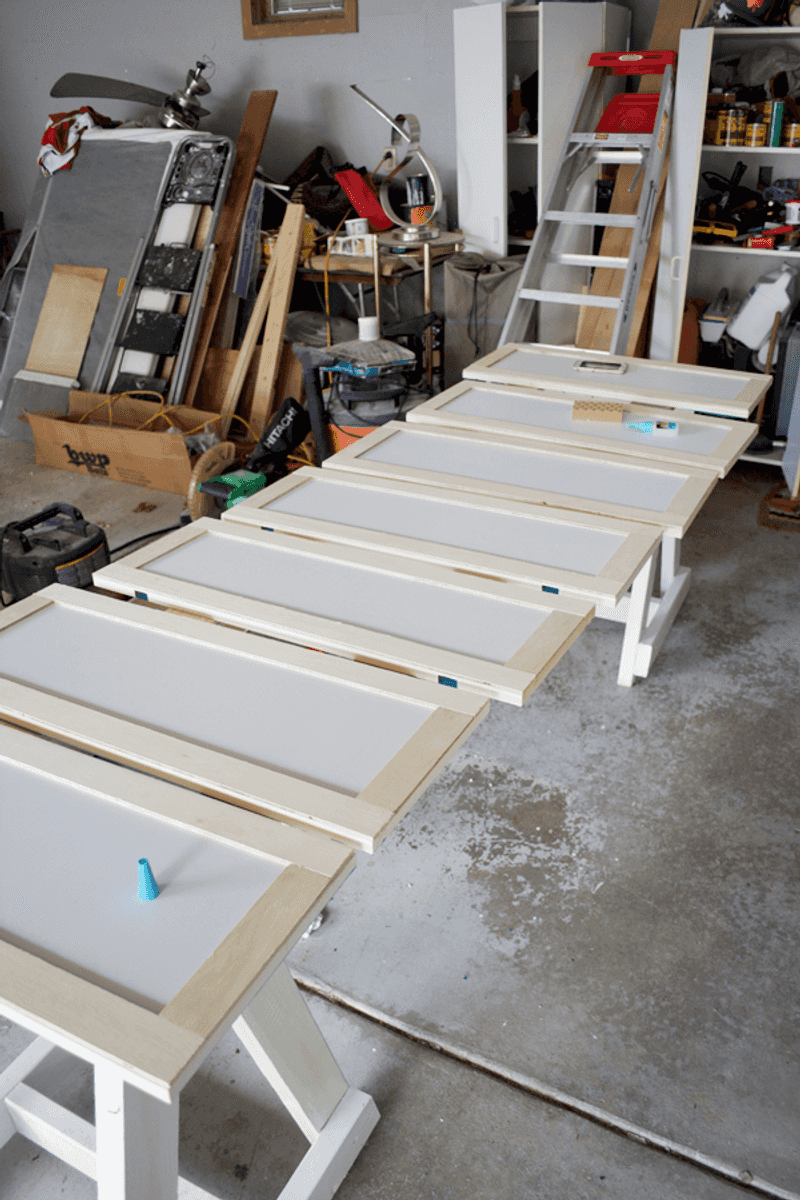
1. Paint Them A Modern Color
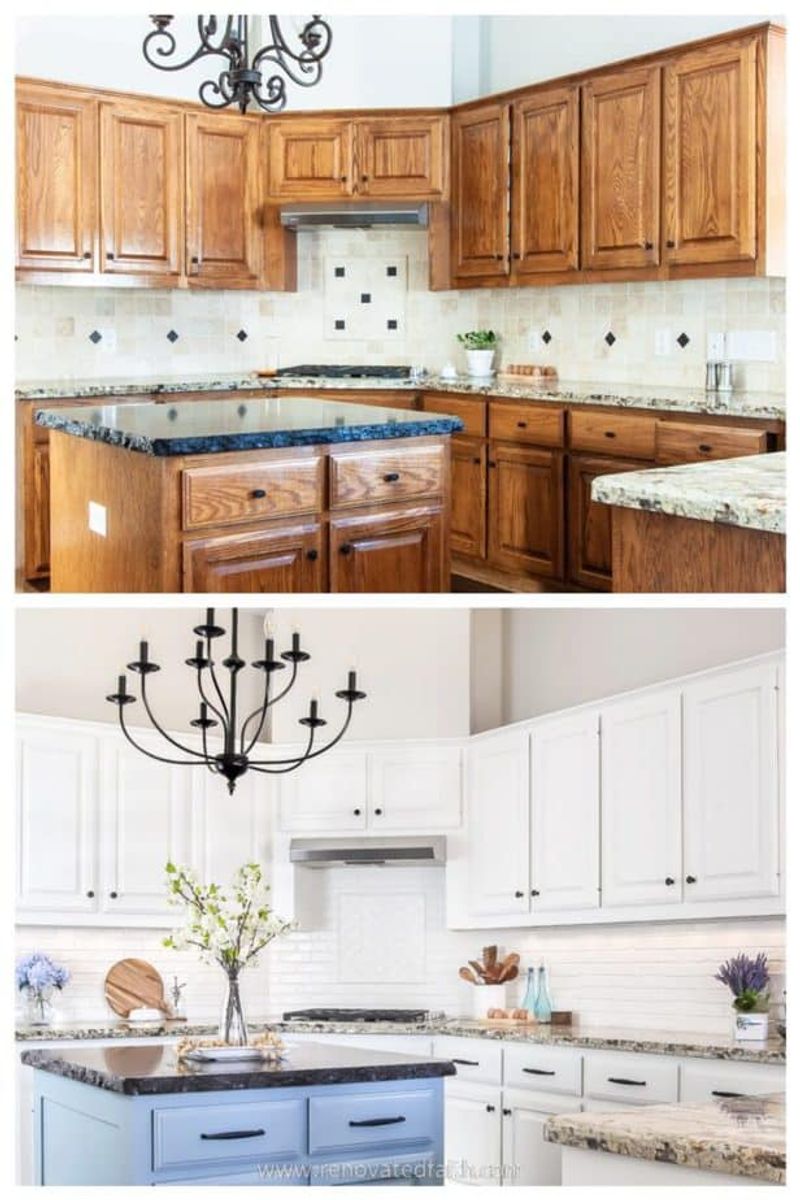
Ready for a total transformation? Nothing beats paint for maximum impact with minimum investment. White, gray, navy, or sage green can instantly catapult your kitchen into this decade.
Before starting, remove the doors and hardware, then clean thoroughly with a degreaser. Sand lightly, apply primer specifically designed for cabinets, and finish with quality cabinet paint for durability.
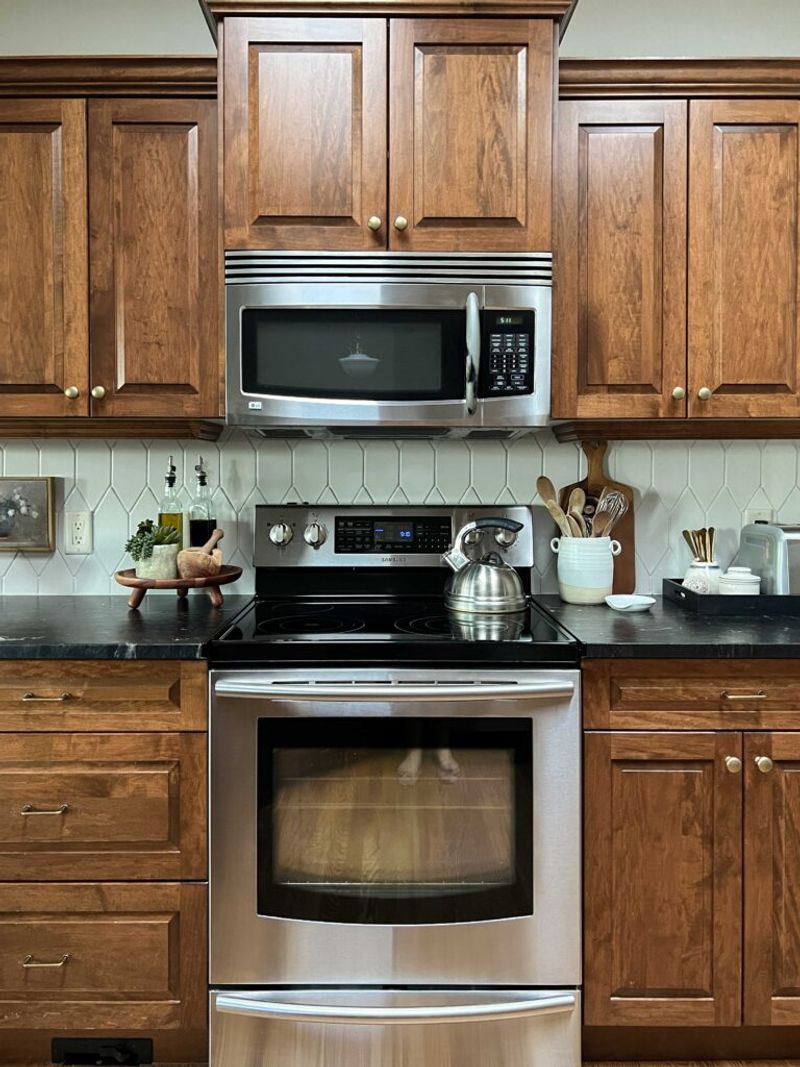
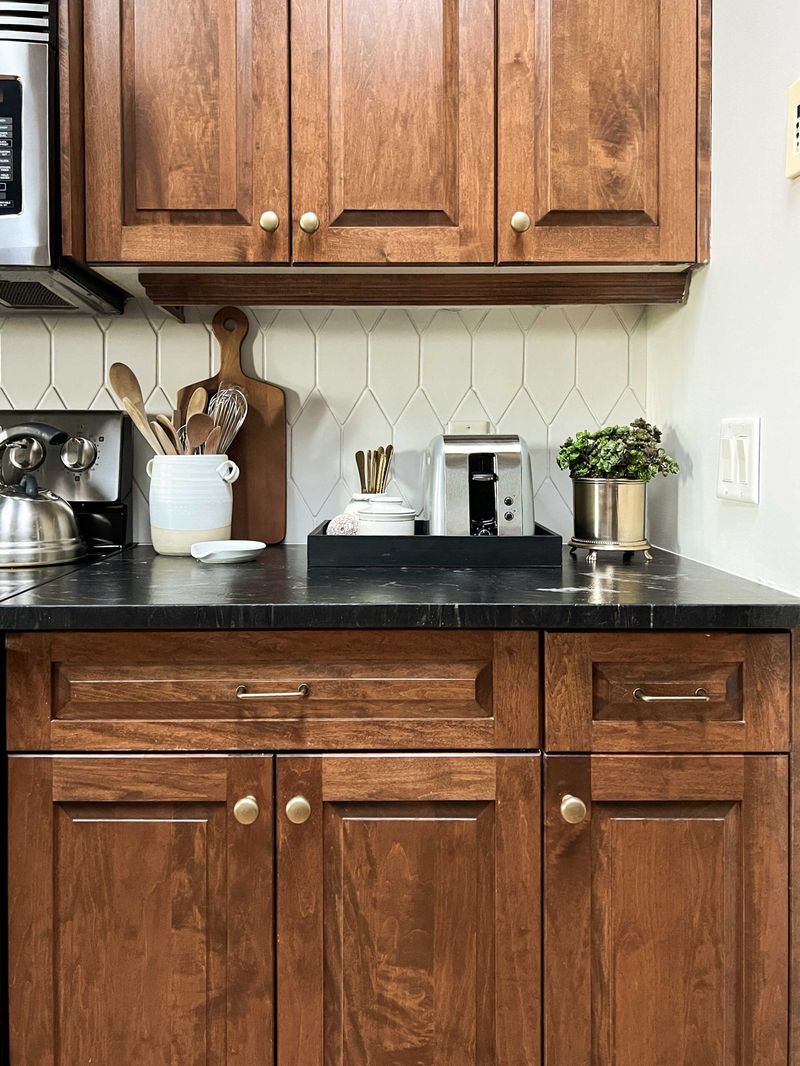
2. Add New Hardware
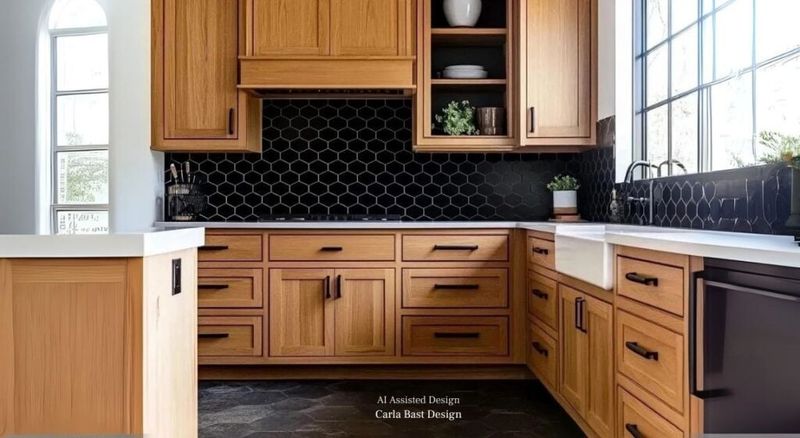
Swapping out those dated pulls and knobs works like jewelry for your cabinets. The hardware market offers endless affordable options that can completely change your kitchen’s personality.
Measure the distance between screw holes before shopping to ensure proper fit. Matte black, brushed gold, or sleek stainless steel hardware can instantly modernize those honey cabinets without breaking the bank.
3. Try A Cabinet Glaze
For those who aren’t ready to completely cover that wood grain, glazing offers a happy medium. This technique adds depth while toning down the orange-honey hue that dates your kitchen.
Apply a thin layer of tinted glaze over your existing cabinets, then wipe away excess to leave color in the grain and details. The result is a sophisticated antiqued look that preserves wood character while reducing that dated golden glow.
4. Install Crown Molding

Crown molding at the top of your cabinets adds a custom, high-end look that belies its modest price tag.
You’ll find affordable crown molding at home improvement stores that can be painted to match or complement your existing cabinets. This simple addition creates visual height and elegance, drawing attention away from the dated honey tone while adding designer flair to your kitchen.
5. Apply Gel Stain For A Darker Finish
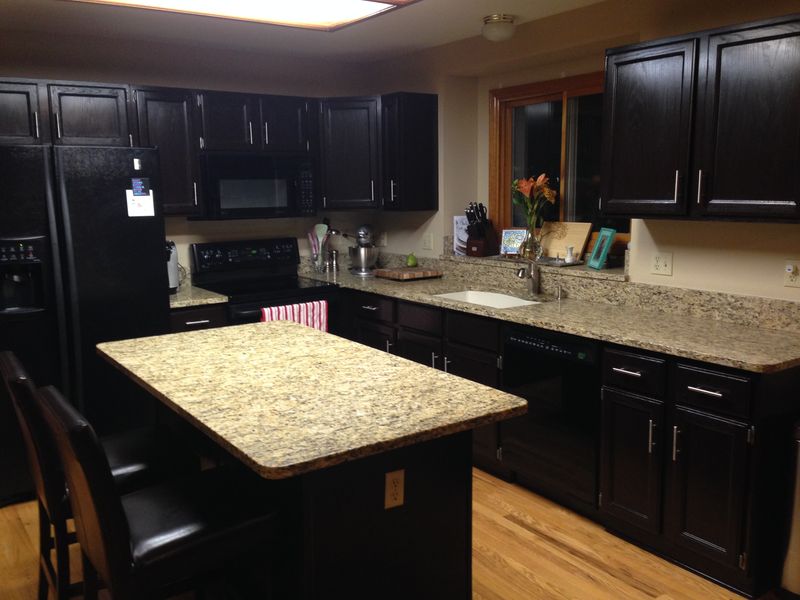
Wish your honey cabinets were rich espresso instead? Gel stain is your new best friend! Unlike traditional stains, gel stain sits on top of the existing finish rather than soaking in.
After light sanding and cleaning, apply the gel stain with a foam brush, working in the direction of the wood grain. The beauty of this approach is you can go as dark as you want while maintaining the natural wood look without stripping.
6. Remove Some Cabinet Doors
Want to breathe some contemporary style into your kitchen? Try removing a few strategic cabinet doors to create open shelving that’s both functional and fashionable.
Choose upper cabinets that will showcase attractive dishware or decorative items. Simply unscrew the doors, fill hardware holes, paint the interior a contrasting color, and arrange your prettiest pieces. This zero-cost update instantly modernizes honey cabinets while adding personality.
7. Add Beadboard Inserts
Beadboard panels can transform plain cabinet doors into charming cottage-style features that downplay that dated honey finish.
Measure your cabinet door panels, cut beadboard to fit, and secure with construction adhesive. Paint the beadboard white or a complementary color while leaving the frames in their original wood tone for a two-tone effect that’s both classic and fresh.
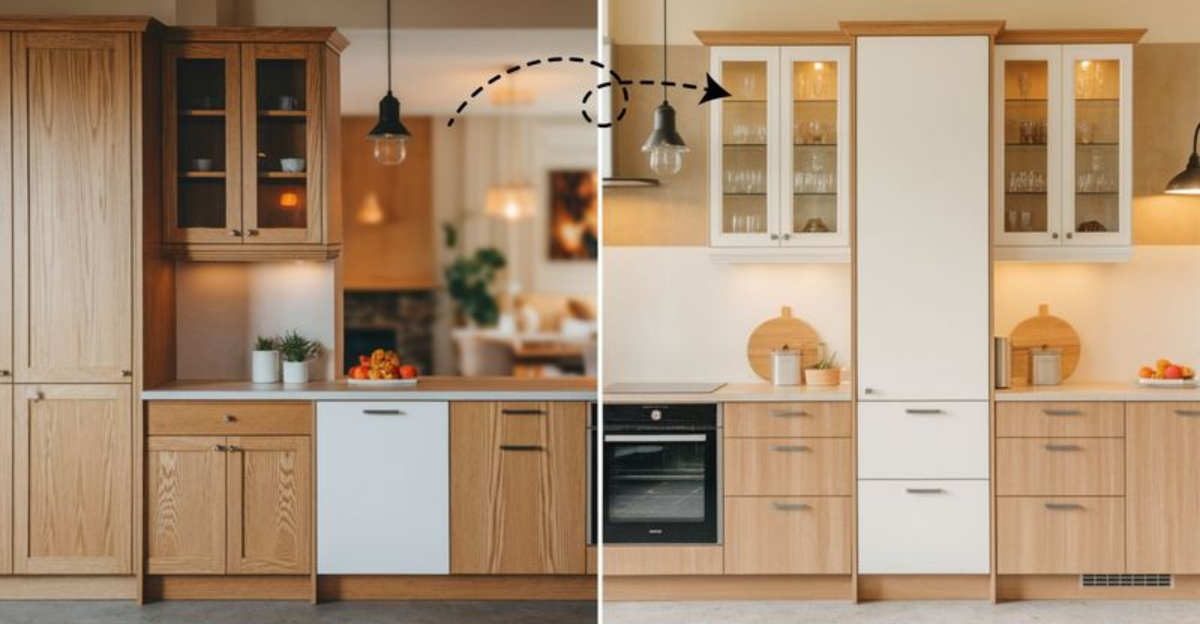
8. Replace Just The Doors
When the cabinet boxes are solid but those honey doors make you cringe, consider a partial replacement. Ordering new doors and drawer fronts costs significantly less than a full cabinet replacement.
Measure carefully and order unfinished doors in a style you love. Then paint or stain them to your preference before attaching to your existing cabinet frames. This approach delivers dramatic results at roughly half the cost of new cabinets.
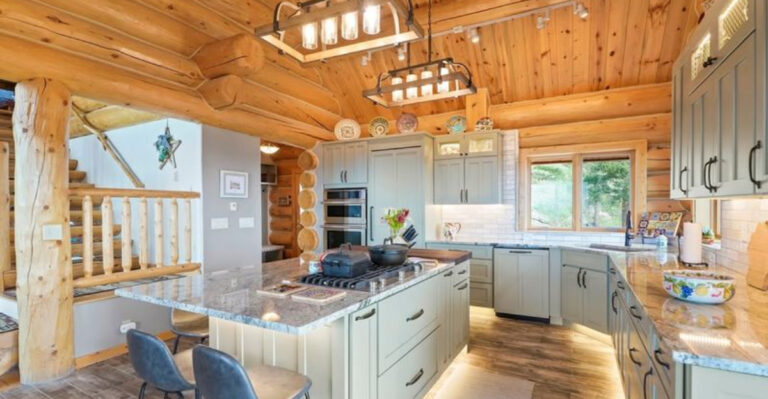
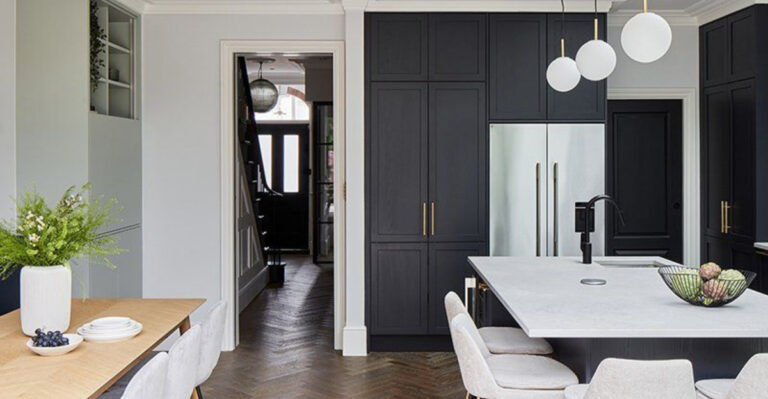
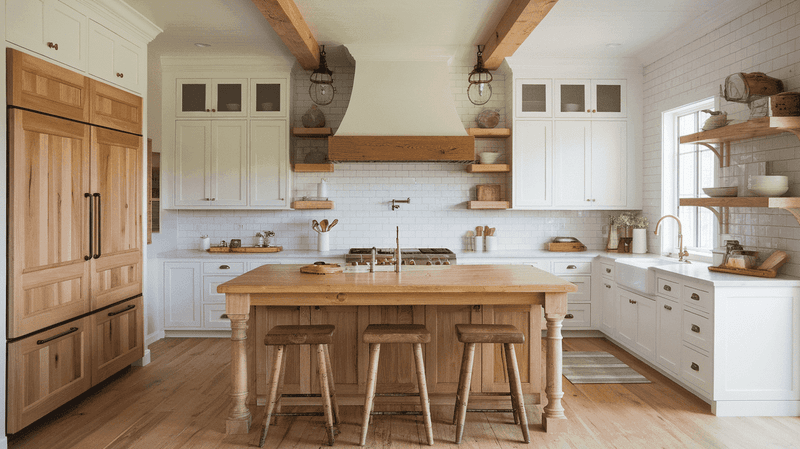
9. Create A Two-Tone Kitchen
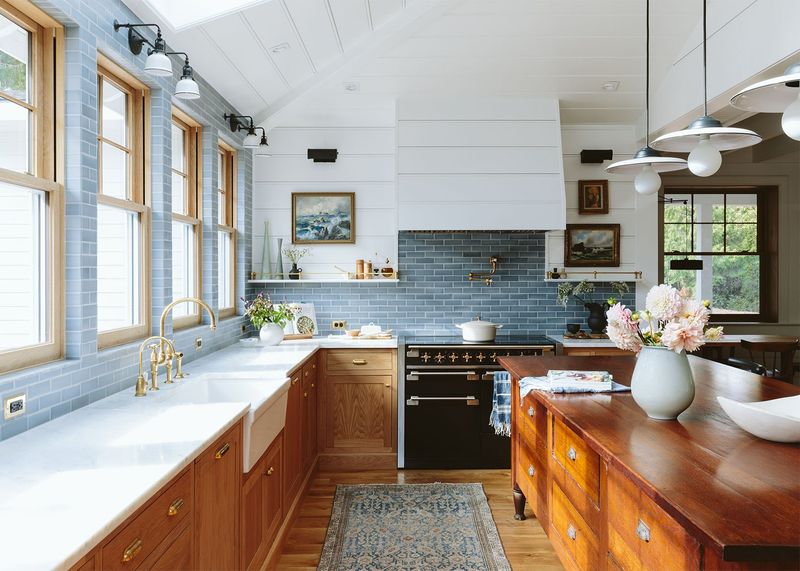
Embrace the two-tone trend by painting just the lower or upper cabinets while leaving the rest in their natural honey finish.
This approach requires half the work of painting everything while creating a deliberate designer look. Try navy lowers with honey uppers, or vice versa. The contrast makes the honey tone look intentional rather than outdated, completely transforming your kitchen’s vibe.
10. Refinish With Whitewash
Whitewashing creates a beautiful compromise that softens that orange-honey tone.
After light sanding, apply a mixture of white paint diluted with water, wiping away excess to allow some wood grain to show through. The result is a casual, coastal vibe that brightens your kitchen while honoring the natural wood character underneath.
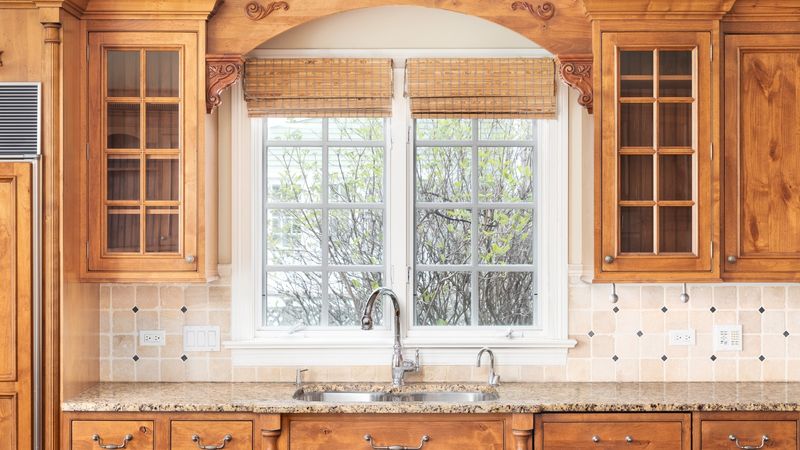
11. Add Glass Door Inserts
Transform ordinary cabinets into showcase pieces by replacing solid panels with glass inserts. This designer touch creates visual interest while reducing the visual heaviness of all-wood cabinetry.
Remove the center panel from selected cabinet doors, then install glass using silicone adhesive and trim molding. For added style, paint the cabinet interior a contrasting color that complements your kitchen palette. The glass breaks up the honey monotony beautifully.
12. Apply Peel-and-Stick Veneer
For commitment-phobes, peel-and-stick wood veneer offers a temporary solution with major visual impact. These adhesive sheets come in various finishes from whitewashed to dark walnut.
Simply measure, cut, and apply to your cabinet doors for an instant wood tone update. The best part? It’s removable if you change your mind later. This approach gives you a completely different look without sanding, painting, or permanent changes.
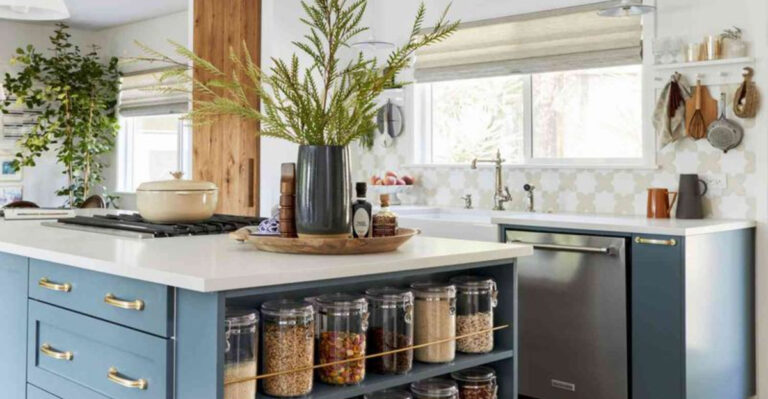
13. Paint Just The Island
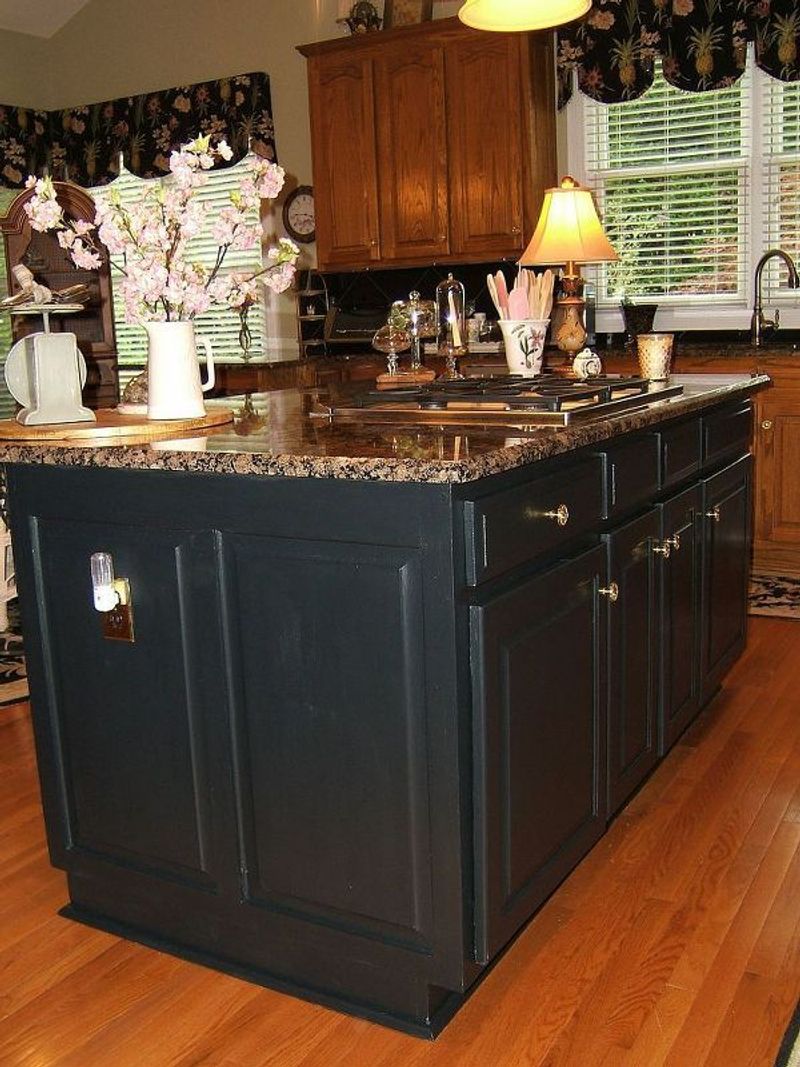
Start small by painting just your kitchen island in a bold accent color. This creates a focal point while breaking up the honey cabinet monotony.
A deep navy blue, forest green, or even black island against honey perimeter cabinets looks intentional and on-trend. This strategic painting approach delivers maximum impact with minimum effort and expense, turning a dated feature into a designer statement.
14. Install Under-Cabinet Lighting
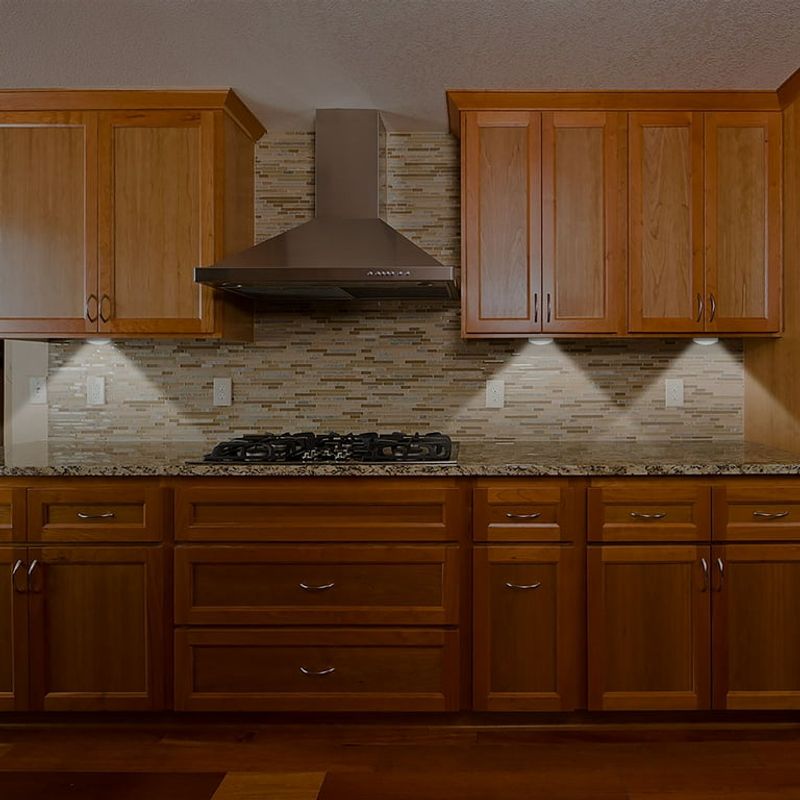
Sometimes the best update isn’t changing the cabinets at all but rather how we see them. Under-cabinet lighting draws attention to your countertops and backsplash instead of those dated cabinets.
Affordable LED strip lights or puck lights can be installed without an electrician using adhesive backing and battery power. This simple addition creates ambiance, improves functionality, and subtly modernizes your kitchen’s overall appearance without touching a paintbrush.
15. Refresh With Cabinet Trim
Adding decorative trim creates architectural interest that transforms basic honey cabinets into custom-looking pieces.
Purchase thin wood trim from a home improvement store, cut to size, and attach to cabinet doors with wood glue and small brad nails. Paint the entire cabinet for a cohesive look, or just paint the trim for contrast. This simple addition creates shadow lines that give basic cabinets high-end appeal.
16. Upgrade With Contact Paper
When you’re renting or super budget-conscious, modern contact paper can work wonders. Today’s options include realistic marble, wood grain, and solid colors that look surprisingly upscale.
Clean cabinets thoroughly, then carefully measure, cut, and apply contact paper to cabinet doors and drawer fronts. Use a credit card to smooth out bubbles as you go. For under $30, you can completely transform your kitchen’s appearance without permanent changes.