These Are The 6 Types Of Kitchen Layouts You Need To Know (Plus The Dos And Don’ts Of Using Them)
Kitchen layouts can seriously make or break your cooking flow, I’ve learned that the hard way. Whether you’re knee-deep in a remodel or just daydreaming about your perfect setup, getting the layout right is a game-changer.
The wrong one can lead to constant backtracking and more stubbed toes than you’d like to admit. But the right layout? It turns your kitchen into a space that actually works for you.
I’ve rounded up the six main kitchen layouts along with some practical do’s and don’ts to help you create a space that feels like a dream, not a daily struggle.
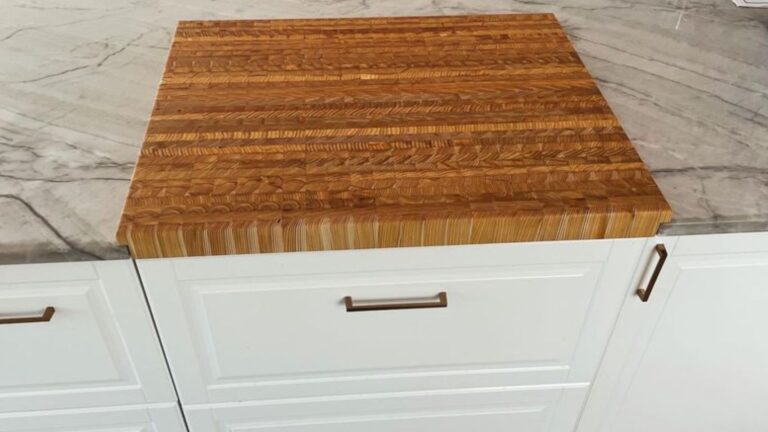
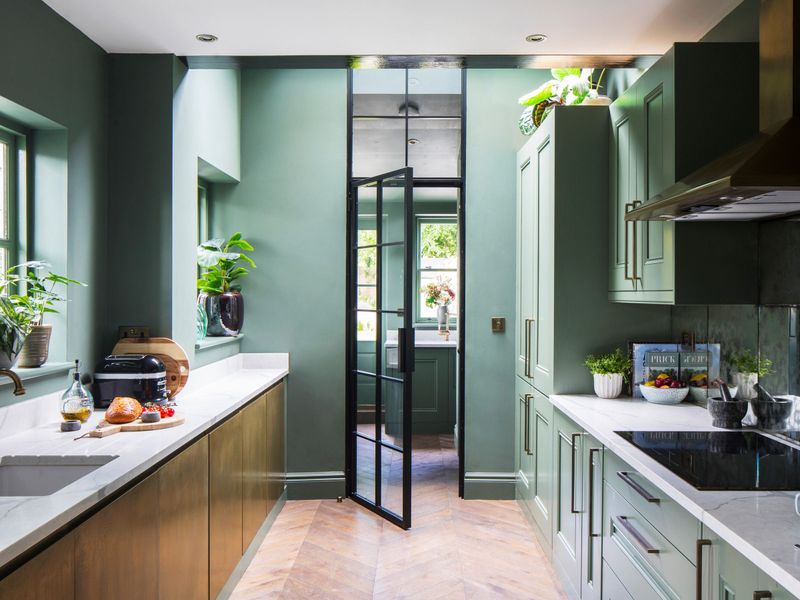
1. Galley Kitchen Layout
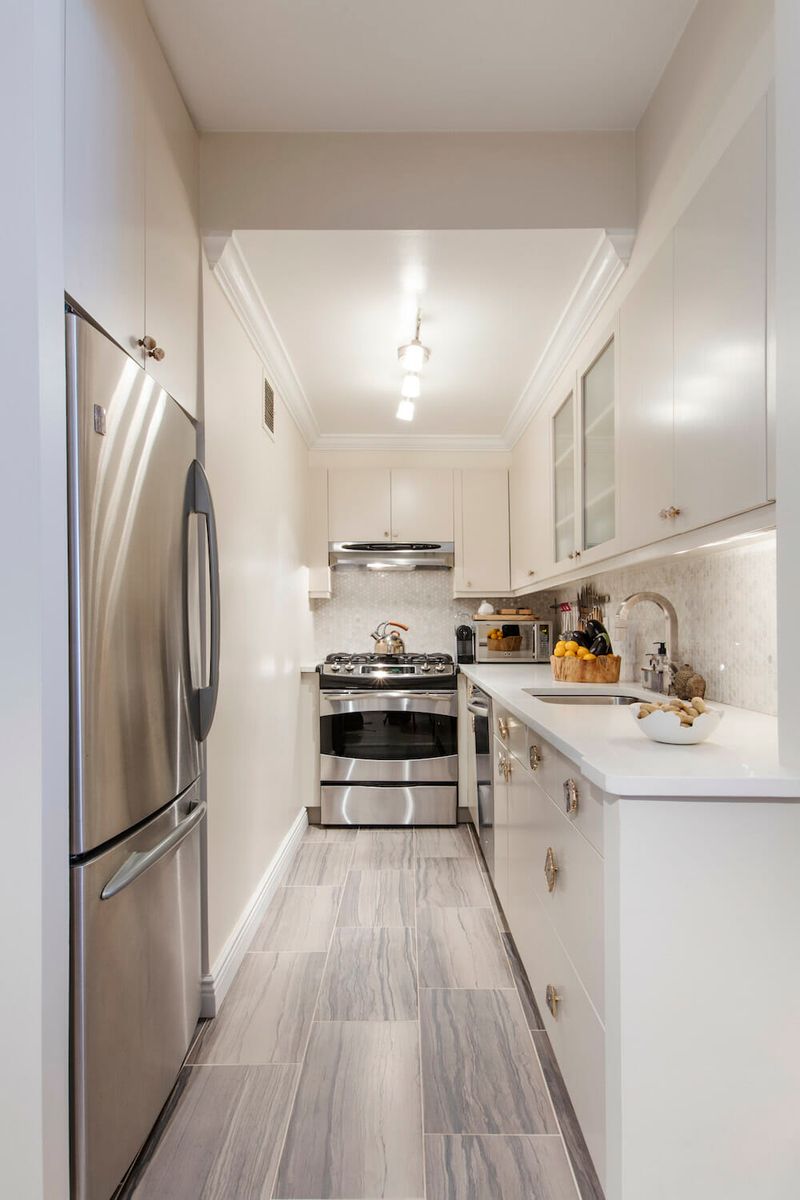
Imagine cooking in a submarine – that’s essentially what a galley kitchen feels like! This streamlined layout features all cabinets and appliances along a single wall, making it perfect for small apartments or studio living.
Originally inspired by ship kitchens (hence the name ‘galley’), these compact cooking spaces force you to get creative with vertical storage. Though tiny, they can be mighty efficient when properly organized.
2. DO: Create A Vertical Storage Paradise In Your Galley
When square footage is scarce, look up! Magnetic knife strips, hanging pot racks, and ceiling-mounted wine glass holders become your BFFs in a galley kitchen.
Floating shelves above countertops offer easy access to everyday items while keeping your limited workspace clear.
Consider installing a sliding ladder system for reaching those tippy-top cabinets without performing kitchen acrobatics.
3. DON’T: Cram Too Many Cooks Into The Galley
Throwing a dinner party? Keep your guests outta this kitchen! The narrow corridor design of a galley makes it a solo cooking zone – adding more bodies creates a human traffic jam faster than you can say “Where’s the salt?”
Avoid installing an island or dining table in this layout. Sometimes people try squeezing these in, but it’s like trying to park a bus in a compact spot – technically possible but nobody’s happy about it.
4. L-Shaped Layout
Corner kitchens rock the house! L-shaped layouts utilize two adjacent walls to create a natural workflow triangle between your fridge, sink, and stove.
Families love this setup because it offers decent counter space while keeping foot traffic out of the cooking zone. If you’ve got a little extra room, you might even squeeze in a small dining nook or island.
Mom can stir the pasta while keeping an eye on homework happening at the table – multitasking magic!
5. DO: Maximize That Corner Space In L-Shapes
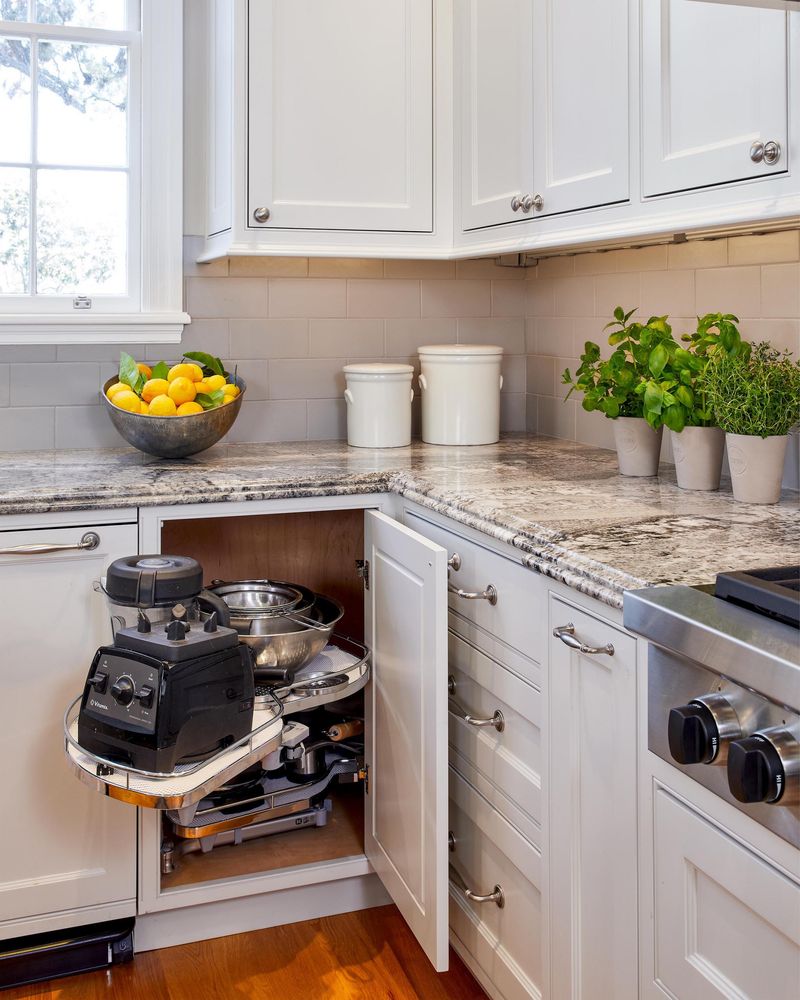
Corners in kitchens often become the Bermuda Triangle where spatulas go to disappear. Smart L-shaped kitchens tackle this with lazy Susans or special corner drawers that pull out completely.
Place your sink in the corner to maximize counter space on both sides – perfect for prep work! Some homeowners even install corner windows above the sink for watching backyard shenanigans while doing dishes.
6. DON’T: Forget The Triangle Rule In Your L-Layout
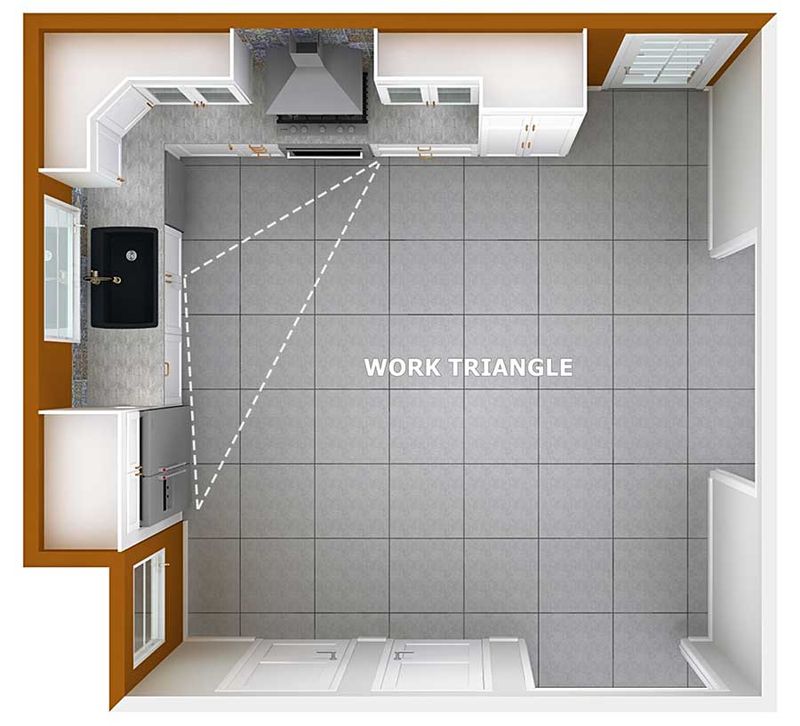
Whoever designed a kitchen where the fridge, stove, and sink are miles apart clearly never cooked Thanksgiving dinner!
In an L-shaped layout, keep these three essentials within a comfortable triangle – ideally with 4-9 feet between each point. Avoid placing your refrigerator at the very end of one leg of the L.
Nothing’s worse than hiking across the kitchen with dripping raw chicken just to get from fridge to sink. Your floor (and food safety inspector) will thank you!
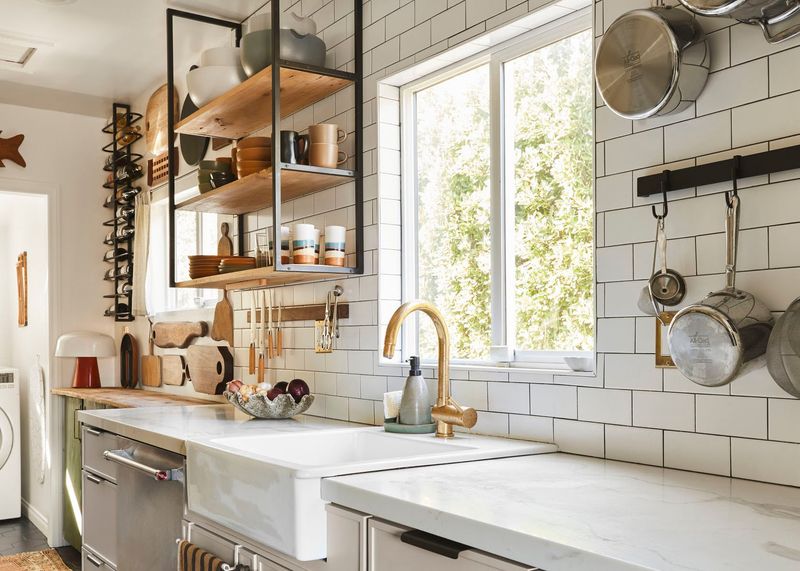
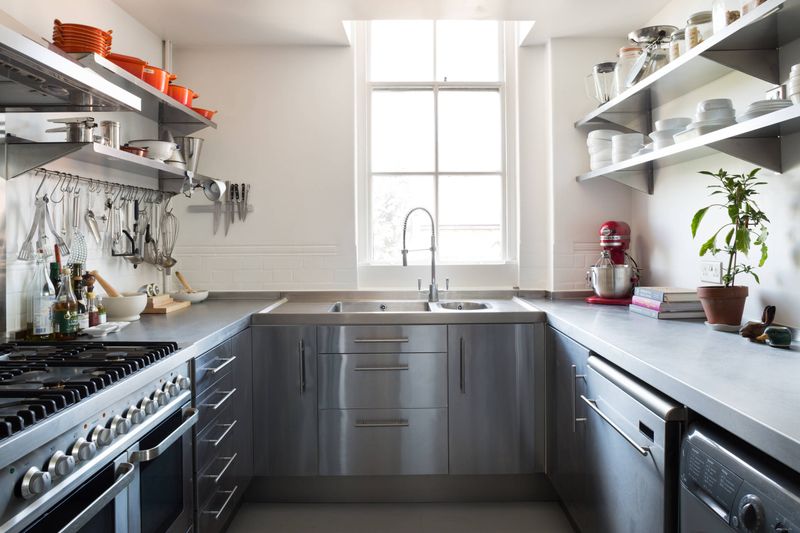
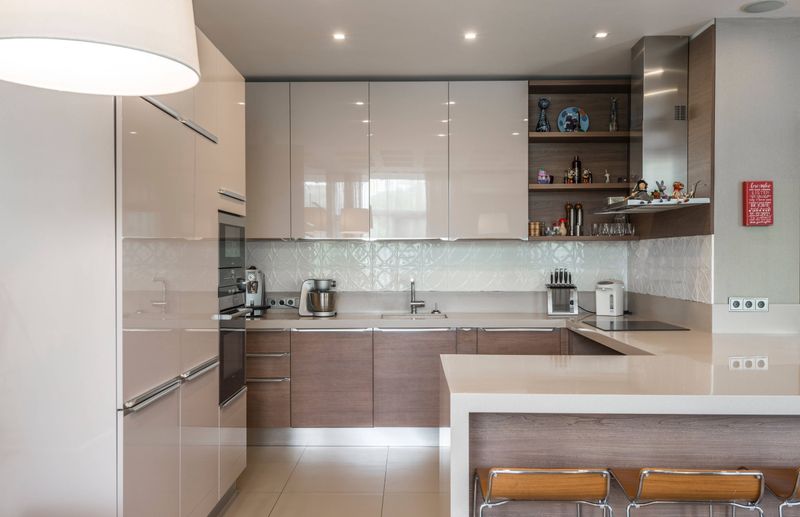
7. U-Shaped Layout
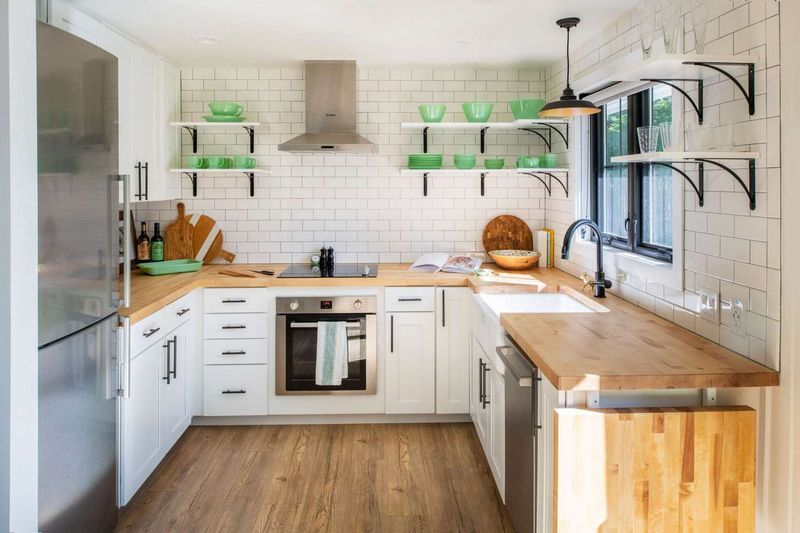
Serious home chefs worship at the altar of the U-shaped kitchen! With countertops and cabinets running along three connecting walls, you’ll never run out of workspace or storage.
This horseshoe configuration creates a super-efficient cooking zone where everything’s within arm’s reach.
Though typically found in medium to larger homes, even apartment dwellers can rock a mini U-shape if they’re willing to sacrifice some living space for culinary perfection.
8. DO: Create Dedicated Zones Within Your U-Shape

Zone defense isn’t just for basketball – it’s kitchen magic too! Divide your U-shaped space into activity zones: one wall for food prep, another for cooking, and the third for cleaning/storage.
Consider installing different counter heights for different tasks. Lower for kneading dough, standard for general prep, and maybe a raised bar section where kids can eat breakfast while you pack lunches.
9. DON’T: Block The Flow In Your U-Kitchen
Cramming a dining table inside your U-shaped kitchen? That’s like putting a boulder in a river – it blocks the natural flow! Keep the central space open for easy movement between all three sides.
Watch out for appliance doors that might collide in tight U-layouts. Nothing’s more annoying than not being able to open your dishwasher because the oven door is in the way.
Try this test: stand in the middle and pretend to open every cabinet and appliance to check for clearance issues.
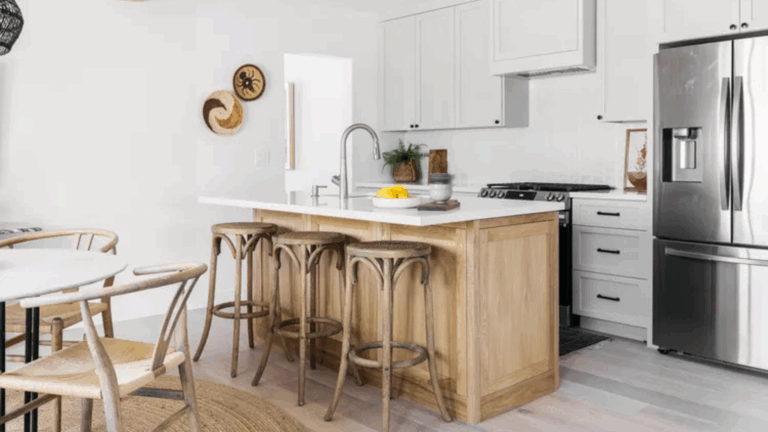
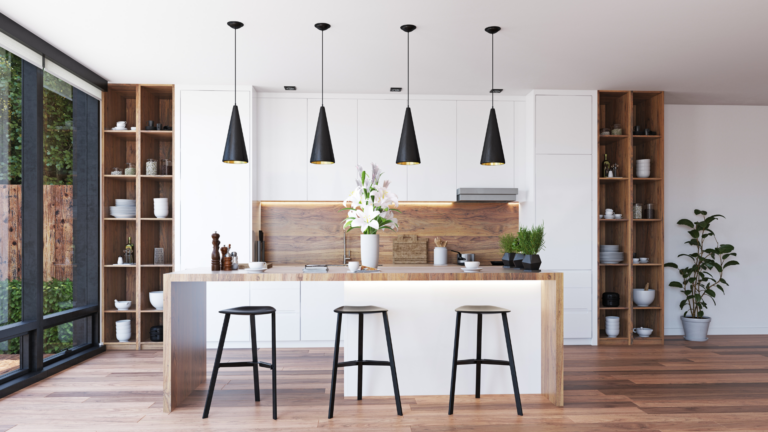
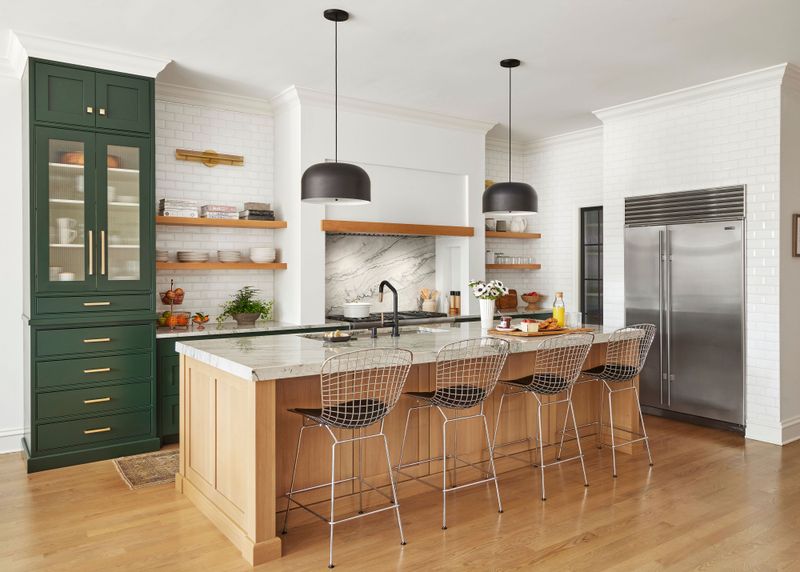
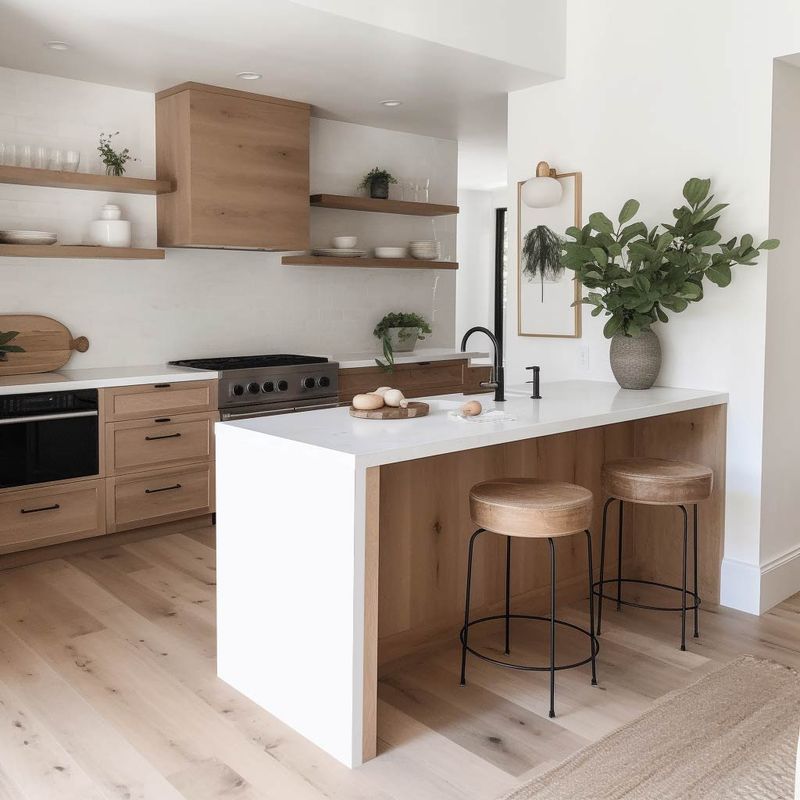
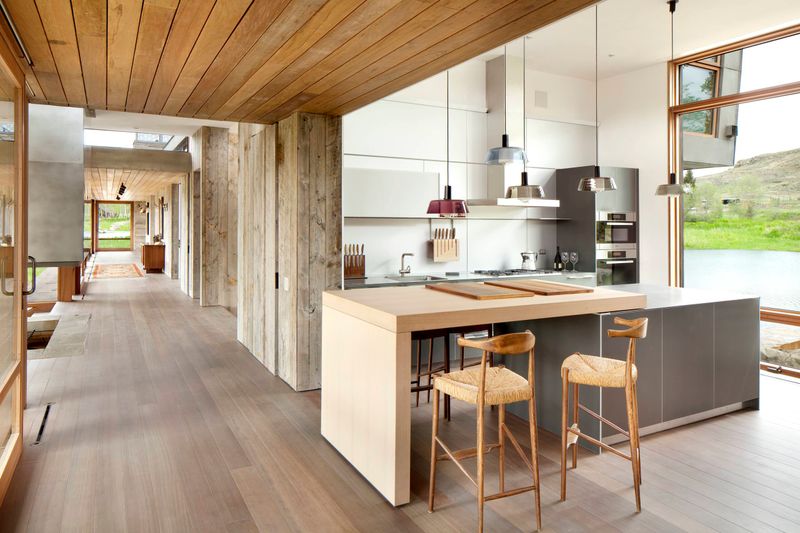
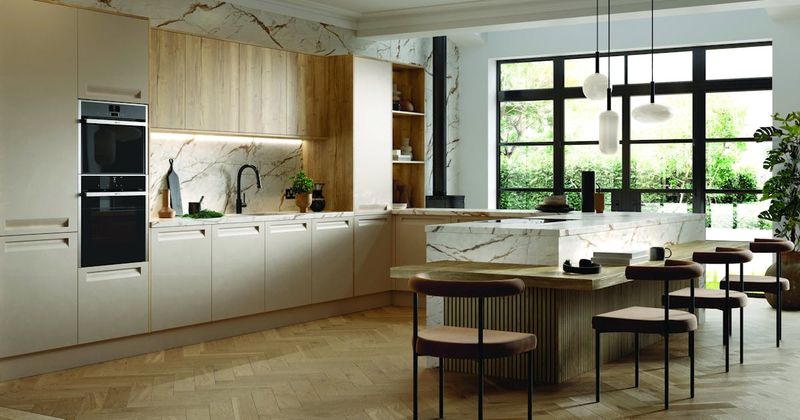
10. Island Layout
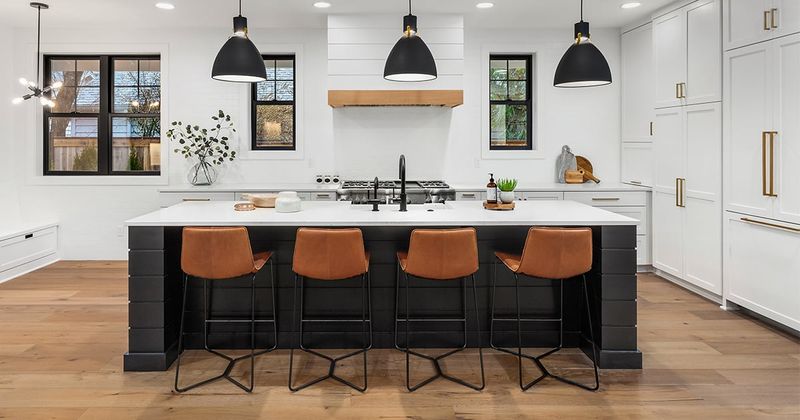
Party people, this kitchen’s for you! Island layouts feature a freestanding workspace in the center of the kitchen, creating a natural gathering spot where guests can sip wine while you show off your chopping skills.
Though technically a modification of other layouts (usually L-shaped plus island), this design deserves its own category because it completely transforms how people interact in the space.
Kids can do homework on one side while you prep dinner on the other – family togetherness without the chaos!
11. DO: Make Your Island Multi-Functional
Why settle for a boring countertop when your island could be a superhero in disguise? Consider installing a second sink, a cooktop with downdraft ventilation, or even a pop-up electrical outlet tower for plugging in appliances.
Varying counter heights adds visual interest and practical function. A lower section works great for rolling out pie dough or as an accessible area for someone in a wheelchair.
The possibilities are endless – limited only by your imagination and budget!
12. DON’T: Size Your Island Wrong
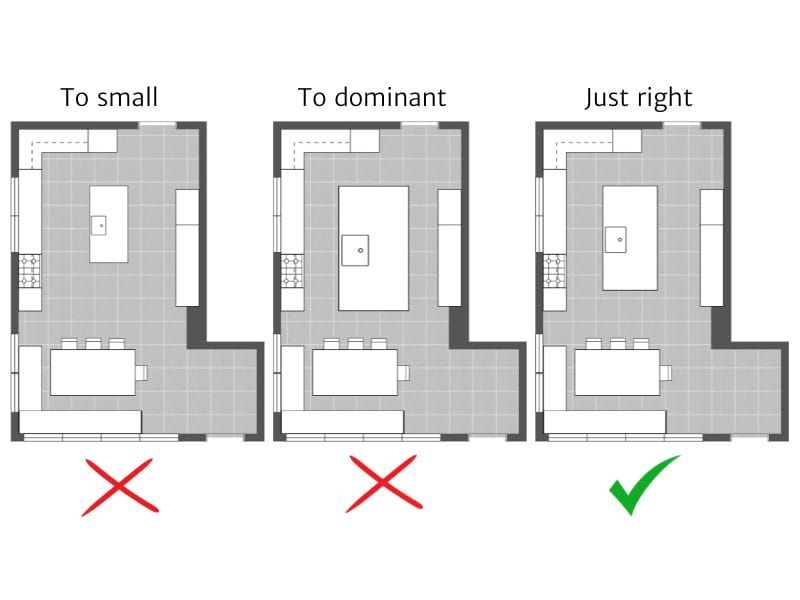
Teeny-tiny islands are about as useful as a chocolate teapot! You need at least 4 feet of length to make an island functional. But going too big creates the dreaded “kitchen marathon” where you’re constantly walking miles just to grab ingredients.
Always maintain at least 42 inches of clearance around all sides of your island. Nothing kills a dinner party vibe faster than guests having to shimmy sideways just to reach the appetizers!
And please, for everyone’s safety, avoid placing the main cooktop on an island without proper ventilation.
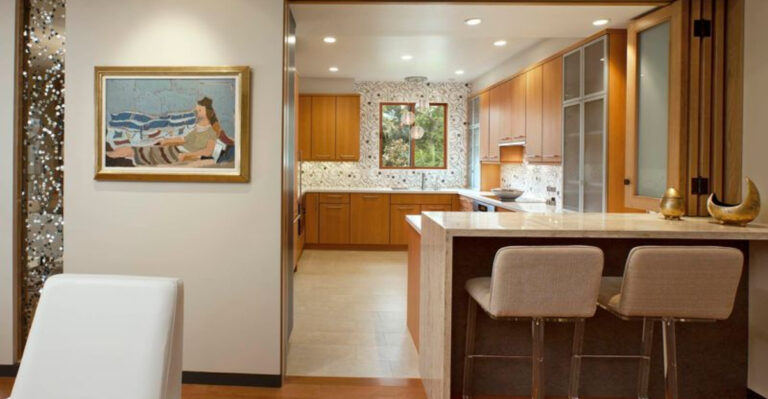
13. Peninsula Layout
Can’t decide between an island and a U-shape? The peninsula layout offers the best of both worlds! Like a geographic peninsula, this kitchen feature extends from a wall or cabinet run, creating a partial room divider with access from three sides.
Perfect for open concept homes, peninsulas define the kitchen space without completely walling it off from adjacent rooms.
They work magic in apartments too, subtly separating cooking zones from living areas without sacrificing that coveted open feeling.
14. DO: Use Your Peninsula As A Room Divider
Strategic peninsula placement can transform an awkward open floor plan into distinct functional zones. Face bar seating toward the living room to create a casual dining spot that doubles as conversation central during parties.
Consider adding decorative elements like pendant lights or a change in ceiling treatment above the peninsula to further define the space.
Some homeowners even install shallow display shelving on the living room side – perfect for showing off that fancy cookbook collection you totally use all the time!
15. DON’T: Create A Dead-End With Your Peninsula
Blocking the natural flow between rooms with a poorly placed peninsula? That’s a rookie mistake! Always ensure there’s logical circulation around your peninsula – at least two entry/exit points to the kitchen.
Avoid the temptation to extend your peninsula too far into the room. What seems like a great idea on paper can create an obstacle course in real life.
Nobody wants to play kitchen Tetris just to get from the fridge to the dining table!
16. G-Shaped Layout
Hungry for counter space? The G-shaped layout might satisfy your appetite! Essentially a U-shaped kitchen with an added partial fourth wall or peninsula, this design offers maximum storage and work surfaces for serious cooking enthusiasts.
Though less common than other layouts, G-kitchens shine in larger homes where cooking is a major priority.
Think of it as the kitchen equivalent of upgrading to a luxury SUV – more features, more space, but also requiring more room to park!
17. DO: Add Multiple Work Centers In G-Layouts
With all that counter space, why not create specialized work zones? Dedicate one section to baking with a marble countertop for rolling dough and nearby storage for baking sheets and ingredients.
Consider installing two sinks – a main cleanup sink and a smaller prep sink – to accommodate multiple cooks.
Some G-kitchens even have space for double dishwashers or refrigerators, perfect for large families or those who entertain frequently.
18. DON’T: Let Your G-Kitchen Feel Claustrophobic

All those cabinets closing in around you can trigger kitchen claustrophobia faster than you can say “where’s the exit?” Combat this by using glass-front cabinets or open shelving on at least one wall to create visual breathing room.
Avoid dark colors in G-shaped kitchens – they’ll make your space feel like a cave. Instead, embrace light reflective surfaces and consider installing a skylight if possible.
Nothing opens up a closed layout like a patch of blue sky overhead!