19 Essential Tips For Painting Furniture
There’s something incredibly satisfying about turning a tired old chair or table into a total showstopper with just a bit of paint and creativity.
I’ve tackled a few of these makeovers myself, and it always feels like magic watching the transformation happen. You don’t need fancy tools or a ton of experience, just a good brush, the right prep, and a little patience.
Whether it’s a thrifted find or a piece that’s been gathering dust in your garage, these easy painting tips will help you get that wow-worthy look without spending a fortune.
1. Clean Before You Start

Skipping the cleaning step is like building a sandcastle on quicksand! All that dirt and grime will mess up your paint job faster than you can say “oops.”
Grab some mild soap and water for wooden pieces, or denatured alcohol for laminate surfaces. Make sure everything is completely dry before moving forward.
Your future self will thank you when the paint adheres perfectly instead of peeling off in sad little flakes.
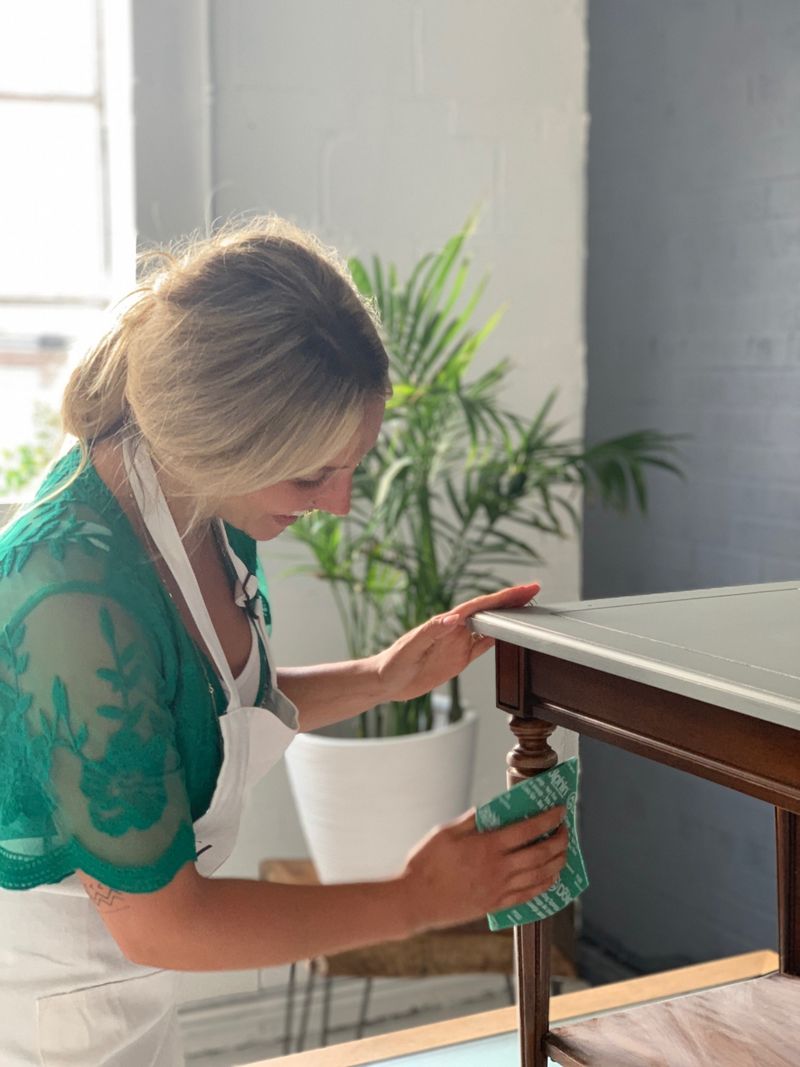
2. Sand Like You Mean It

Running sandpaper over your furniture isn’t just busy work – it’s creating the perfect foundation for your paint to grab onto! Without this step, your beautiful paint job might start peeling faster than sunburned skin.
Medium-grit sandpaper works great for most projects. Just remember to go with the grain, not against it.
Once you’re done, wipe away all that dust with a tack cloth so it doesn’t get trapped under your paint.
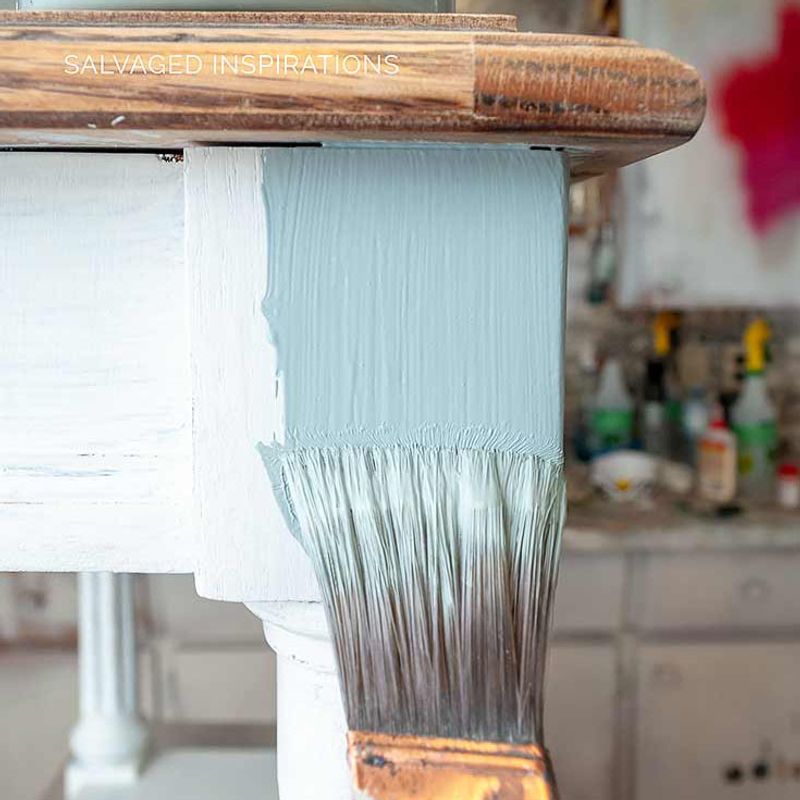
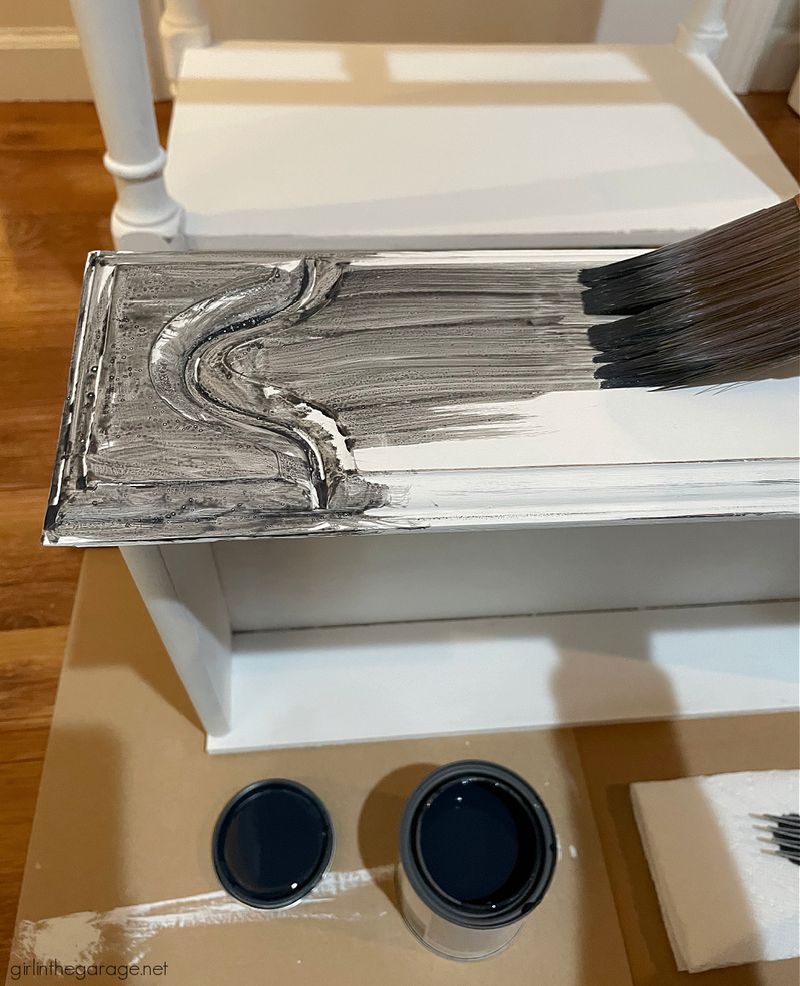
3. Prime For Success
Think of primer as your paint’s best friend – it helps everything stick together! Skipping this step is tempting when you’re eager to see color, but patience pays off with smoother, longer-lasting results.
Shellac-based primers work wonders on most furniture, especially pieces with stains or knots that might bleed through.
Apply thin, even coats and let each one dry completely before moving on. Your future self will high-five you for taking the time!
4. Pick The Right Paint
Wandering the paint aisle feeling lost? Not all paints play nice with furniture! Latex paints are super forgiving for beginners, while chalk paint gives that trendy matte finish without much prep work.
Oil-based options offer durability for high-traffic pieces like dining tables, though they take forever to dry and smell funky.
For kitchens and bathrooms, look for paints labeled “scrubbable” or “high-adhesion” – they’ll stand up better to moisture and cleaning.
5. Invest In Quality Brushes
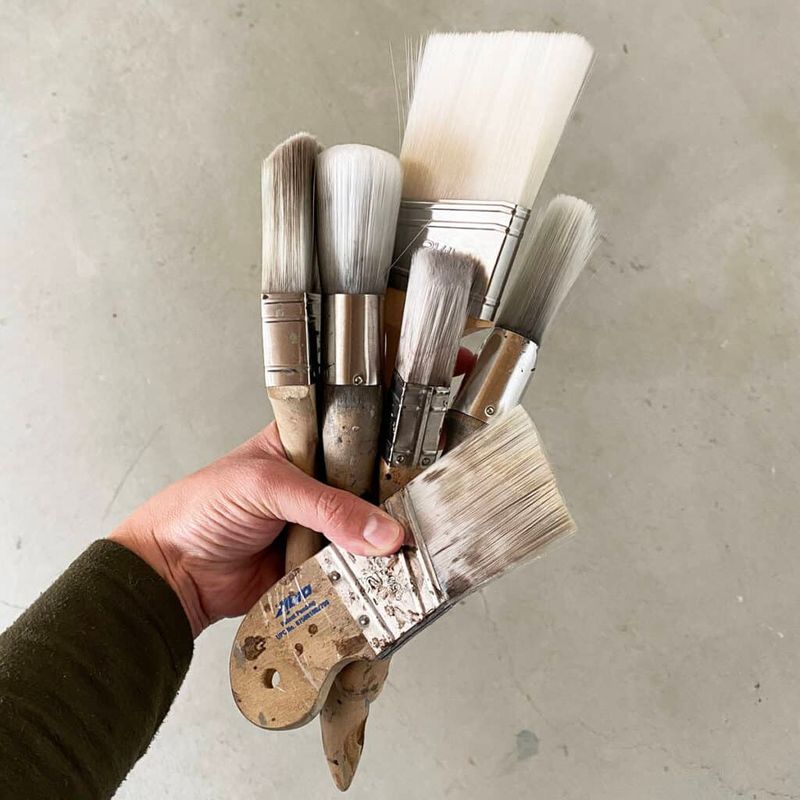
Cheap brushes shed bristles like a nervous cat loses fur! Those loose bristles get stuck in your paint job, creating a texture you definitely didn’t ask for.
Natural bristle brushes work magic with oil-based paints, while synthetic ones play better with water-based formulas. Angled brushes help you get into those tricky corners and edges.
Foam rollers create super smooth finishes on flat surfaces, making them perfect for table tops and dresser fronts.
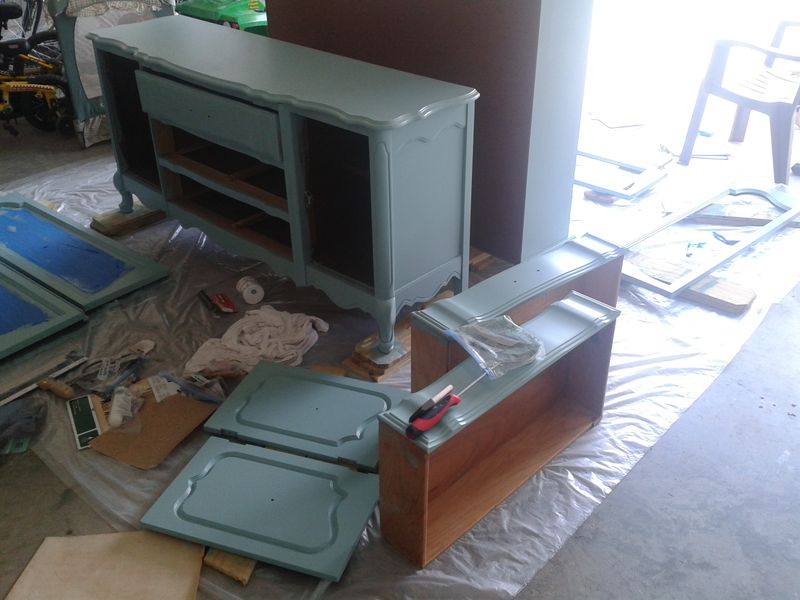
6. Remove Hardware First
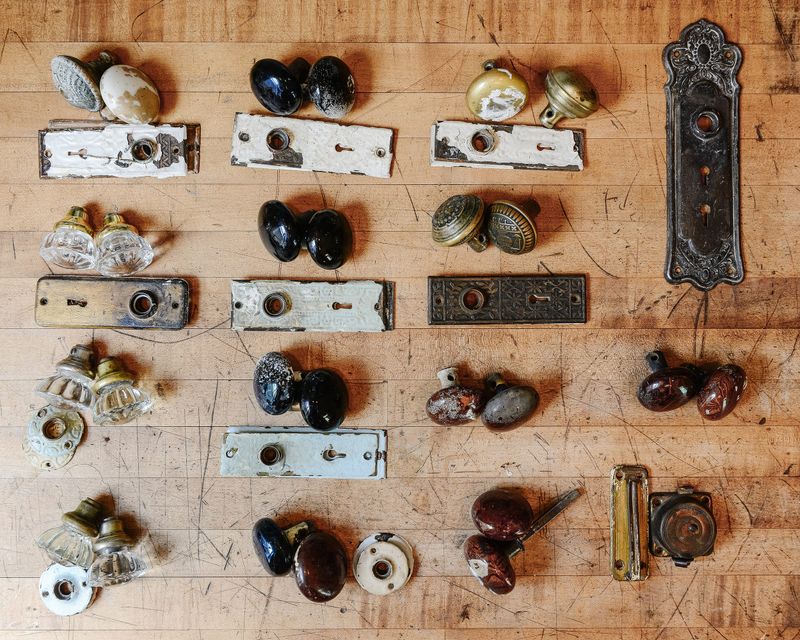
Painting around knobs and handles is like trying to cut your own hair – it seems easier but ends in regret! Take a few minutes to remove all hardware before starting.
Store screws and small parts in labeled bags or jars so you don’t lose them. Maybe snap a quick photo of how everything fits together if the assembly looks tricky.
While everything’s apart, consider whether your old hardware still matches your new vision or if it’s time for an upgrade!
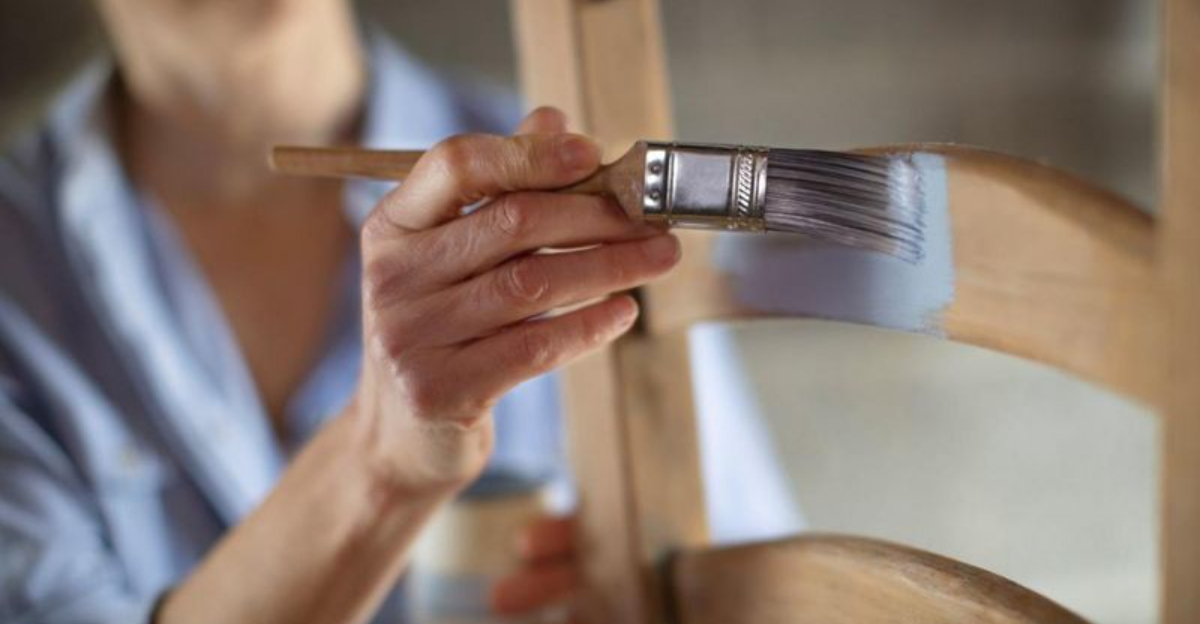
7. Thin Coats Win The Race
Slapping on thick paint is tempting but leads to drips, bubbles, and a finish that looks like orange peel! Patience pays off when you apply multiple thin coats instead.
Let each layer dry completely according to the paint can instructions. This might mean waiting hours or even overnight between coats.
Three thin layers usually creates a more professional finish than one thick coat, plus it’s less likely to chip or peel down the road.
8. Sand Between Coats

Feeling your freshly painted surface and finding it bumpy isn’t fun! Light sanding between coats with super-fine sandpaper (220-grit or higher) knocks down those little imperfections.
Just a gentle once-over does the trick – you’re not removing the paint, just smoothing it. Wipe away all dust with a tack cloth before applying the next coat.
This extra step might seem fussy, but it’s the secret to that glass-smooth finish that makes people ask if you bought it new!
9. Try Distressing Techniques
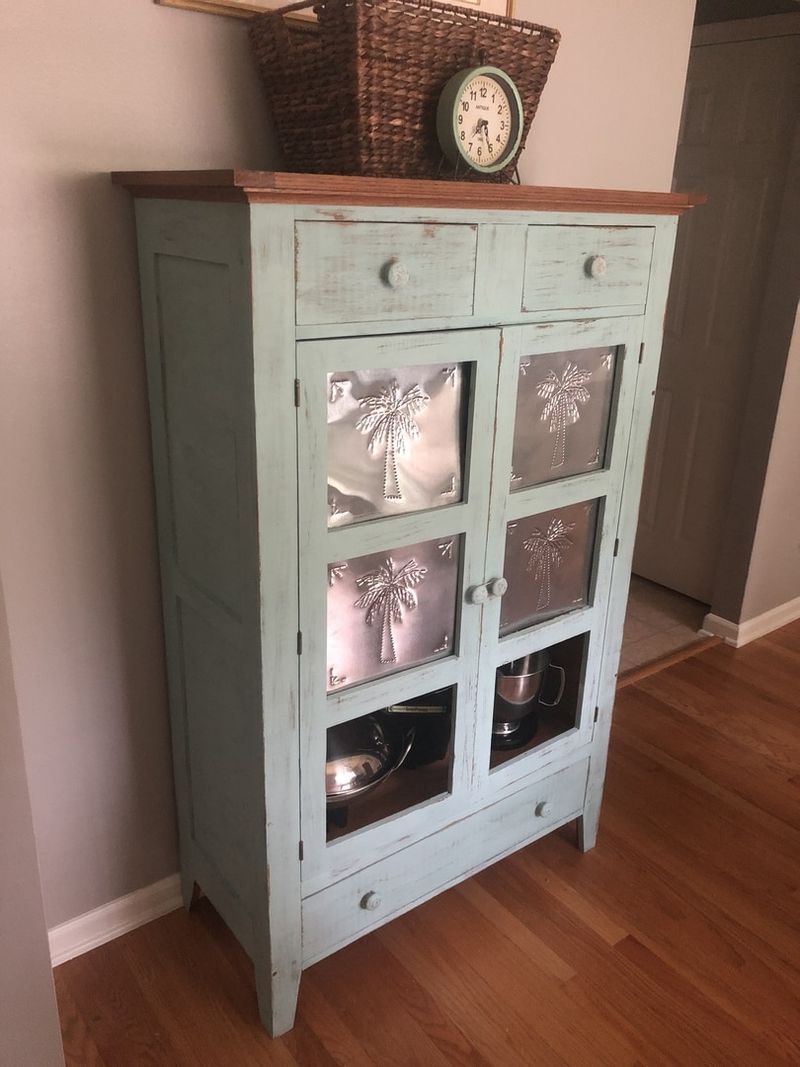
Creating that perfectly imperfect look isn’t about random sanding! Strategic distressing highlights edges and details that would naturally wear over time.
Focus on corners, edges, and raised details where real furniture would show age. Sandpaper, steel wool, or even a candle (applied before paint as a resist) can create different worn effects.
Go slowly and step back often to check your progress – you can always distress more, but fixing over-distressing means repainting!
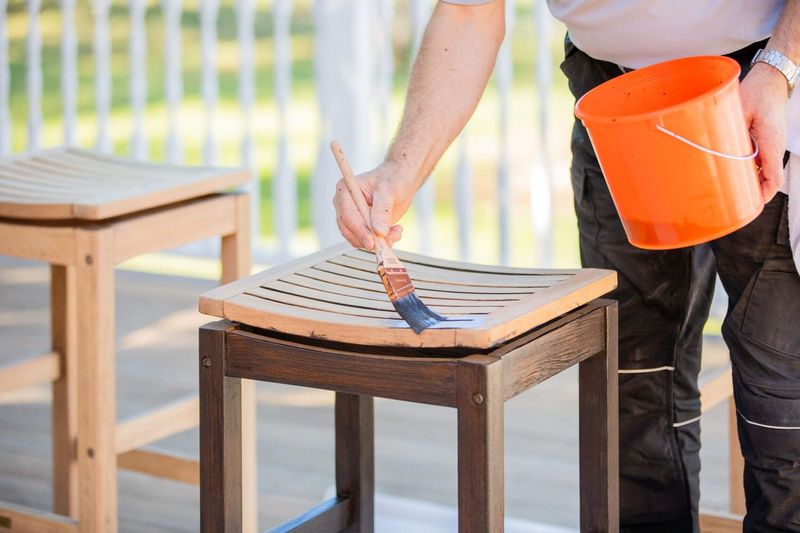
10. Protect With Topcoat
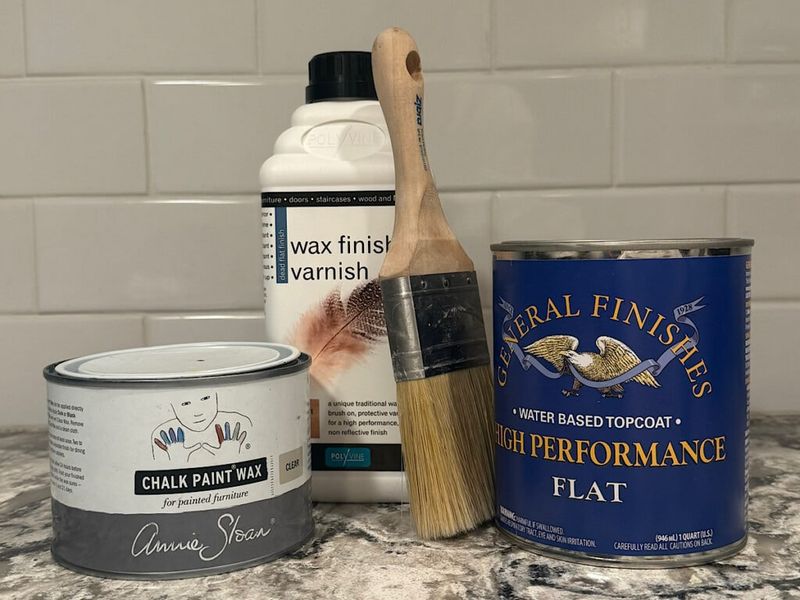
Skipping the topcoat is like forgetting sunscreen at the beach – everything looks fine until later! Polyurethane, wax, or polycrylic sealers shield your hard work from scratches, stains, and water damage.
Matte finishes hide imperfections better, while glossy ones are easier to clean. Brush on thin, even coats, working quickly to avoid visible brush strokes.
Most pieces need 2-3 coats of sealer, with light sanding between each for the smoothest possible finish.
11. Create A Proper Workspace
Painting in poor lighting is like cooking blindfolded – you’ll miss spots! Set up in a well-lit, well-ventilated area with enough space to walk around your piece.
Lay down drop cloths or old sheets to protect your floors. Those tiny paint splatters have ninja-like stealth and will find their way onto everything nearby.
Keep your workspace dust-free and at a comfortable temperature – extreme heat or cold affects how paint dries and can ruin your finish.
12. Mind The Weather
Humidity is the sneaky villain in your painting story! High humidity slows drying time and can create a sticky finish that never quite hardens properly.
Aim for days with moderate temperatures (65-75°F) and lower humidity for best results. Check your paint can for specific recommendations about ideal application conditions.
If you’re stuck painting during humid weather, running a dehumidifier in your workspace can help save your project from disaster!
13. Try Color Blocking
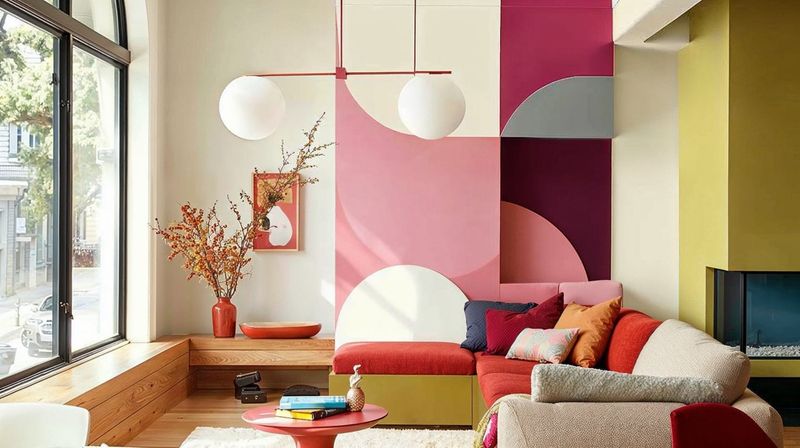
Why settle for one color when you could have a party of shades? Color blocking adds personality to basic pieces by using contrasting colors on different sections.
Try painting drawers a different color than the frame, or highlight just the legs with a bold accent shade. Painter’s tape is your best friend for creating crisp lines between colors.
For beginners, stick with colors from the same color family or use a neutral with just one accent color for foolproof combinations.
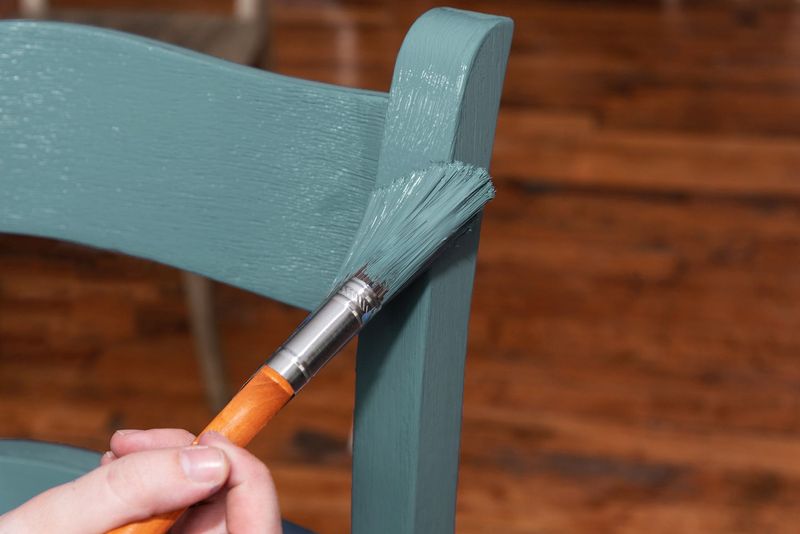
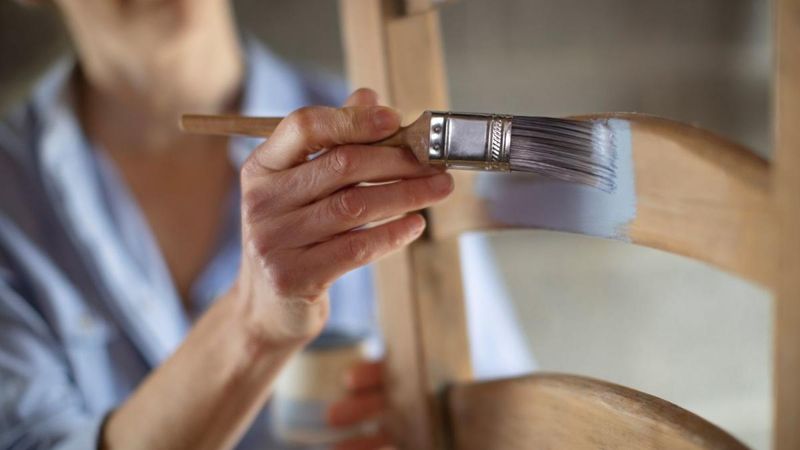
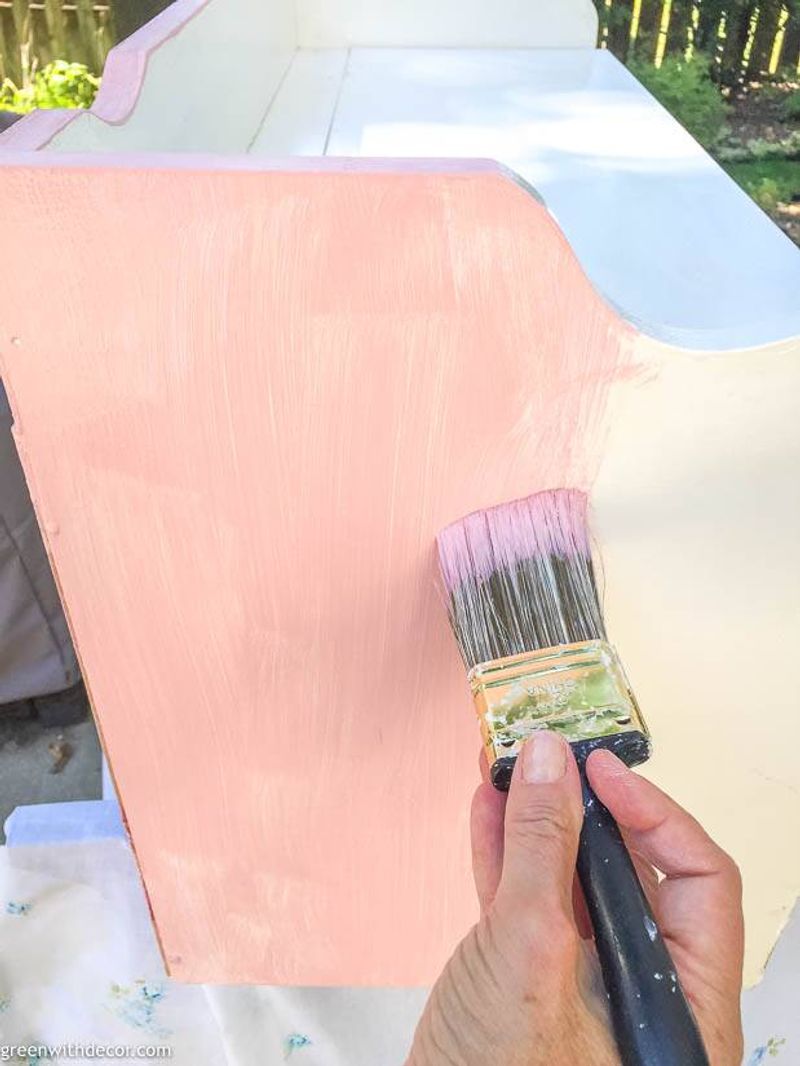
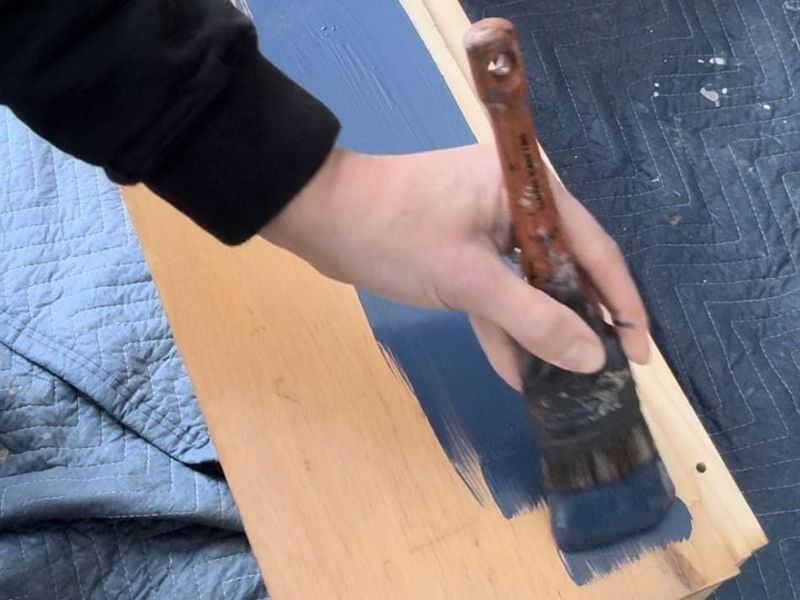
14. Master The Brush Stroke
Random brush strokes create a messy finish that screams “amateur hour”! For wooden pieces, always brush in the direction of the wood grain for the most natural look.
Long, smooth strokes work better than short, choppy ones. Load your brush properly – dip just 1/3 of the bristle length into paint, then tap (don’t wipe) excess off.
If you see brush marks forming as you work, resist the urge to go back over partially dried areas – this causes pulling and makes things worse!
15. Consider Spray Painting
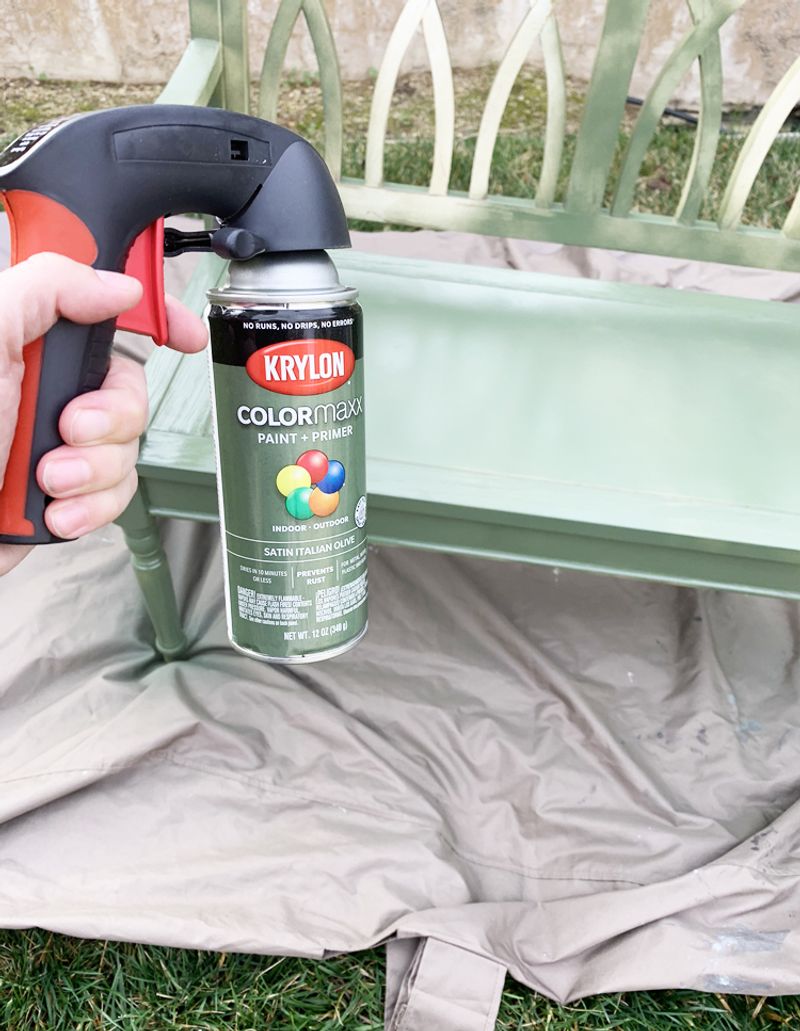
Spindles and intricate details can turn brush painting into a nightmare! Spray paint reaches all those nooks and crannies that brushes struggle with, creating a smooth, even finish on complex pieces.
Hold the can 8-10 inches away and use steady, sweeping motions. Multiple light coats prevent drips better than one heavy application.
Always spray outdoors or in a well-ventilated spray booth, and wear a proper respirator mask – your lungs will thank you!
16. Fix Bleed-Through Problems

Those mysterious yellow or pink stains appearing through your fresh paint aren’t ghosts – they’re tannins! Woods like pine, oak, and mahogany contain natural compounds that can seep through paint.
Shellac-based primers like Zinsser BIN are your best defense against these stubborn stains. Apply 1-2 coats directly over the discoloration before continuing with your regular paint.
For severe cases, you might need to prime the entire piece to ensure an even finish.
17. Try Glazing For Depth
Flat paint can look boring, but glazing adds magical dimension! This technique involves applying a translucent tinted layer over your base coat, then partially wiping it away to create depth and highlight details.
Dark glazes settle into crevices and bring out carved details. Work in small sections so the glaze doesn’t dry before you can manipulate it.
Old t-shirts make perfect wiping cloths – experiment with different wiping patterns for unique effects from subtle to dramatic.
18. Allow Proper Curing Time
Just because your furniture feels dry doesn’t mean it’s ready for action! Paint might feel dry to the touch within hours, but full curing takes much longer – sometimes up to 30 days for maximum hardness.
During this time, treat your piece gently and avoid placing heavy objects on surfaces. Hold off on cleaning with any products until curing is complete.
Patience during this final stage prevents fingerprints, scratches, and dents in your not-quite-hardened finish.
19. Test On Hidden Areas
Jumping straight into painting visible areas is like getting a haircut without checking the stylist’s portfolio first! Always test your paint, technique, and color on an inconspicuous spot like the bottom or inside of your piece.
This small step helps you catch potential problems with adhesion or color before they become big headaches. Bottoms of drawers, back panels, or inside surfaces make perfect test areas.
Give your test patch time to dry completely to see the true color and finish.