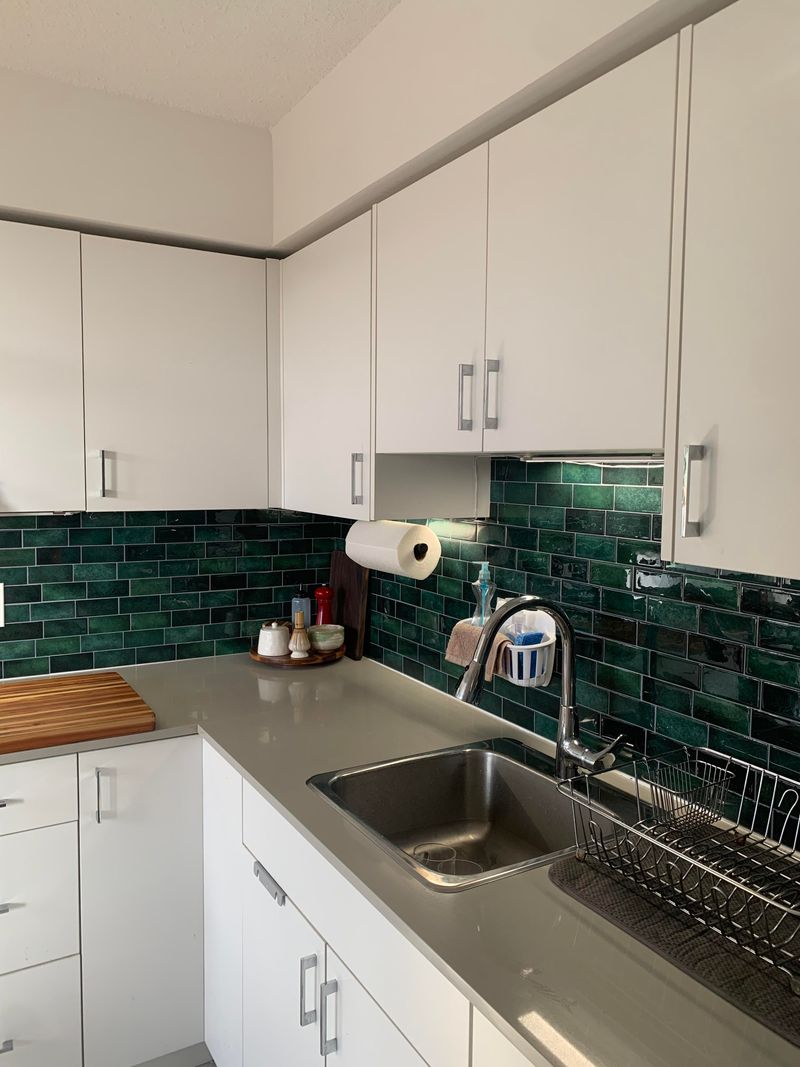
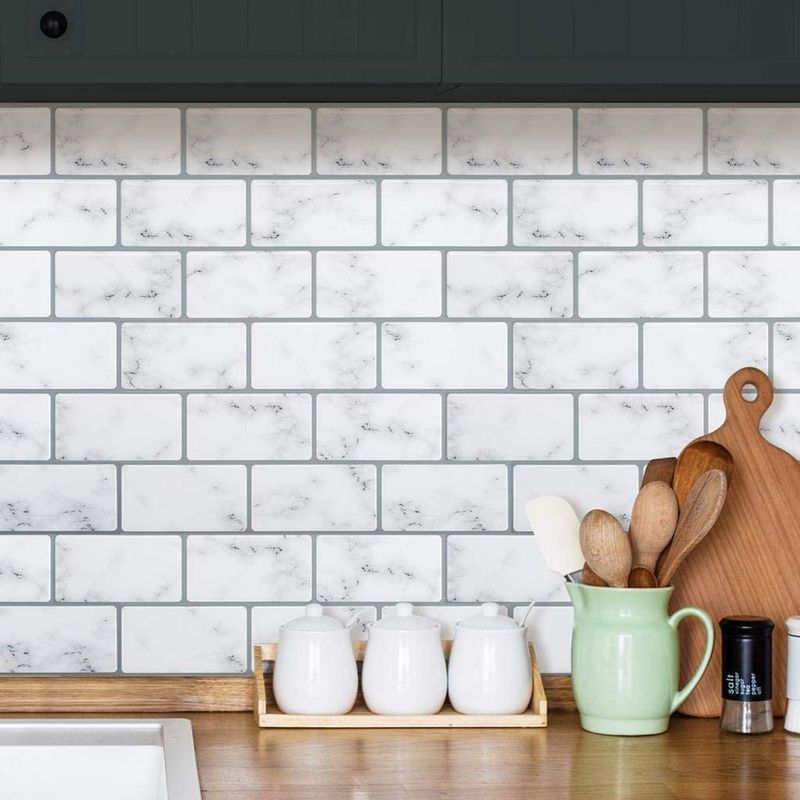
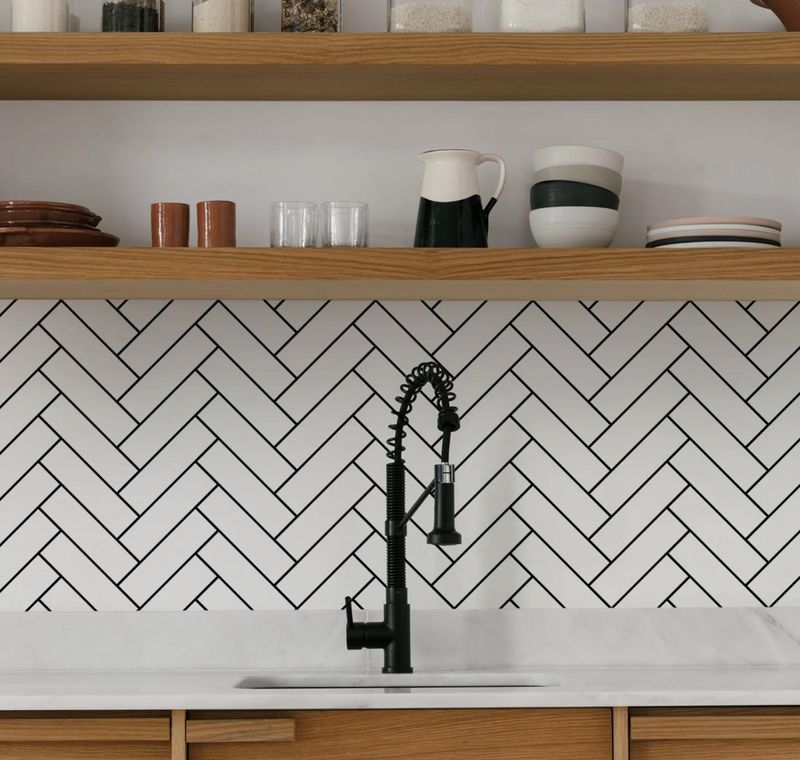
17 Mistakes That Could Ruin Your DIY Peel-And-Stick Backsplash
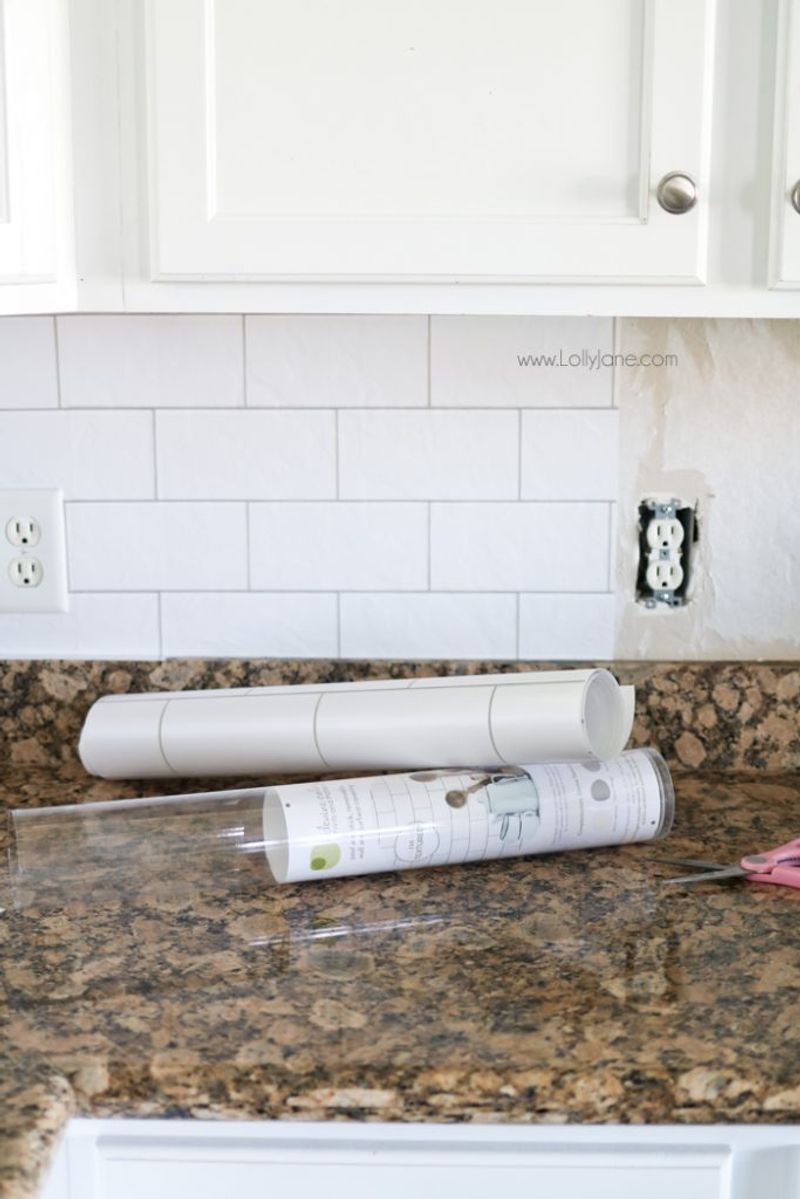
Peel-and-stick backsplashes sound like the perfect weekend win, no contractors, no grout, just instant style, right? I’ve definitely been tempted by their promise of an easy upgrade.
But let’s be honest, not every DIY shortcut is as smooth as the packaging claims. One minute you’re feeling like a home improvement pro, the next you’re wrestling with crooked tiles and peeling corners.
If you’re thinking about trying this trendy trick, there are a few things you’ll want to know first. Trust me, a little insider advice can save you from turning your quick refresh into a regret-filled redo.
1. Skipping Surface Preparation
Rushing into application without proper wall prep is like building a house on sand. Your beautiful tiles won’t stick properly to dirty, uneven, or damp surfaces.
Take time to clean walls thoroughly with degreaser, especially in kitchen areas where cooking oils create invisible films. Fill holes, sand bumps, and ensure the surface is bone-dry before starting.
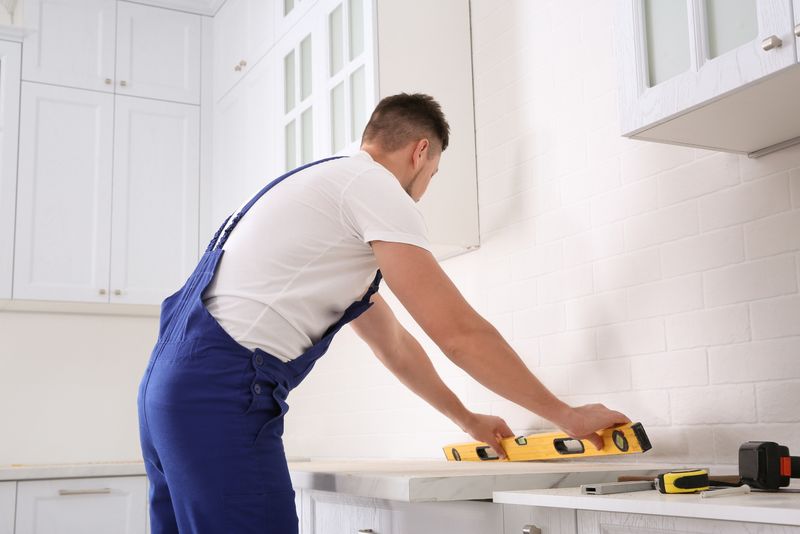
2. Measuring Once, Crying Twice

Eyeballing measurements might seem like a time-saver until you’re stuck with awkward gaps or insufficient materials. Nothing screams “amateur DIY” louder than misaligned tiles and visible seams.
Grab that measuring tape and double-check everything. Map out your entire project on paper first, accounting for outlets, corners, and appliances. This simple step prevents wasteful cutting mistakes.
3. Forgetting About Climate Control
Room temperature matters more than you think! If your space is too cold, the adhesive won’t bond properly to your wall. Too hot and humid? The tiles might stretch or warp before you’ve even finished the project.
Aim for a comfortable 70-75°F range during installation. Let your tiles acclimate in the room for at least 24 hours beforehand. Your patience will pay off with tiles that stay put for years.
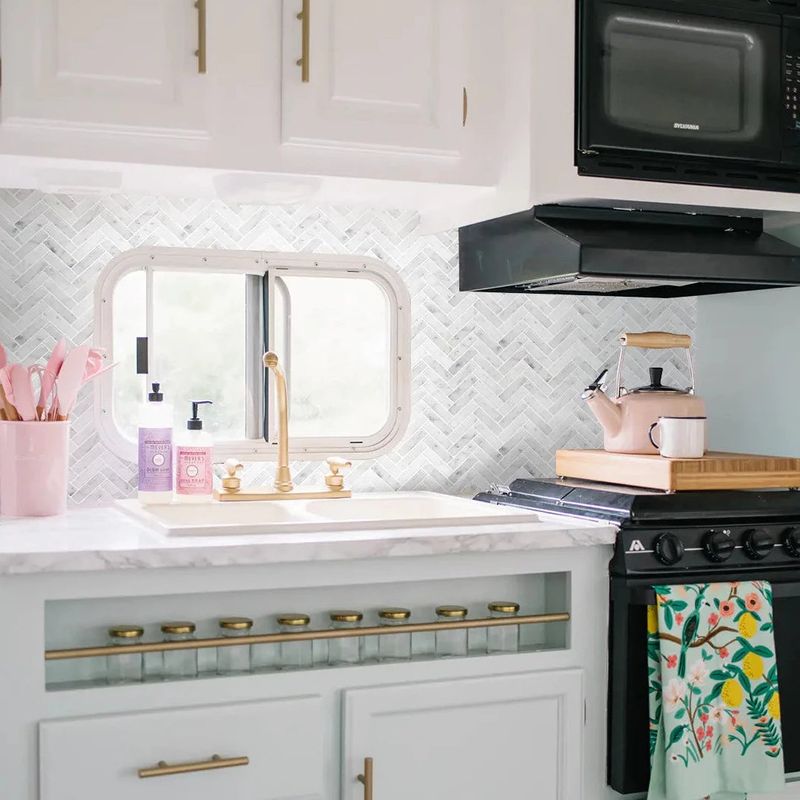
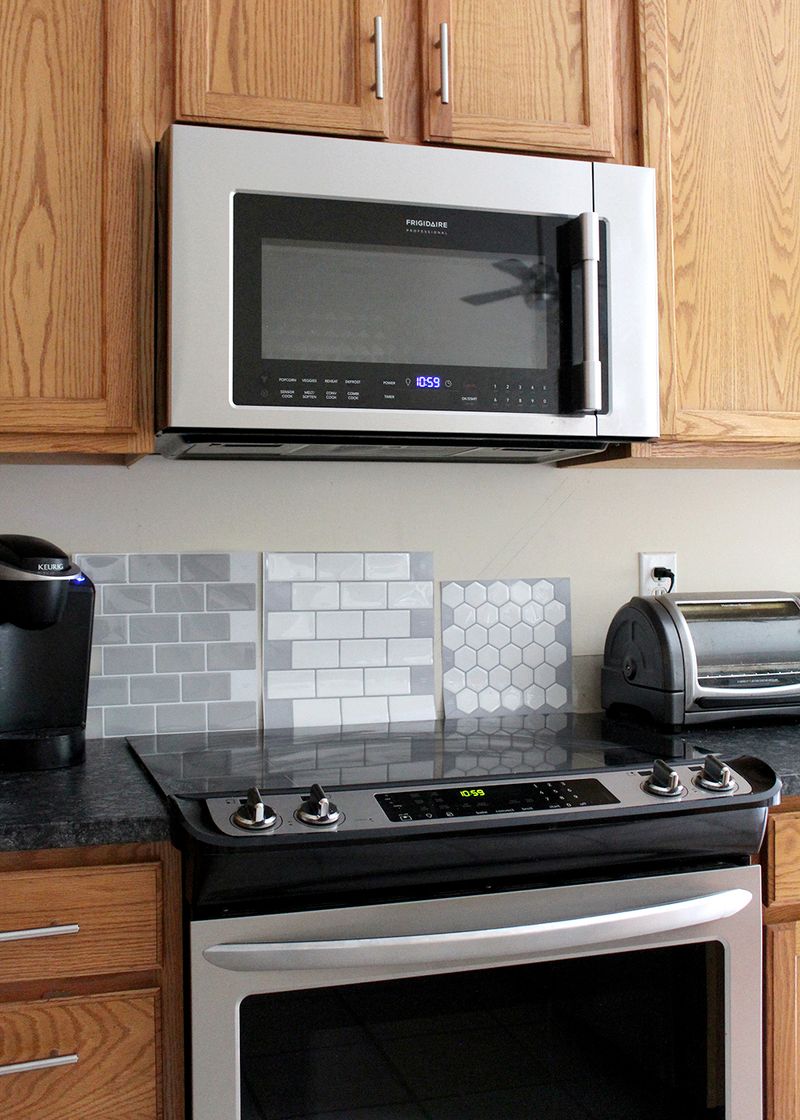
4. Choosing The Wrong Type For Your Space
Not all peel-and-stick products are created equal! Some vinyl options might curl when exposed to steam or heat from your stovetop.
Others might not be truly waterproof for bathroom applications. Match your material to your room’s conditions.
Look for heat-resistant options near cooking areas and fully waterproof varieties for splash zones. Read reviews from other DIYers who installed in similar spaces before committing.
5. Starting In The Wrong Spot
Jumping in without planning your starting point can lead to crooked lines that become more noticeable as you progress. Where you begin sets the foundation for your entire project.
For most spaces, start at the center of the main wall at eye level and work outward. This approach balances the pattern and ensures any odd-sized cuts end up in less noticeable corners.
Use a level to draw guide lines that keep everything straight.
6. Improper Cutting Techniques
Hacking at your tiles with dull scissors creates jagged edges that ruin the professional look you’re aiming for. Clean cuts make all the difference in the finished product.
Invest in a sharp utility knife and metal straightedge for vinyl tiles. For thicker options, sharp scissors work but cut slowly to avoid tears.
Always measure twice and cut once, making templates for tricky spots around outlets.
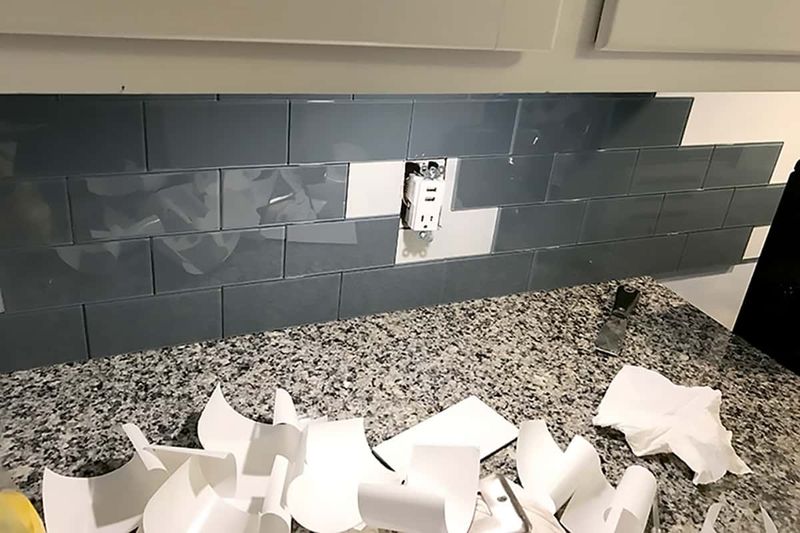
7. Ignoring Outlet And Switch Plates
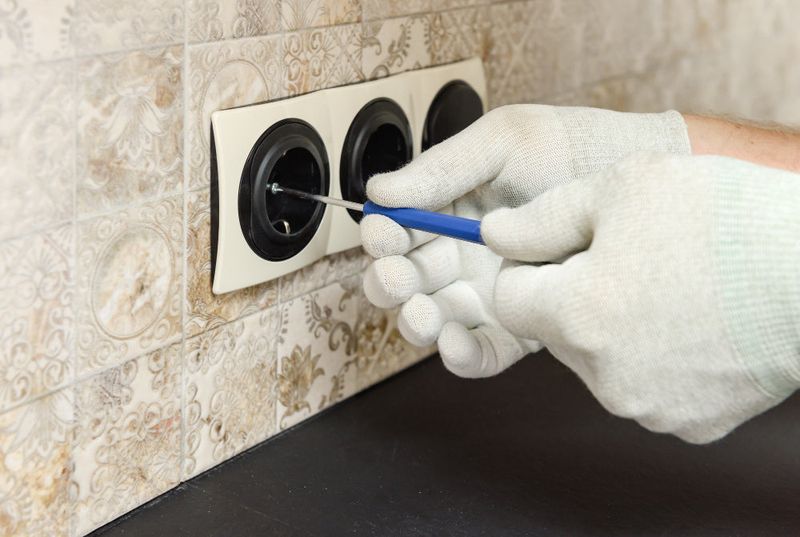
Sometimes folks forget to plan for electrical outlets until they’re staring at them mid-installation. Awkward cuts around these obstacles can make your project look sloppy.
Turn off power first! Remove cover plates completely before installing tiles. Cut tiles slightly smaller than the opening, then reinstall plates over the tiles for a clean finish.
This detail work separates professional-looking results from obvious DIY attempts.
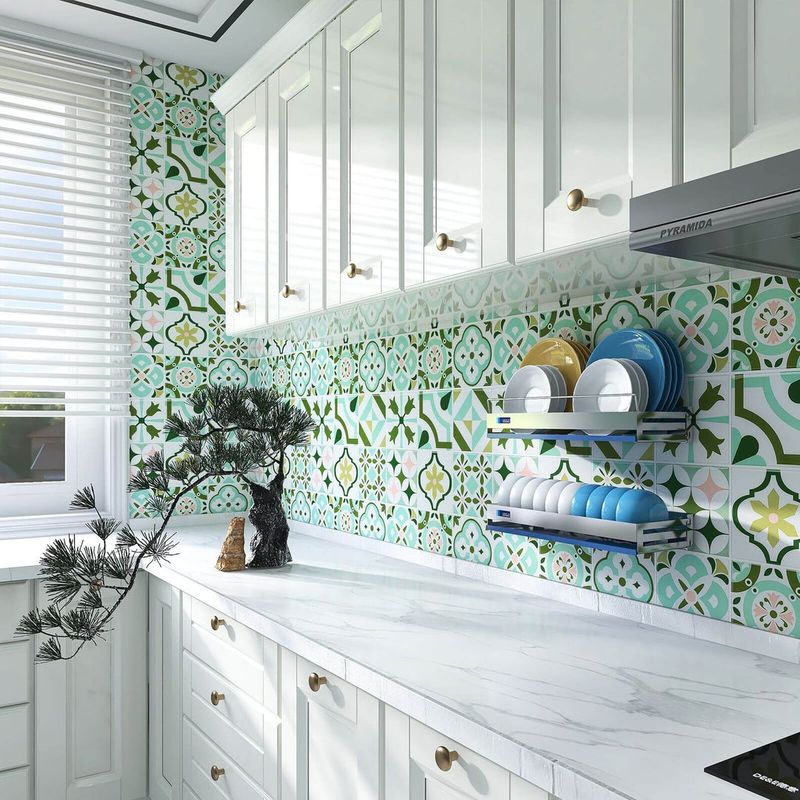
8. Mismatching Patterns At Seams
Pattern alignment mishaps stick out like a sore thumb, especially with geometric or repeating designs. Your eyes will be drawn to those mismatched lines every time you enter the room.
Before peeling anything, lay out your tiles in the exact order they’ll be installed. Match patterns carefully at each seam.
If working with tiles that imitate natural materials like marble, mix pieces from different sheets to avoid obvious repeats.
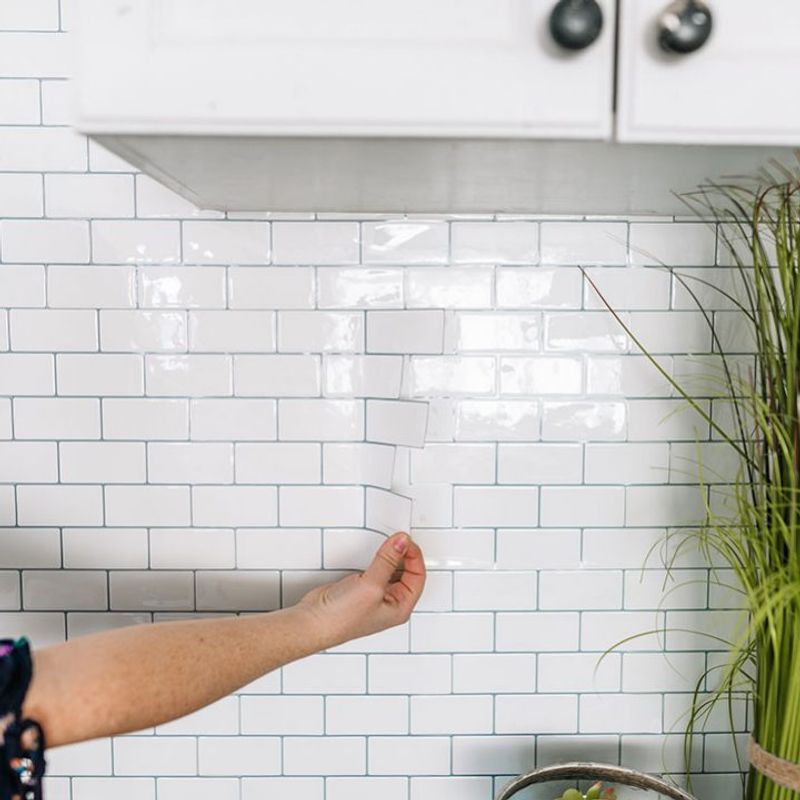
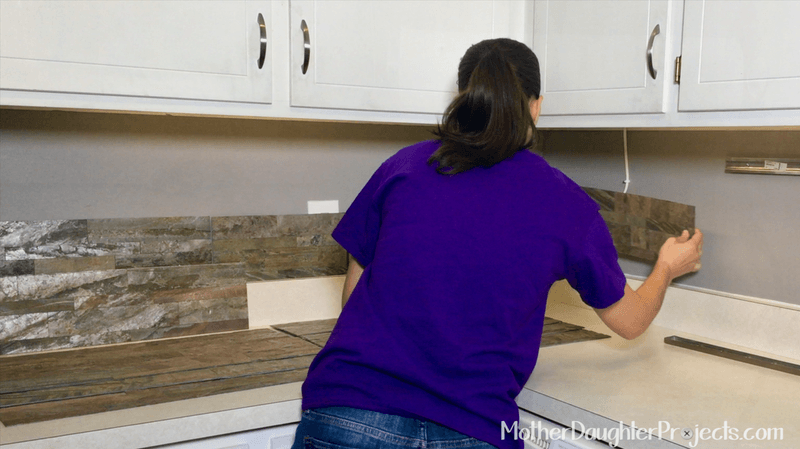
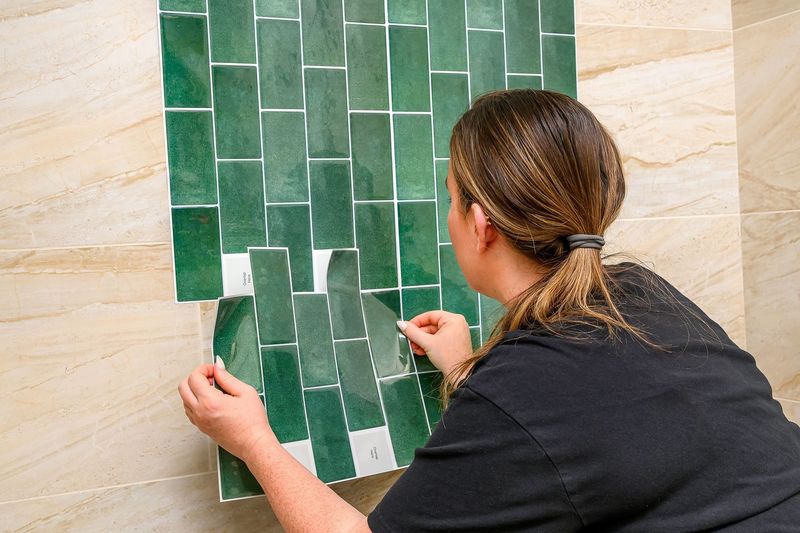
9. Rushing The Application Process
Speed-applying tiles leads to air bubbles, misalignment, and corners that won’t stick. What started as a simple project becomes a frustrating exercise in peeling and reapplying.
Work in small sections, carefully peeling back just a portion of the backing at first. Position the top edge, then gradually remove more backing while smoothing downward with a plastic card or squeegee.
This methodical approach prevents bubbles and ensures proper adhesion.
10. Overlooking Expansion Issues
Materials expand and contract with temperature changes, especially in kitchens where cooking creates heat fluctuations.
Tiles installed too tightly against countertops or walls may buckle when they expand. Leave a tiny gap (about 1/16 inch) between tiles and edges like countertops, cabinets, or corners.
This invisible breathing room allows for natural movement without visible warping. Small details like this prevent big headaches later.
11. Using Low-Quality Adhesives
Bargain-hunting might save a few dollars upfront but cost you when tiles start peeling within months. Not all adhesive backings are created equal, especially for humid or high-traffic areas.
Look for products with reviews mentioning long-term adhesion. If your wall surface is slightly textured, consider supplementing with additional adhesive designed for peel-and-stick products.
The small extra investment prevents the frustration of constantly pressing corners back into place.
12. Forgetting About Moisture Protection
Water is the enemy of any backsplash installation, especially behind sinks where splashes are constant. Even water-resistant products need proper sealing at edges to prevent moisture from sneaking behind.
Apply a thin bead of clear silicone caulk where your backsplash meets the countertop or sink. This invisible barrier keeps water from working its way underneath and compromising the adhesive.
Your future self will thank you for this simple preventative step.
13. Applying Over Textured Surfaces
Heavily textured walls are the arch-nemesis of peel-and-stick products. Those little bumps and grooves prevent full contact with the adhesive backing, creating weak spots that fail over time.
If your walls have orange peel texture or other irregularities, consider sanding smooth or applying a thin layer of drywall compound first.
Let it dry completely, sand until perfectly flat, then clean thoroughly before installation. This extra preparation step makes all the difference.
14. Inadequate Corner Treatment
Corners present unique challenges that can make or break your backsplash project. Forcing a single tile to bend around corners creates stress points that eventually fail and peel away.
Instead, cut tiles precisely at corners and overlap slightly for a clean transition. For inside corners, overlap the second piece about 1/8 inch over the first.
Outside corners might require special edge trim pieces for a professional finish that won’t catch on clothing or towels.
15. Ignoring The Lighting Factor
Under-cabinet lighting can transform how your backsplash looks, but it also exposes every installation flaw. Shadows highlight uneven surfaces and seams between tiles in ways overhead lighting doesn’t.
Test your lighting before and during installation. Apply tiles with lighting turned on to spot potential problem areas. For metallic or glossy finishes, be especially careful as they reflect light dramatically.
What looks perfect in daylight might show every fingerprint under LED strips.
16. Improper Cleaning After Installation
Grabbing harsh chemical cleaners right after installation can damage your new backsplash before it’s fully bonded. Some cleaners contain solvents that weaken adhesives or discolor surfaces.
Wait at least 72 hours before cleaning your new backsplash. Even then, stick to mild soap and water for the first few weeks.
Check manufacturer recommendations for long-term care. Gentle maintenance preserves both appearance and adhesion for years to come.
17. Expecting Perfection Without Practice
Jumping into a full kitchen backsplash without any experience often leads to visible mistakes. Your skills improve as you go, but by then, the most visible areas are already done!
Try a small project first, like a laundry room or bathroom accent wall. This practice run builds confidence and technique before tackling more visible spaces.
You can also start with less visible sections of your kitchen to perfect your method before moving to prominent areas.