8 HGTV Renovation Tricks That Only Work On TV And Never In Real Homes (And 8 That Actually Work In Real Life)
HGTV makes home renovations look like a breeze – fast timelines, flawless finishes, and jaw-dropping reveals. But behind the glossy edits and perfect lighting, not everything translates to real life.
Some of the tricks that look genius on screen can lead to frustration, overspending, or disappointment in actual homes. That said, there are still plenty of on-screen ideas that do hold up in reality.
Here are 8 renovation tricks that only work on TV – and 8 that real-life homeowners can actually count on.
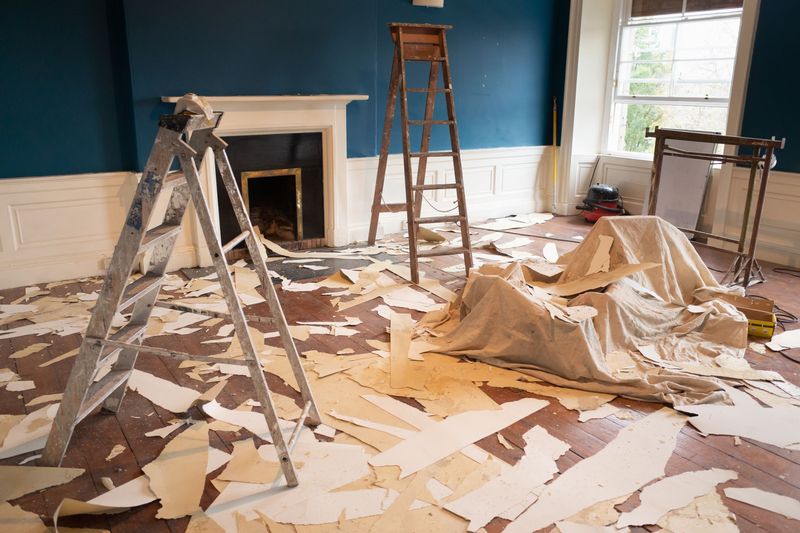
1. Demolition Day Deception

Ever noticed how TV hosts gleefully smash walls while wearing cute outfits and barely breaking a sweat? In reality, demolition is a dusty, exhausting nightmare that takes days, not minutes.
Your stylish clothes would be ruined instantly by the thick cloud of decades-old dust that coats everything within a 50-foot radius. And those satisfying sledgehammer swings? They often lead to accidental damage of plumbing, electrical, or structural elements that weren’t in the budget to fix.
2. The Magical Three-Day Timeline
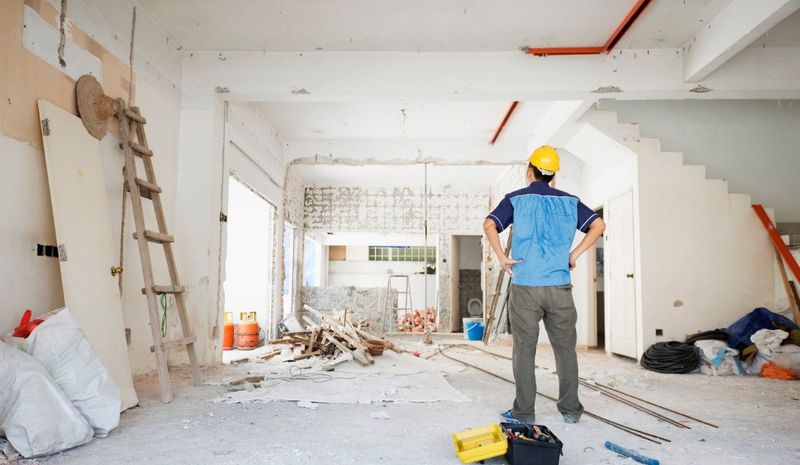
“We’ll have this kitchen finished by the weekend!” claims the chipper host. Meanwhile, real-life kitchen renovations typically take 4-8 weeks minimum, not counting unexpected delays.
Permits alone can take weeks to obtain, and scheduling contractors requires the patience of a saint.
Remember that custom cabinet order? It’s now delayed by three months due to supply chain issues. And your plumber just discovered your home’s ancient pipes need a complete overhaul before anything new can be installed.
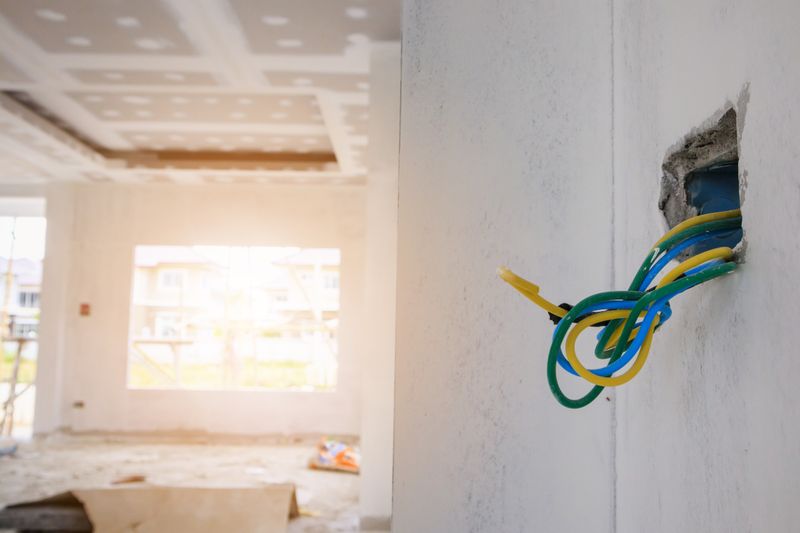
3. Budget-Busting Surprises That Vanish
What sorcery allows TV renovators to discover asbestos, faulty wiring, or structural damage and still finish on budget? The network’s deep pockets, that’s what!
When you uncover knob-and-tube wiring behind your walls, there’s no commercial break after which the problem magically disappears. Instead, you’re facing thousands in unexpected costs that weren’t part of your carefully planned budget.
4. Overnight Custom Cabinetry

Watching designers sketch custom built-ins that appear fully constructed the next day feels like witnessing woodworking wizardry. If only reality worked that way!
Custom cabinetry typically takes 8-12 weeks from design approval to installation—and that’s if you’re lucky. Skilled cabinet makers are booked months in advance and rightfully charge premium prices for their craftsmanship.
5. The Disappearing Permit Process
Has any HGTV host ever spent an episode waiting in line at the building department? Of course not! That bureaucratic nightmare doesn’t make for exciting television.
In actual renovations, permits can be the most time-consuming, frustrating part of the entire process. Many municipalities require multiple inspections at different stages, each potentially causing days or weeks of delays.
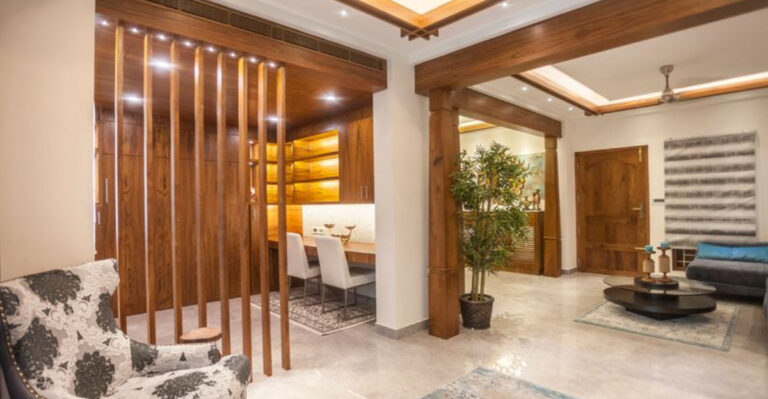
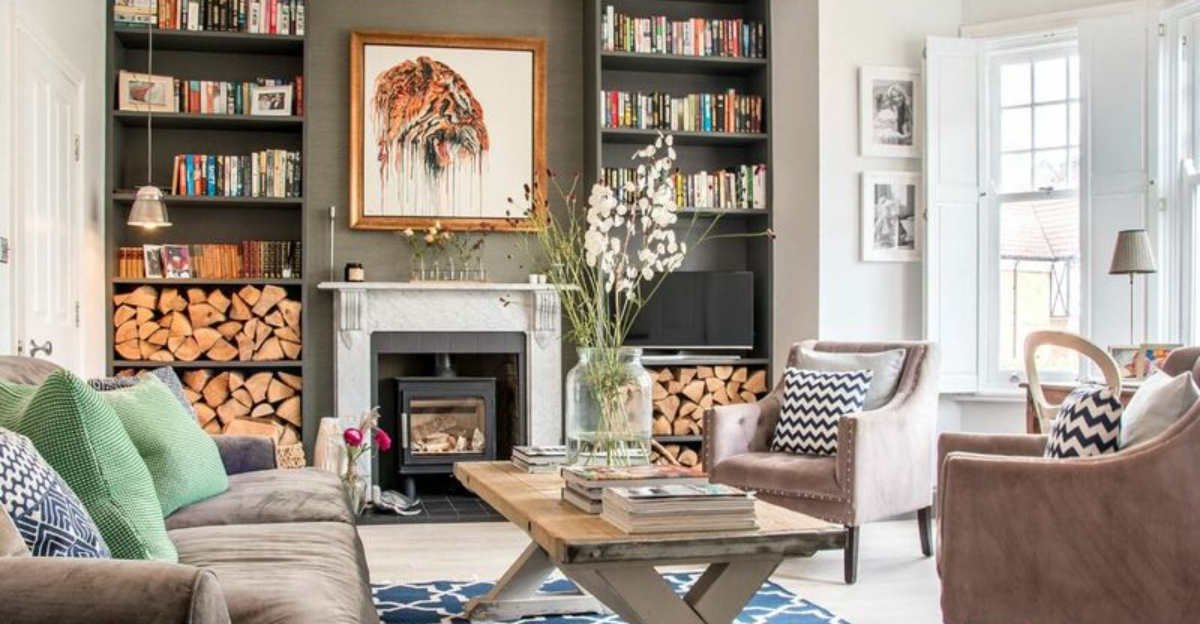
6. Perfectly Preserved Original Features
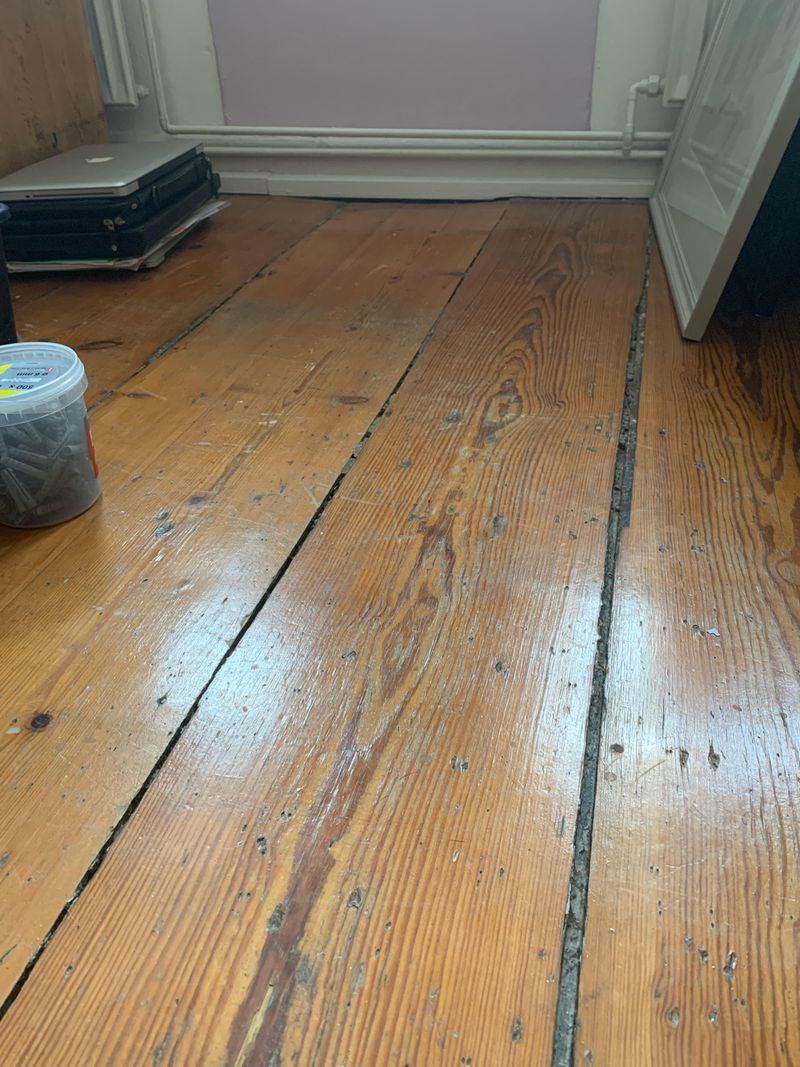
“Look at these gorgeous original hardwood floors we uncovered!” the host exclaims while pulling back carpet to reveal pristine century-old oak. If you’ve tried this at home, you likely found damaged, cupped, or partially missing floors instead.
The reality of preserving original elements often involves specialized contractors, significant expense, and sometimes the heartbreaking decision to replace rather than restore when damage is too extensive.
7. The One-Person Renovation Crew

Who needs professionals when the host can apparently handle everything from plumbing to tiling to electrical work single-handedly? In the real world, this approach would be disastrous.
Most jurisdictions require licensed professionals for electrical, plumbing, and structural work—for good reason. DIY enthusiasts quickly learn that specialized trades require years of training and experience.
8. The Flawless Finishing Touch
Those stunning styling accessories that perfectly complete the renovation? They’re borrowed from a prop warehouse and returned after filming wraps. The homeowners aren’t keeping that $5,000 worth of art and decor.
Real home styling happens gradually as budgets recover from the actual renovation costs. Many homeowners move back into spaces that are technically finished but still feel bare for months.
1. Strategic Paint Color Zoning
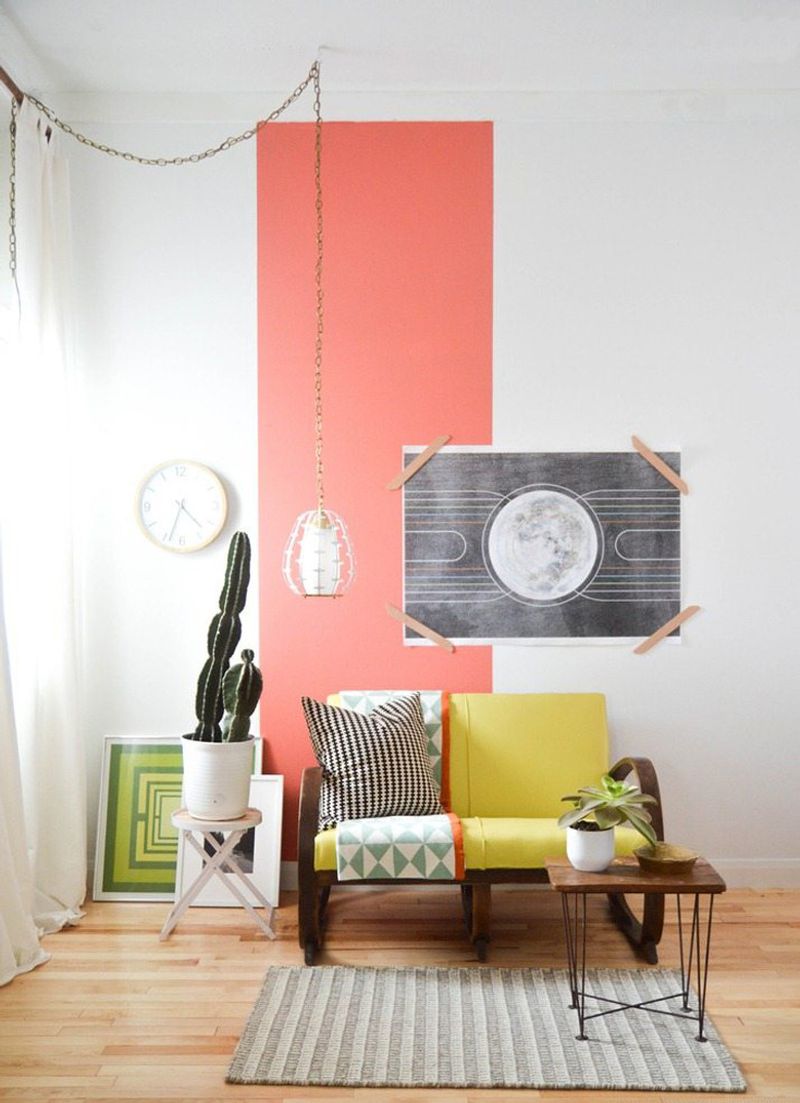
Color blocking isn’t just for fashion! Painting different zones of a room in complementary colors creates visual interest without major construction. The technique works wonders in open floor plans where you need to define spaces.
Professional designers on HGTV often use this trick to make small rooms appear larger or to highlight architectural features. A darker accent wall can make a room feel cozier, while a lighter ceiling creates the illusion of height.
2. Removable Wallpaper Revolution
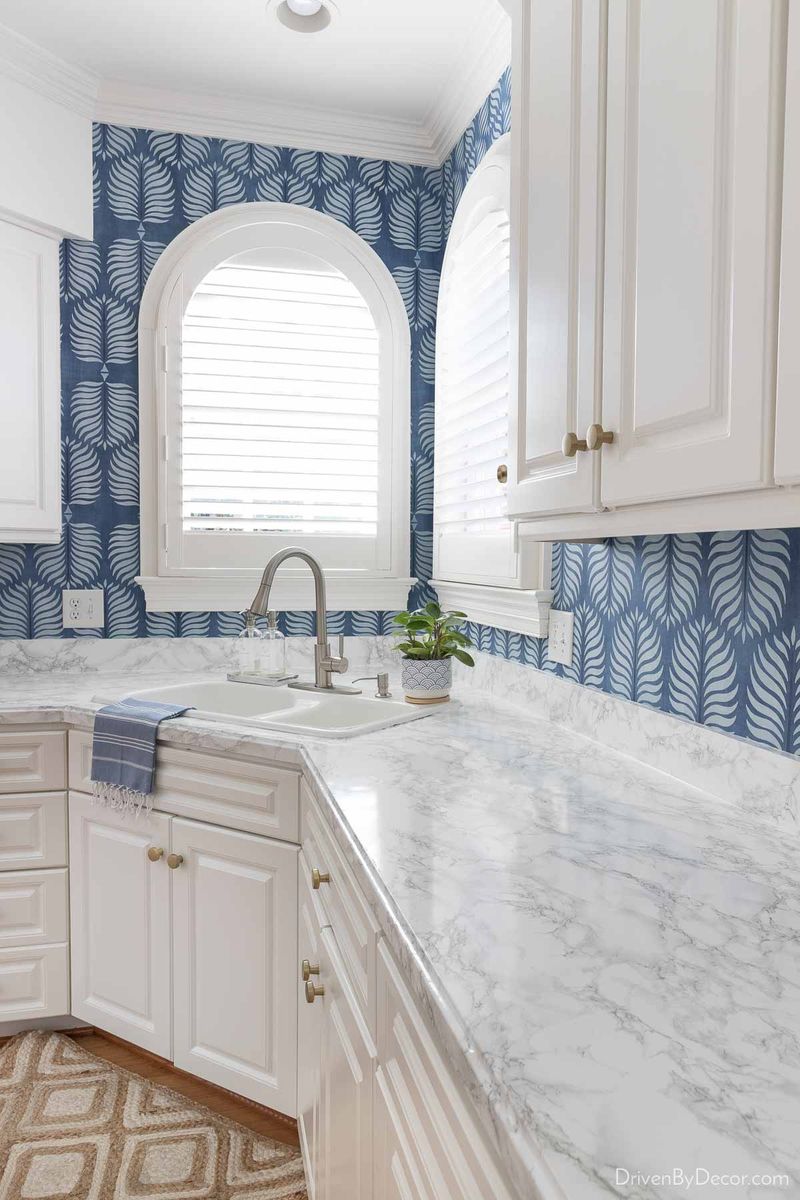
Renter-friendly and commitment-phobic renovators rejoice! Peel-and-stick wallpaper has evolved beyond childish patterns into sophisticated designs that mimic expensive treatments. HGTV designers regularly showcase these temporary transformations that deliver maximum visual impact.
The installation requires minimal tools—just a utility knife, level, and smoothing tool—making it accessible for DIY beginners while delivering professional-looking results.
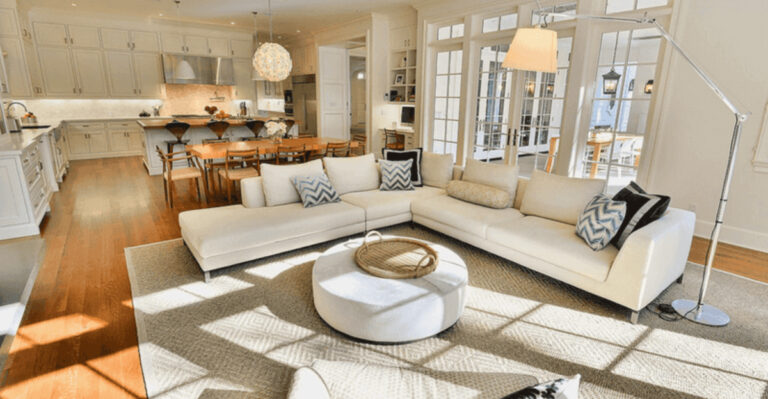
3. Floating Furniture Arrangements
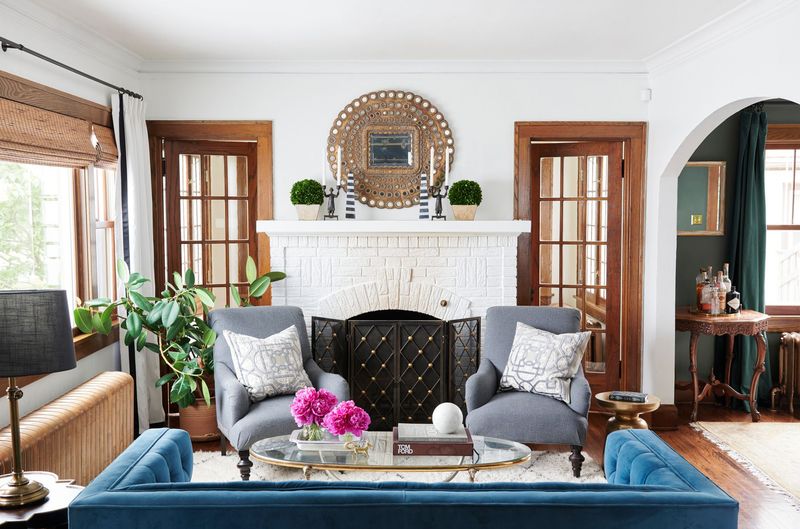
Pushing all furniture against walls is a rookie mistake! HGTV designers consistently demonstrate how floating furniture creates conversation areas and improves flow. This zero-cost technique instantly transforms spaces without purchasing a single new item.
This approach works in rooms of all sizes—even small spaces benefit from strategic floating pieces that create pathways and prevent that cramped, crowded feeling.
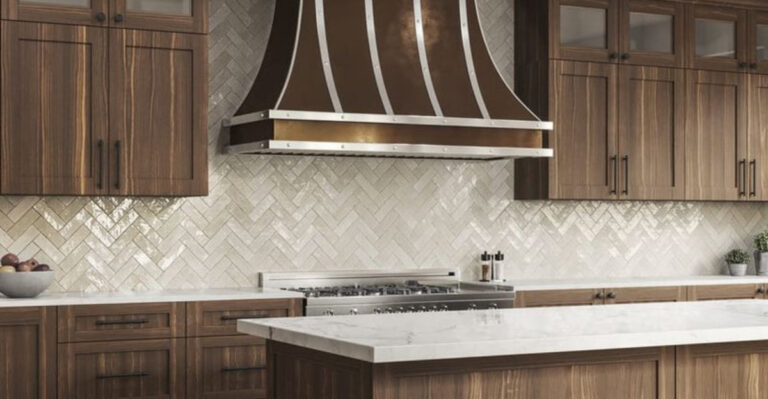
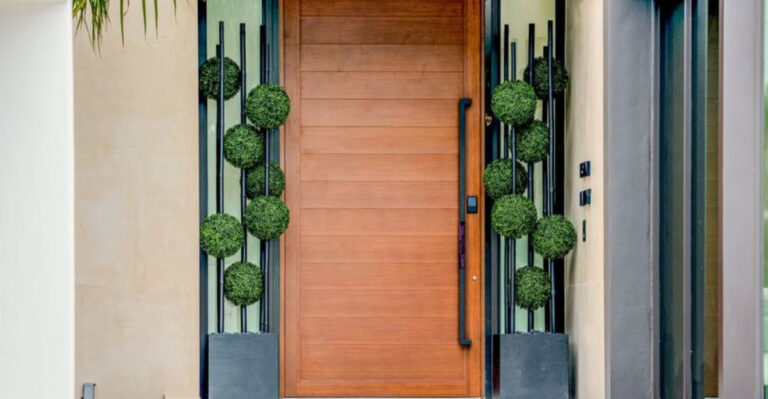
4. Unconventional Cabinet Hardware Swap
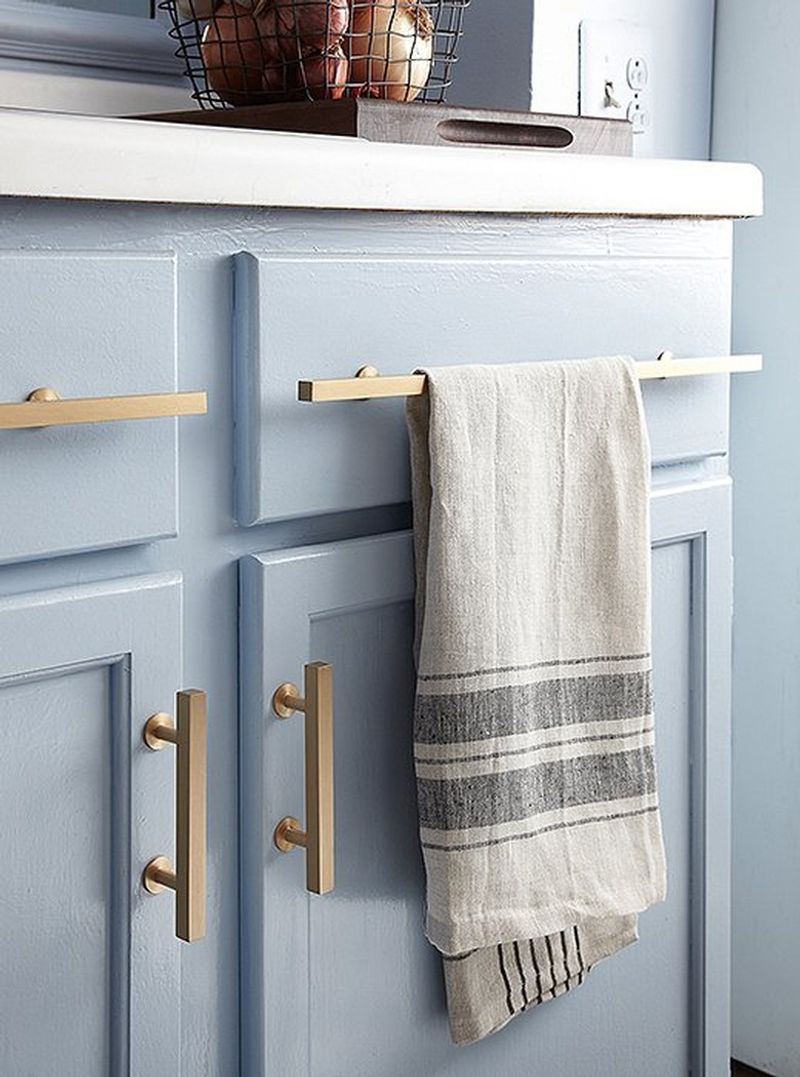
Cabinet pulls and knobs are the jewelry of your kitchen or bathroom! HGTV renovators frequently showcase how swapping standard hardware for unexpected materials creates custom character. Vintage doorknobs, industrial pipe fittings, or even leather straps can transform builder-grade cabinets.
The trick lies in consistency—using the same unique hardware throughout creates cohesion. For maximum impact, choose hardware that contrasts with your cabinet color: black hardware pops against white cabinets, while brass warms up gray or blue cabinetry.
5. Strategic Mirror Placement Magic
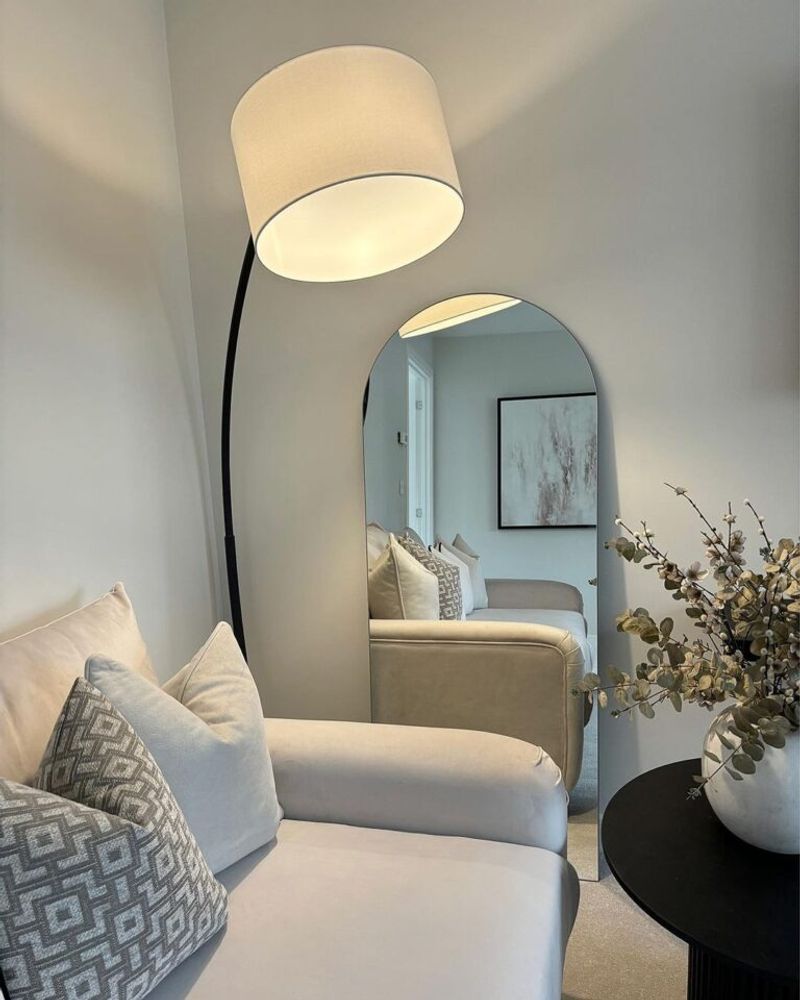
Mirrors aren’t just for checking your reflection! HGTV designers strategically position mirrors to amplify light, create visual space, and highlight architectural features. A mirror placed opposite a window captures natural light and bounces it throughout the room.
Floor-to-ceiling mirrors behind furniture pieces create the illusion of doubled square footage. The trick works because our brains process reflected spaces as additional room.
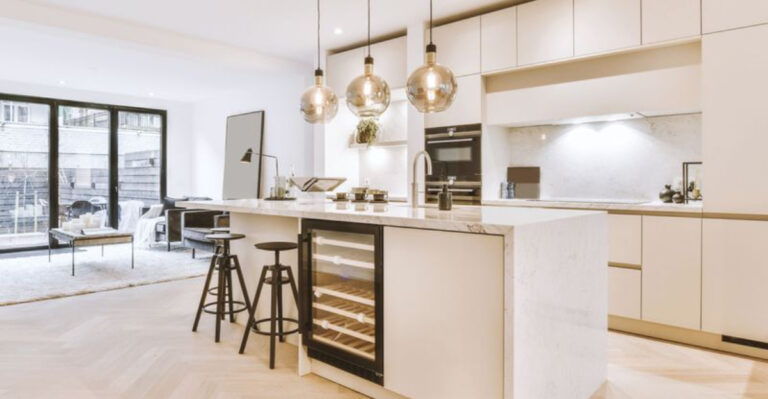
6. Concrete Countertop Overlay System
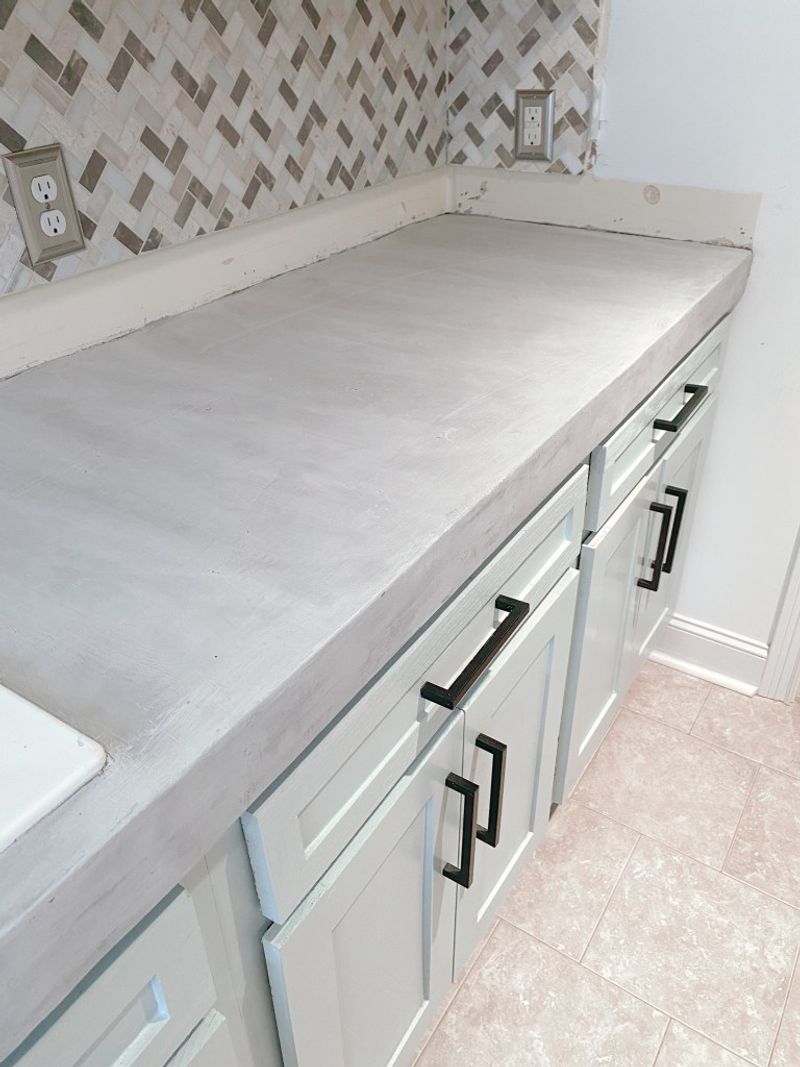
Laminate countertops looking tired? HGTV renovation shows have popularized concrete overlay systems that transform existing countertops without demolition. Unlike full concrete counters weighing hundreds of pounds, these thin-application products bond to existing surfaces.
The magic happens through specialized polymer-modified concrete products applied in thin layers. Homeowners can customize colors with integral pigments and even embed objects like glass fragments for one-of-a-kind results.
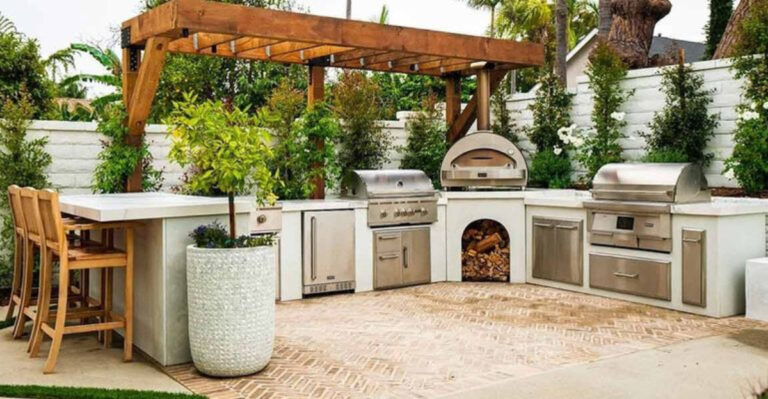
7. Landscape Lighting Layering
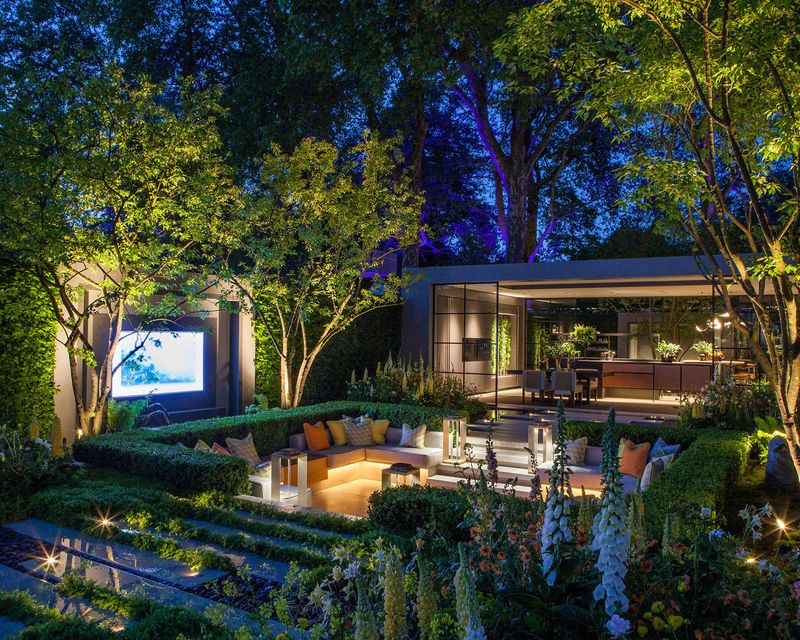
Outdoor spaces transform dramatically after dark with strategic lighting! HGTV landscape experts demonstrate how layering different light sources creates resort-like ambiance without professional installation.
The secret lies in considering three lighting types: ambient (overall illumination), task (functional light for cooking/dining), and accent (highlighting features). Battery-operated or solar fixtures eliminate complex wiring while still creating professional results.
8. Limewash Brick Treatment
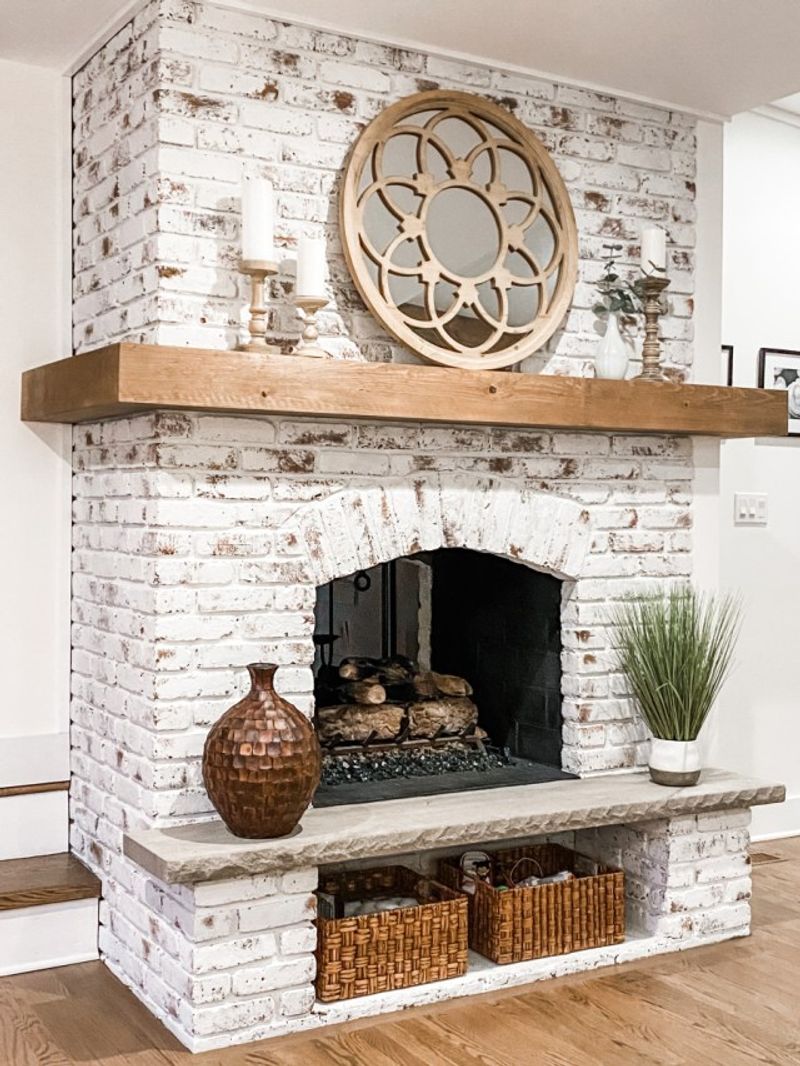
Dated brick fireplaces or exteriors get instant character with limewash! Unlike paint that sits on the surface, this centuries-old technique penetrates brick while allowing its texture to remain visible. HGTV designers showcase this European-inspired finish for instant old-world charm.
Limewash creates a soft, mottled appearance that ages beautifully over time. The application process involves dampening the brick first, then applying the mineral-based coating with a masonry brush in a random, inconsistent pattern.