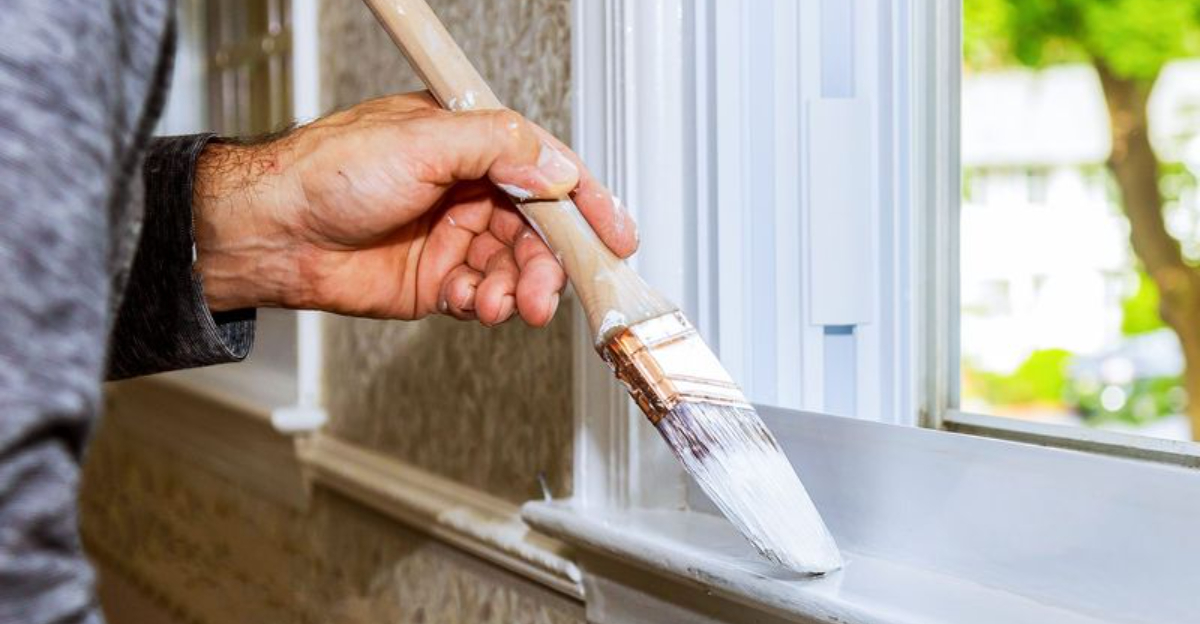
15 Pro Tips for How To Paint Trim
Painting trim can transform any room from ordinary to outstanding, giving your home that polished, finished look professionals achieve.
Fresh, crisp trim frames your walls and makes even older rooms feel updated and clean. Whether you’re tackling baseboards, window frames, or crown molding, these expert techniques will help you get professional-quality results without the professional price tag.
1. Choose Premium Paint for Lasting Results
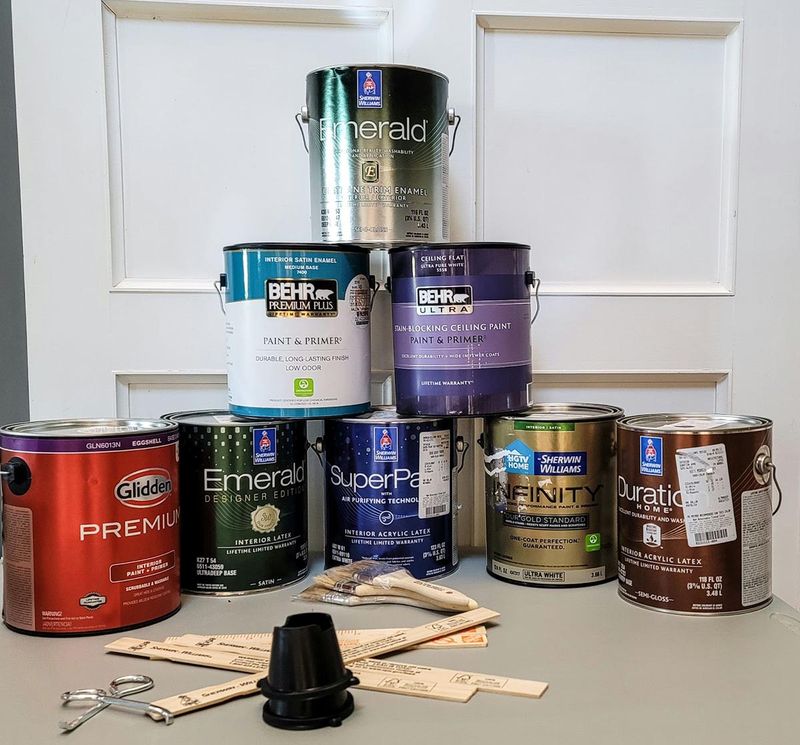
Skip the bargain brands when painting trim! High-quality paint provides better coverage, flows more smoothly, and creates a harder, more durable finish that stands up to cleaning.
Look for paints specifically formulated for trim with labels like “door and trim” or “cabinet and trim.” Semi-gloss or satin finishes are ideal since they resist scuffs and wipe clean easily.
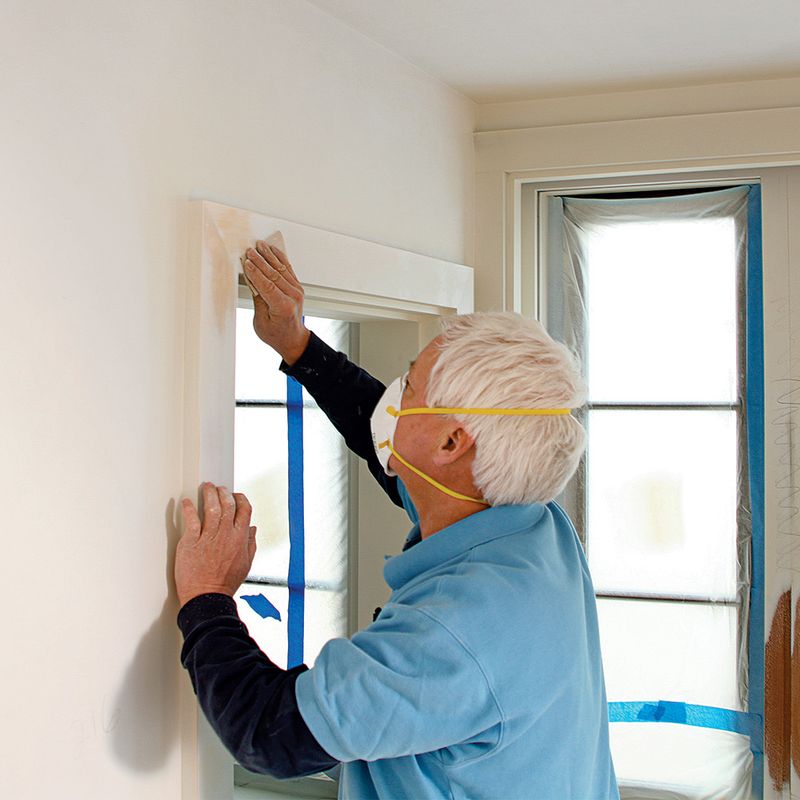
2. Sand Before You Start
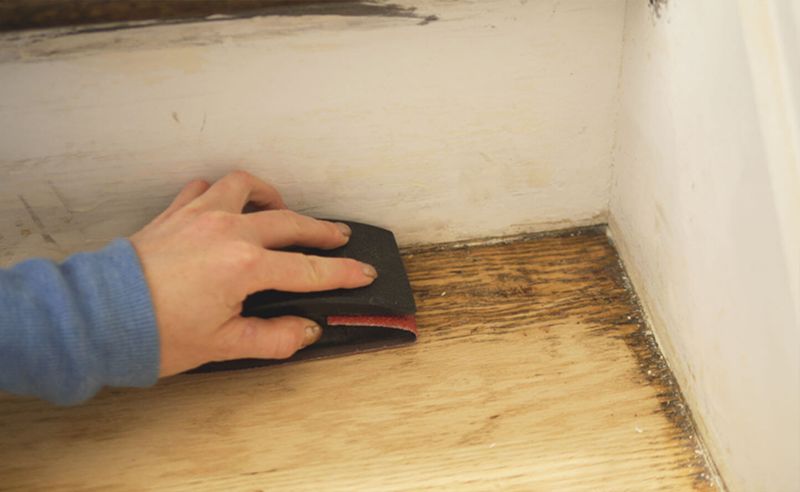
Grab some 120-grit sandpaper and give your trim a quick once-over before painting. Sanding creates tiny scratches that help paint grip better and removes old drips or imperfections.
For previously painted trim, a light sanding breaks the glossy surface. After sanding, wipe everything down with a damp cloth to remove dust particles that would otherwise show in your fresh paint.
3. Clean Thoroughly for Perfect Adhesion
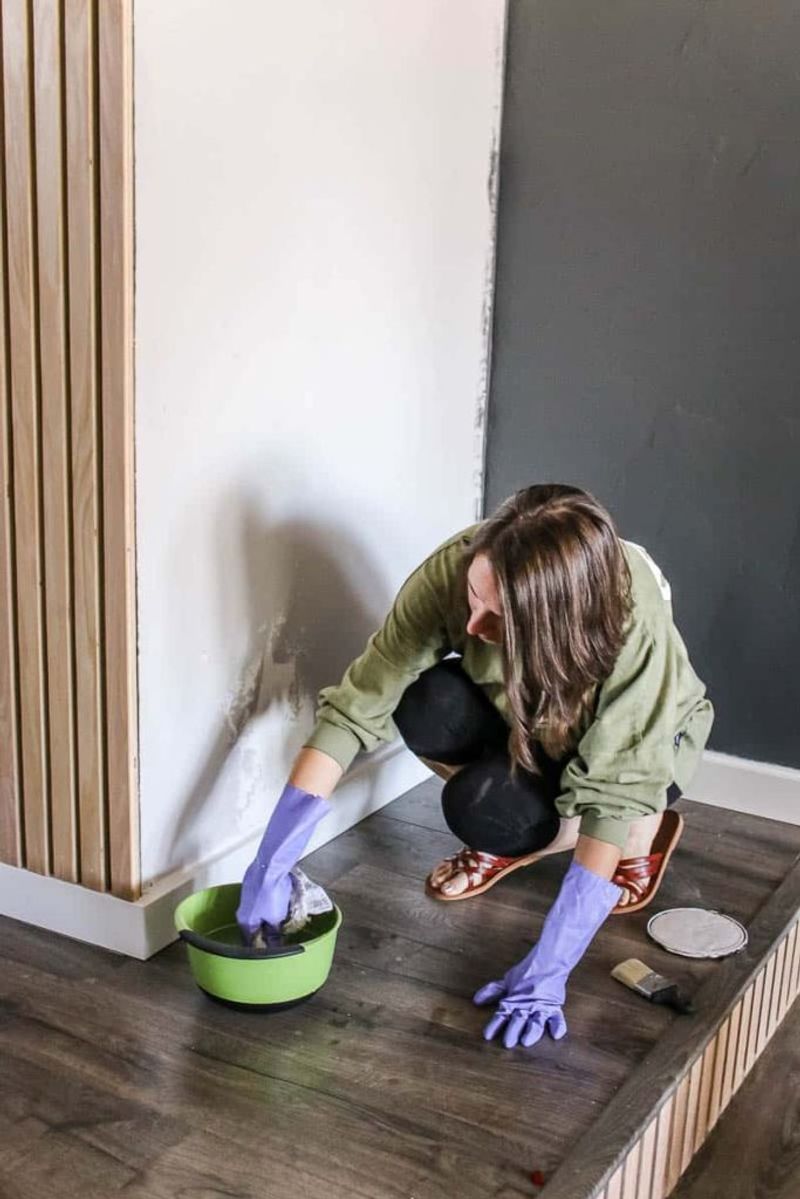
Years of fingerprints, dust, and grime create a barrier between paint and trim. Mix warm water with a little dish soap and wipe down all surfaces with a clean sponge.
For grimier areas, TSP (trisodium phosphate) works wonders but requires gloves. After cleaning, rinse with clear water to remove soap residue and let everything dry completely before moving forward.
4. Fill Holes and Gaps First
Nail holes, cracks, and gaps make trim look shabby, even with fresh paint. Fill these imperfections with wood filler or spackling compound using a flexible putty knife.
Allow the filler to dry completely according to package instructions. Once dry, sand these spots flush with the surrounding surface for an invisible repair. Small detail work here makes a massive difference in your final result.
5. Invest in Quality Brushes
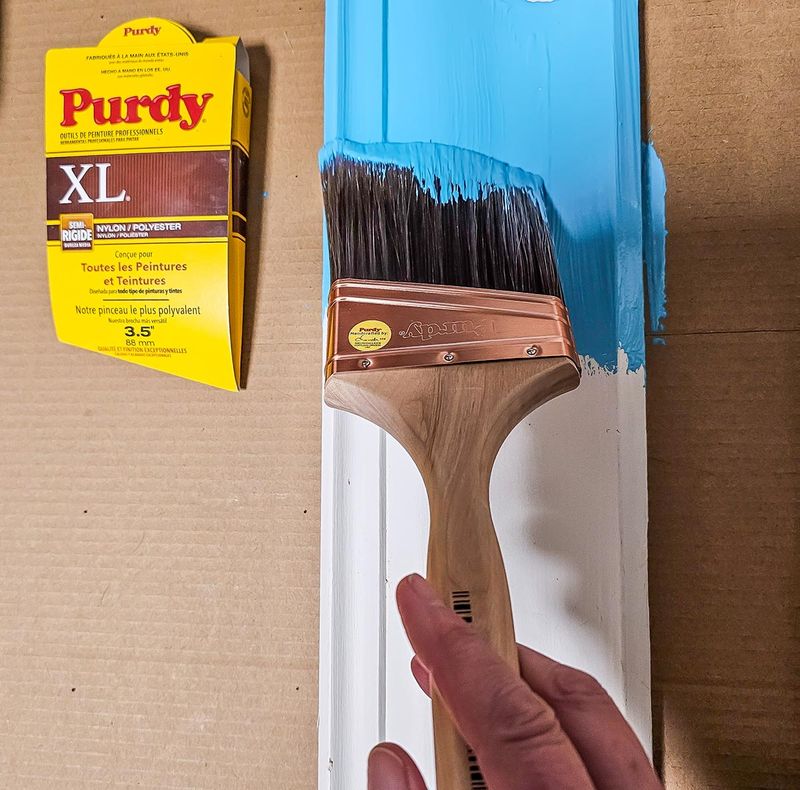
A $2 brush will never give you $20 results. Purchase a quality 2-inch angled sash brush with synthetic bristles – it’s worth every penny for the smooth finish it creates.
Quality brushes hold more paint, release it evenly, and don’t shed bristles into your wet paint. They also create cleaner lines where trim meets walls. After use, clean your brush thoroughly with appropriate solvent for longer life.
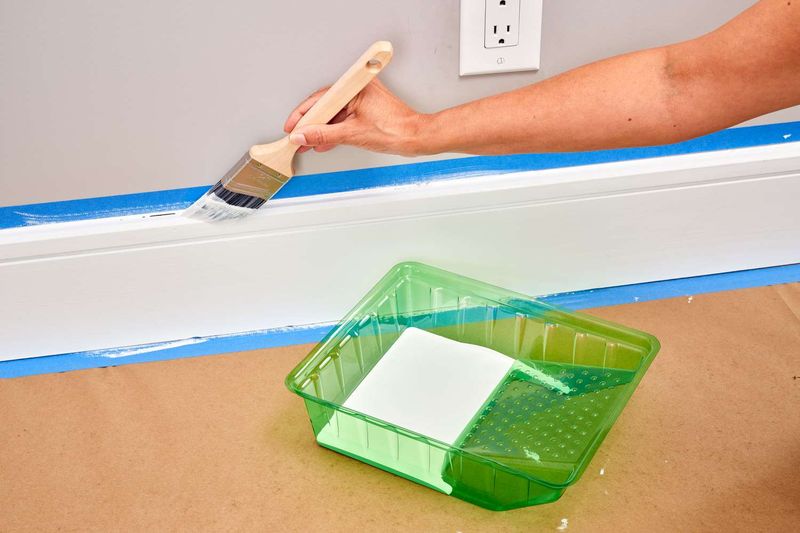
6. Master the Art of Painter’s Tape
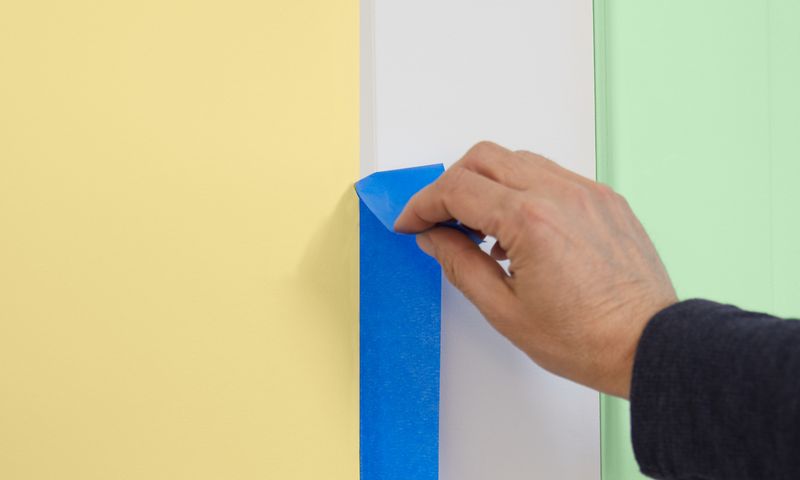
Not all painter’s tape is created equal! Look for tape labeled “edge lock” or “clean release” for the sharpest lines. Press down firmly along all edges using a plastic putty knife to prevent bleeding.
Apply tape to adjacent surfaces, not on the trim itself. Remove tape while paint is still slightly damp (about an hour after painting) by pulling at a 45-degree angle away from the painted edge.
7. Prime for Perfect Coverage
Primer isn’t just for new wood! It provides a uniform base for your paint, seals porous surfaces, and blocks stains from bleeding through. For previously painted trim, spot-prime any bare wood or filled areas.
When changing trim color dramatically (especially going from dark to light), a full coat of primer saves you additional coats of expensive paint. Allow primer to dry completely before applying your finish coat.
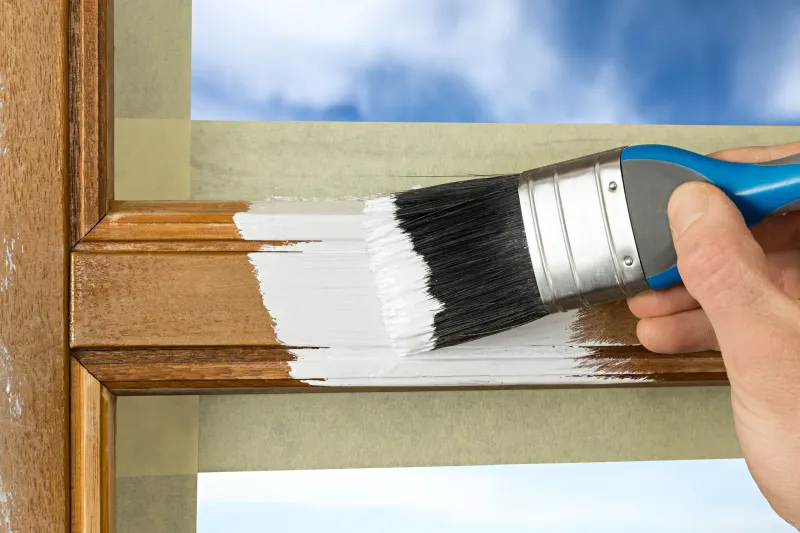
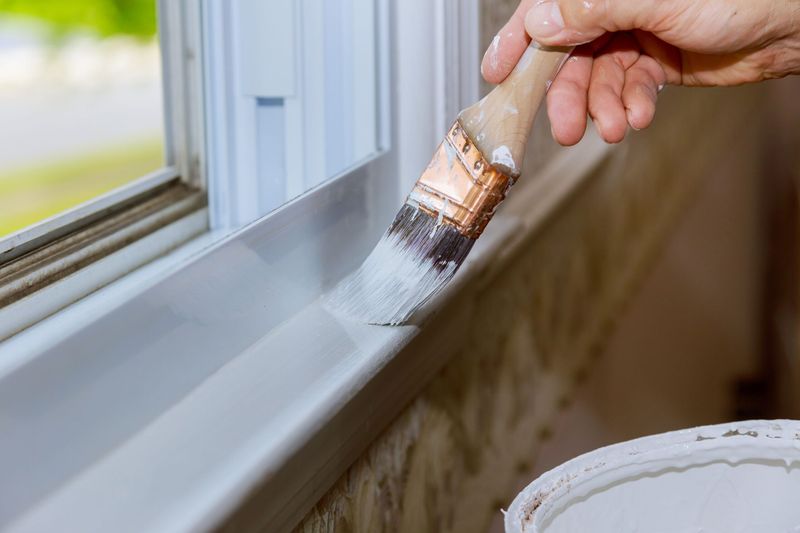
8. Brush in the Right Direction
Always paint in the direction of the wood grain for the smoothest finish. Long, steady strokes distribute paint more evenly than short, choppy ones.
For vertical trim pieces, paint top to bottom. For horizontal pieces, paint left to right (if right-handed) or right to left (if left-handed). Avoid stopping mid-piece – complete each section in one go to prevent visible start/stop marks.
9. Load Your Brush Properly
Dipping your brush halfway into the paint is asking for drips and messes. Instead, dip just the first third of the bristles into your paint.
Tap (don’t wipe) the brush against the side of the container to remove excess. A properly loaded brush holds enough paint for smooth application without dripping. You’ll work cleaner and faster with this simple technique.
10. Paint in the Right Order
Professional painters follow a specific sequence: crown molding first, then casings (windows/doors), baseboards last. This order prevents accidental smudges on freshly painted surfaces.
When painting individual trim pieces, start with the inside edges and recessed areas before moving to flat, visible surfaces. Finishing with long strokes along the most visible face creates the smoothest appearance and minimizes brush marks.
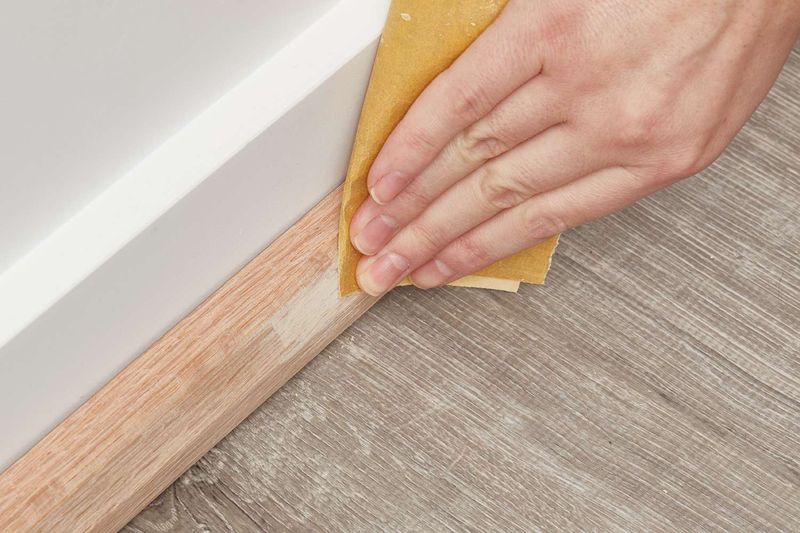
11. The Two-Coat Technique

One coat rarely cuts it for trim, even with paint-and-primer products. Apply a first coat, focusing on coverage rather than perfection. Allow it to dry completely according to the paint manufacturer’s instructions.
Lightly sand between coats with fine-grit sandpaper (220 or higher) to remove any dust nibs or brush marks. Wipe clean before applying your second coat, which should focus on smooth, even application.
12. Caulk for a Seamless Look
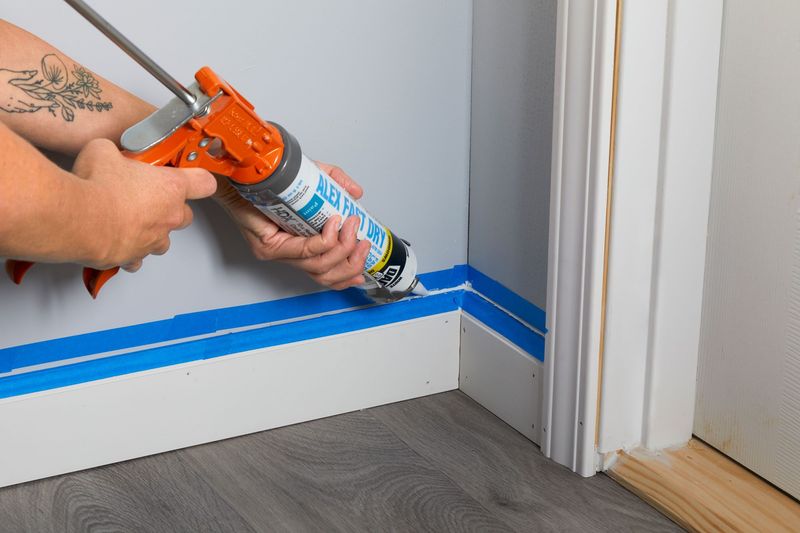
Gaps between trim and walls scream “amateur job!” Fill these spaces with paintable caulk for a seamless, professional finish. Cut the caulk tube tip at an angle, creating a small opening.
Apply a thin bead along the gap, then immediately smooth it with a damp finger or caulk tool. Remove excess with a damp cloth before it dries. Allow caulk to dry completely before painting over it.
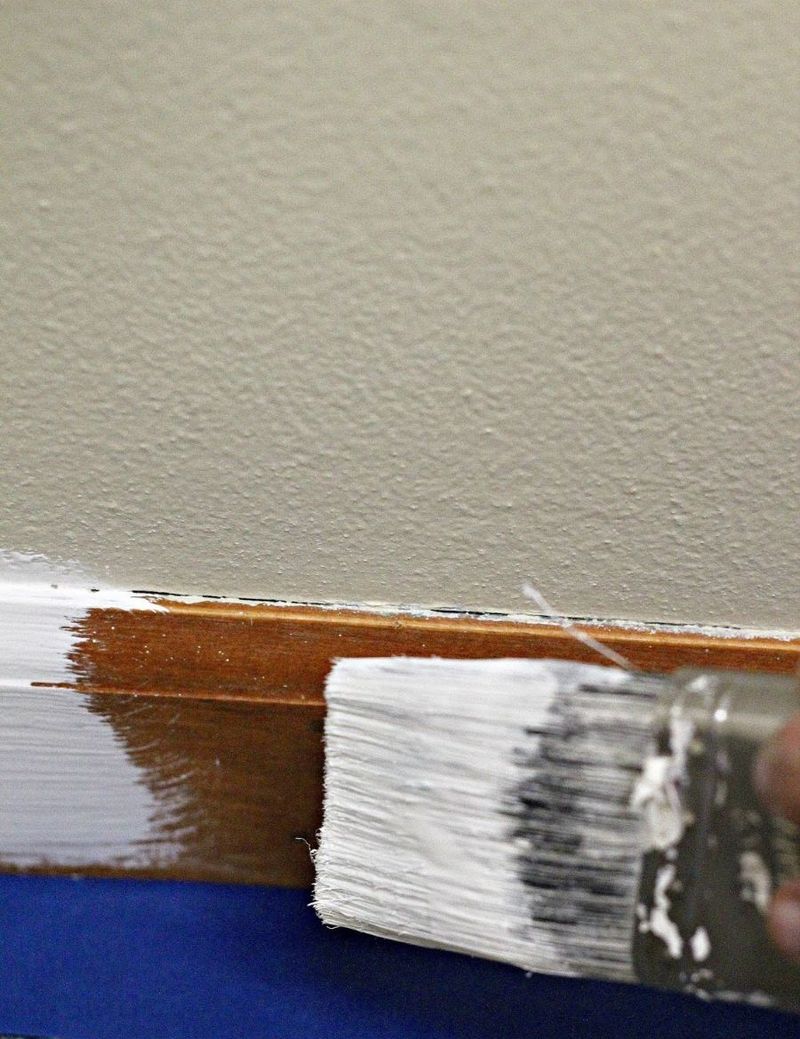
13. Keep a Wet Edge
Paint dries quickly on trim, especially in warm or dry conditions. Maintain a “wet edge” by working in sections small enough that you can complete them before the beginning starts to dry.
Overlap each stroke slightly with the previous one while the paint is still wet. Working too slowly or returning to touch up partially dried areas creates visible lap marks and an uneven finish.
14. Use Paint Conditioner for Smooth Results
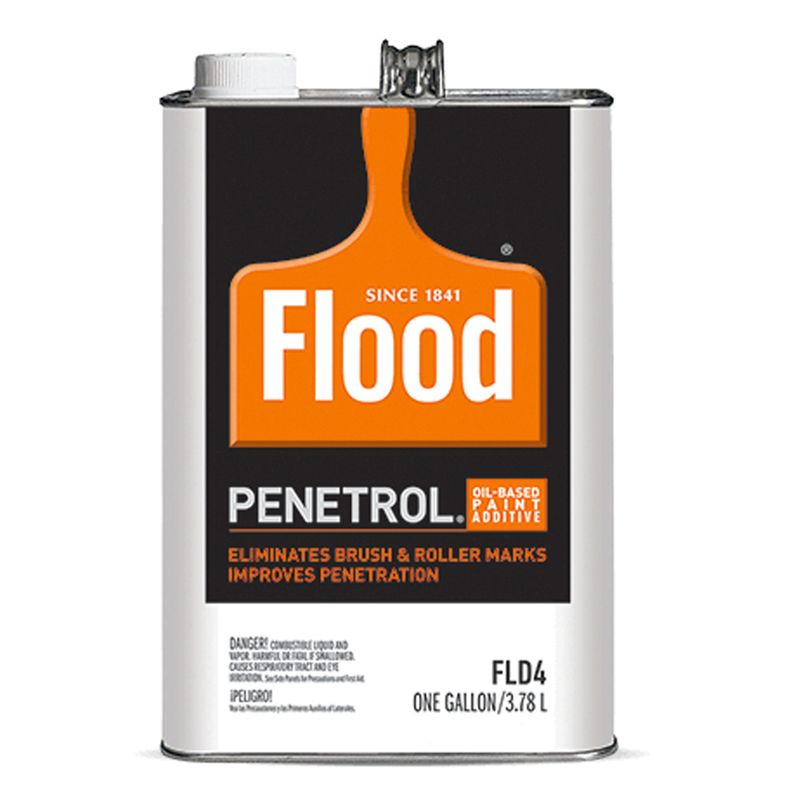
Brush marks ruining your finish? Add a paint conditioner like Floetrol (for water-based paints) or Penetrol (for oil-based) to your paint. Follow package directions for the correct amount.
Paint conditioners slow drying time, allowing brush marks to level out naturally. They’re especially helpful in hot or dry conditions when paint dries too quickly. You’ll get a smoother, more professional-looking finish with minimal effort.
15. Store Leftover Paint Properly
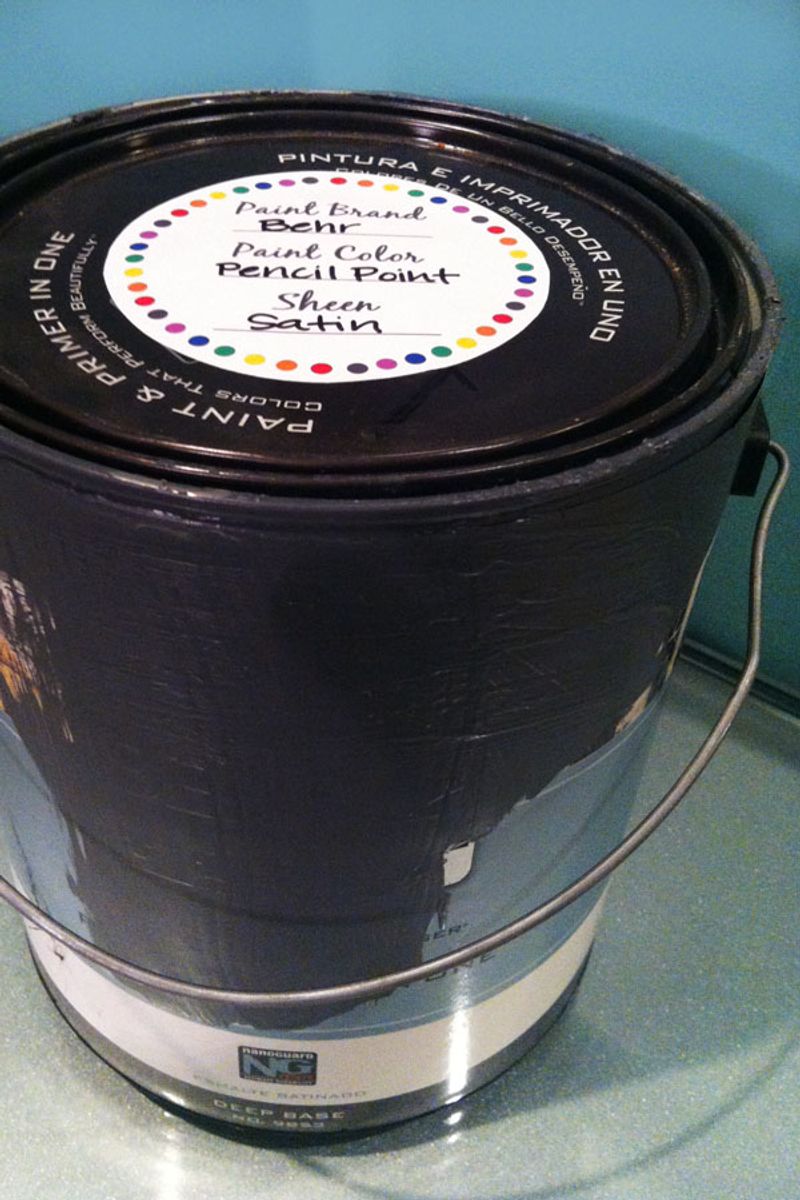
Always save leftover trim paint for future touch-ups! Clean the rim of the can thoroughly before closing to create an airtight seal. Label the can with the room, date, and paint brand/color.
Store paint in a temperature-controlled area – not a freezing garage or hot attic. For small amounts, transfer paint to a smaller container to minimize air exposure. Well-stored paint remains usable for years for quick repairs.