
Painting A Ceiling? These 15 Pro Tips Will Make It Easier
Painting a ceiling? Honestly, it feels like a wrestling match with gravity. My neck would ache, paint would drip in all the wrong places, and somehow I’d end up looking like a walking Jackson Pollock painting.
But after watching pros in action, I realized they have some pretty clever hacks to make the whole thing way less painful and messy. With the right tools and a few smart techniques, ceiling painting can actually be doable, even enjoyable.
If you’re ready to tackle this dreaded task without the usual chaos, I’ve got some tips that’ll save your neck and your sanity.
1. Choose The Right Paint Type For Your Ceiling
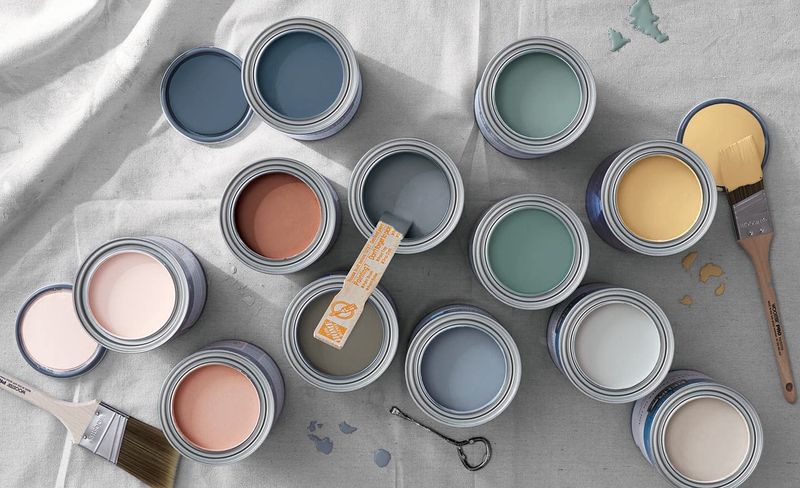
Flat paint is your ceiling’s best friend because it hides imperfections like a magic trick. Unlike glossy finishes that highlight every bump and crack, flat paint creates a smooth, uniform appearance.
Most professionals recommend ceiling-specific paint formulations. These special paints have better coverage and less splatter than regular wall paint.
Though you might pay a bit more upfront, ceiling paint saves time and reduces the number of coats needed for perfect coverage.
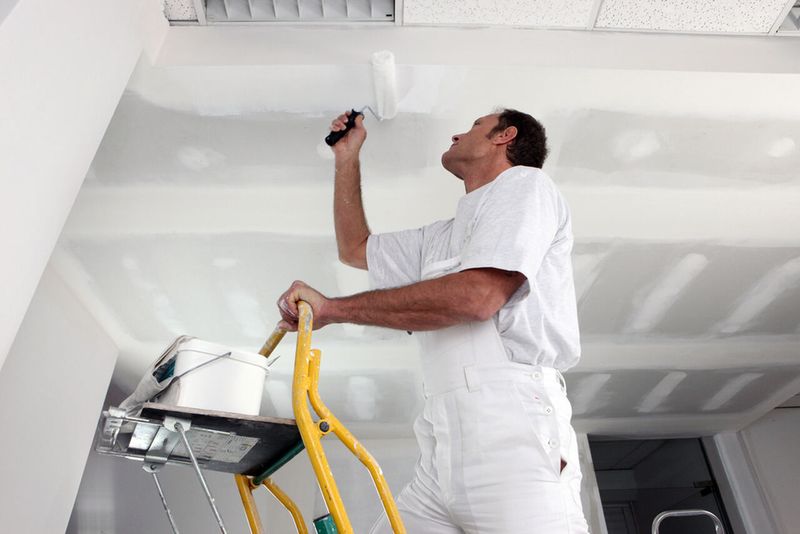
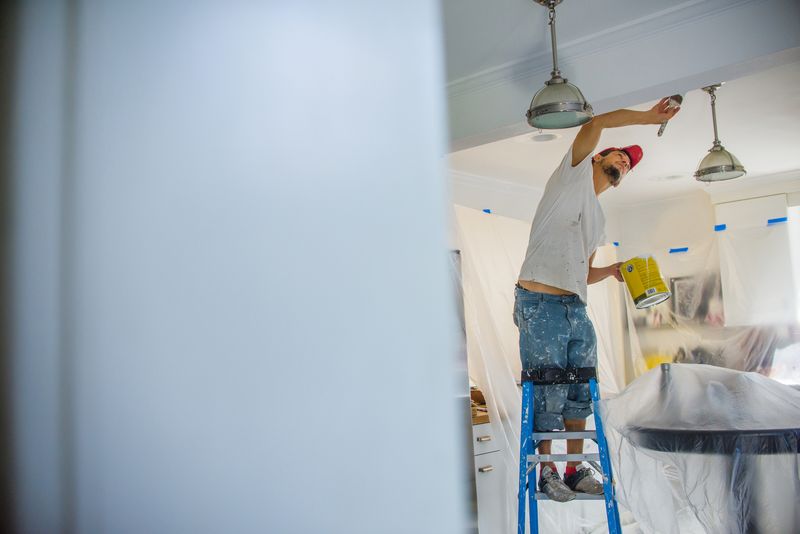
2. Invest In A Quality Extension Pole
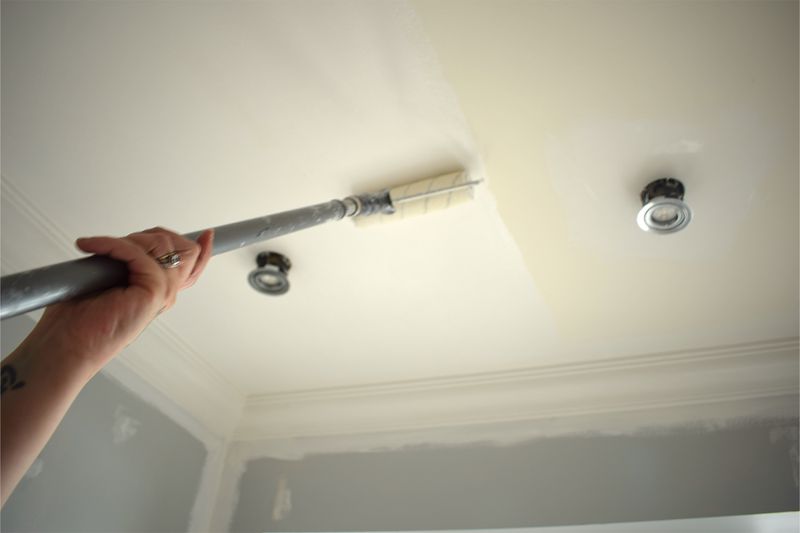
Extension poles are game-changers that keep your feet firmly on the ground. A good telescoping pole adjusts from 4 to 8 feet, giving you the reach you need without dangerous ladder climbing.
Look for poles with comfortable grips and secure locking mechanisms. Cheap poles wobble and make painting frustrating, while quality ones feel steady and controlled.
Your back and neck will thank you for this investment, especially during longer painting sessions.
3. Use A High-Quality Roller Cover
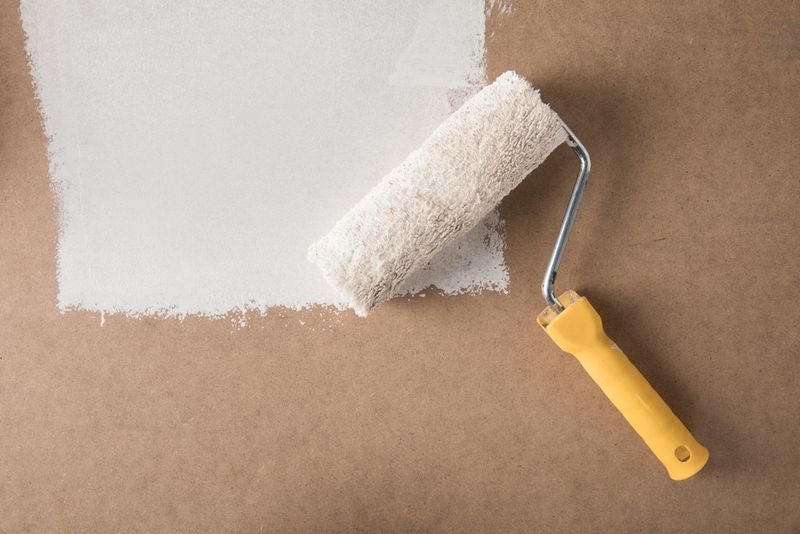
Roller covers aren’t created equal, and your ceiling deserves the good stuff. A 3/8-inch nap roller works perfectly for most smooth ceilings, while textured surfaces need slightly longer naps.
Microfiber and lambswool covers hold more paint and create smoother finishes than cheap foam alternatives. They also release paint more evenly, reducing those annoying streaks and lap marks.
Sometimes spending an extra few dollars on quality covers saves hours of touch-up work later.
4. Prime Your Ceiling First

Skipping primer is like building a house without a foundation. Primer creates the perfect base for your paint to grip, especially on new drywall or previously painted surfaces.
Water stains, crayon marks, and other ceiling blemishes bleed through regular paint without proper priming. A good primer seals these problems and prevents them from showing through your final coat.
Though it adds an extra step, priming actually reduces the total number of paint coats needed for complete coverage.
5. Master The W-Pattern Rolling Technique
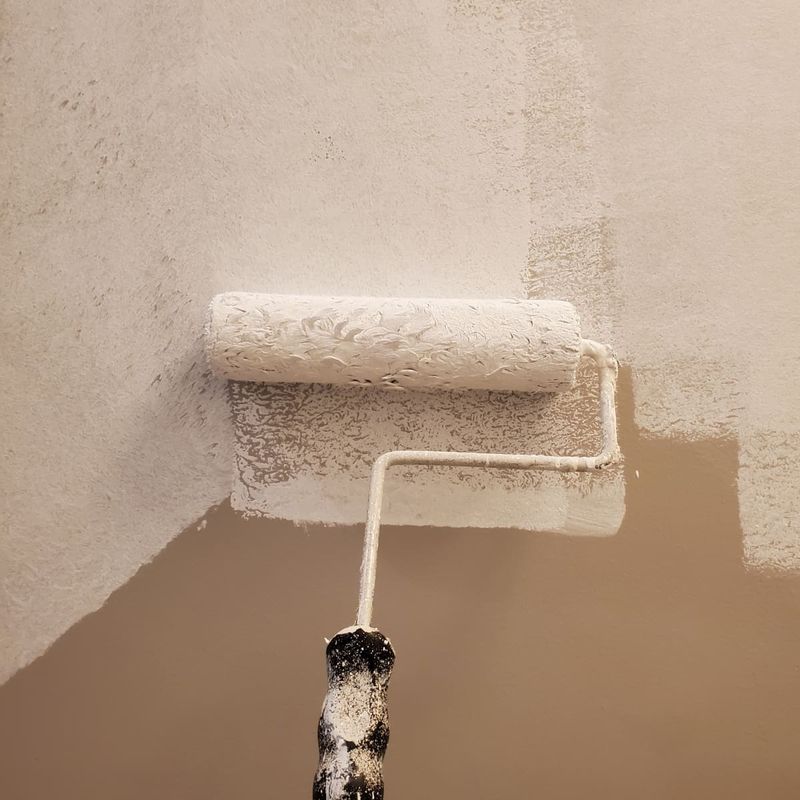
Rolling in random directions creates a messy, streaky finish that screams amateur. Professional painters use the W-pattern technique to distribute paint evenly across ceiling sections.
Start by rolling a large W shape, then fill in the spaces with parallel strokes. This method prevents lap marks and ensures consistent coverage throughout each section.
How does this work so well? The W-pattern spreads wet paint evenly before it starts to dry and create visible lines.
6. Work In Small Manageable Sections
Trying to paint an entire ceiling at once leads to disaster faster than you can say “wet edge.” Professional painters divide ceilings into 4×4 foot sections and complete each one before moving on.
Working in sections keeps your paint wet and workable, preventing those dreaded lap marks where dried paint meets fresh paint. Each section blends seamlessly into the next when done correctly.
Where should you start? Begin with the section farthest from your exit door and work your way out.
7. Don’t Overload Your Roller
More paint on the roller doesn’t mean better coverage. Overloaded rollers create drips, splatters, and uneven application that makes your ceiling look like a crime scene.
Roll your loaded roller on the paint tray’s ridged area to remove excess paint. The roller should feel heavy but not dripping when you lift it.
If paint drips off your roller before it touches the ceiling, you’ve loaded too much. A properly loaded roller glides smoothly without leaving puddles or creating mess.
8. Maintain A Wet Edge While Painting
Keeping a wet edge prevents visible seams between painted sections. Always overlap your new paint strokes with the previously painted area while it’s still wet and workable.
Latex paint dries quickly, especially on porous ceiling surfaces. Work steadily but don’t rush, and never take breaks in the middle of a section.
Though it requires focus and timing, maintaining wet edges creates professional-looking results without visible start-and-stop marks throughout your ceiling.
9. Use Proper Lighting While You Paint

Painting in dim light is like driving blindfolded. You can’t see missed spots, uneven coverage, or drip marks until it’s too late to fix them easily.
Set up bright LED work lights that illuminate your entire ceiling evenly. Position lights at different angles to eliminate shadows that hide imperfections.
Sometimes what looks perfect under poor lighting reveals streaks and missed areas once natural daylight hits your finished ceiling the next morning.
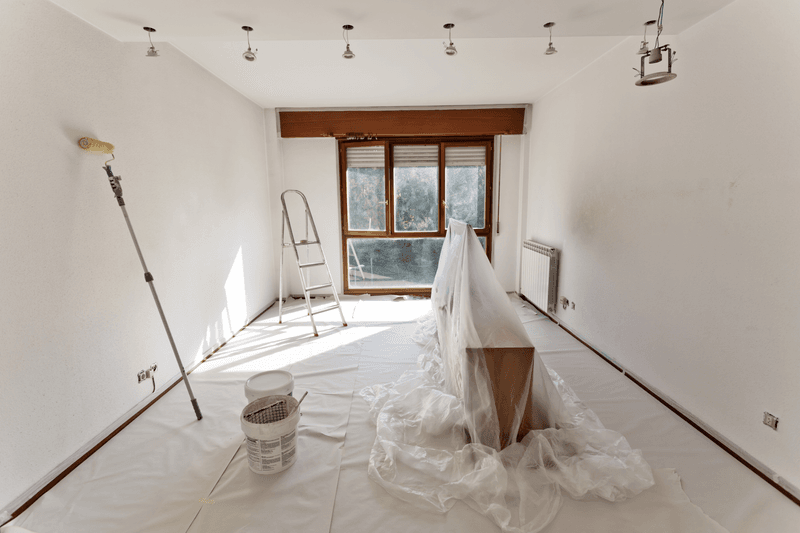
10. Protect Your Floors And Furniture
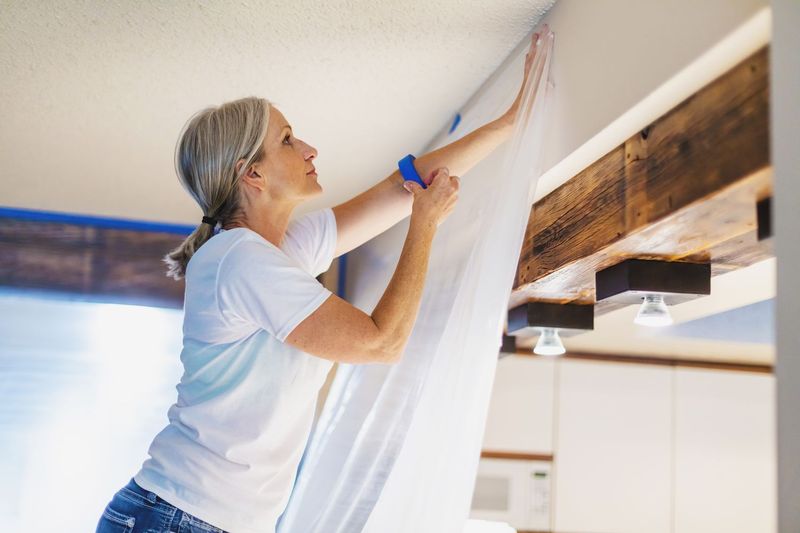
Ceiling paint has a sneaky way of finding every unprotected surface in your room. Canvas drop cloths work better than plastic sheets because they absorb spills instead of creating slippery puddles.
Cover furniture completely with plastic sheeting, taping edges securely. Paint splatters travel farther than you think, especially when using extension poles.
Though prep work feels tedious, spending 30 minutes protecting your space saves hours of cleanup and potential damage to your belongings.
11. Keep A Damp Rag Handy For Quick Cleanup
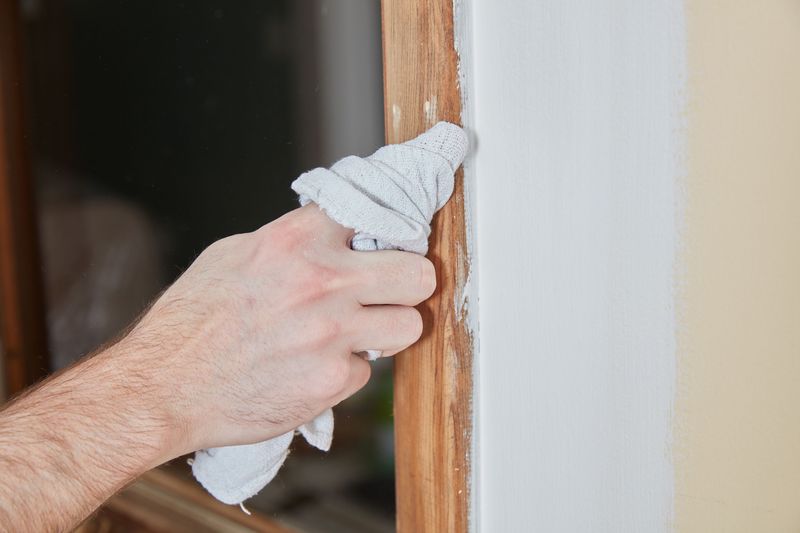
Paint drips happen to everyone, even professionals. The secret is catching them while they’re still wet and easy to remove.
Keep a slightly damp cloth tucked in your pocket or tool belt for instant drip patrol. Water-based paints wipe away effortlessly when fresh but become permanent stains once dried.
If you spot a drip on the wall or trim, dab it gently rather than wiping, which can smear the paint and create a bigger mess to fix.
12. Plan Your Paint Application Strategy
Random painting leads to random results. Professional painters always start with cutting in edges and corners using a brush, then fill in the main areas with a roller.
Work from the farthest corner toward your exit door, maintaining wet edges throughout each section. This systematic approach prevents you from painting yourself into a corner, literally.
Where lighting fixtures interrupt your ceiling, paint around them carefully and save touch-ups for last when everything else is dry.
13. Choose The Right Brush For Edge Work
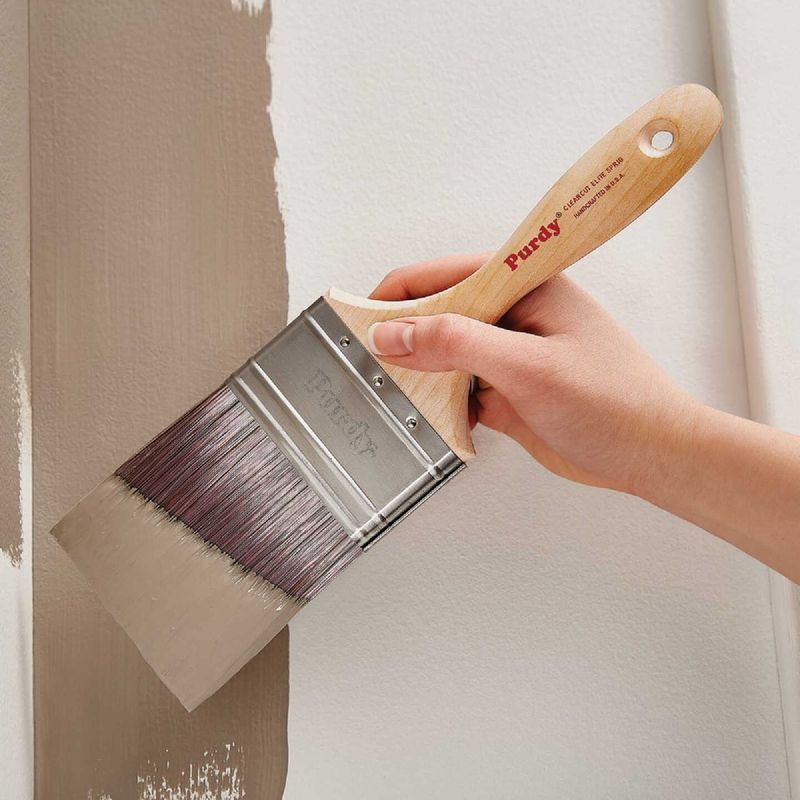
Cutting in ceiling edges requires a steady hand and the right brush. A 2.5-inch angled brush gives you the control and precision needed for clean, straight lines.
Quality brushes hold more paint and create smoother finishes than cheap alternatives. Look for brushes with synthetic bristles for latex paint, as they maintain their shape and don’t absorb water.
Though good brushes cost more upfront, they last longer and make edge work significantly easier and more professional-looking.
14. Time Your Project Around Weather Conditions
Humidity and temperature dramatically affect how paint dries and looks. High humidity makes paint dry slowly and can cause lap marks, while extremely low humidity makes paint dry too quickly.
Ideal painting conditions include temperatures between 65-75°F with humidity levels around 40-50%. Avoid painting on rainy days or when humidity exceeds 70%.
Sometimes waiting a day or two for better conditions saves you from repainting entire sections that didn’t turn out right the first time.
15. Clean Your Tools Immediately After Use

Dried paint turns quality tools into expensive paperweights. Clean rollers and brushes immediately after finishing each painting session, even if you plan to continue the next day.
Rinse water-based paint with warm water until the water runs clear. For oil-based paints, use appropriate solvents and dispose of them properly according to local regulations.
How long do clean tools last? Properly maintained brushes and rollers can serve you for years, making this cleanup ritual a worthwhile investment.