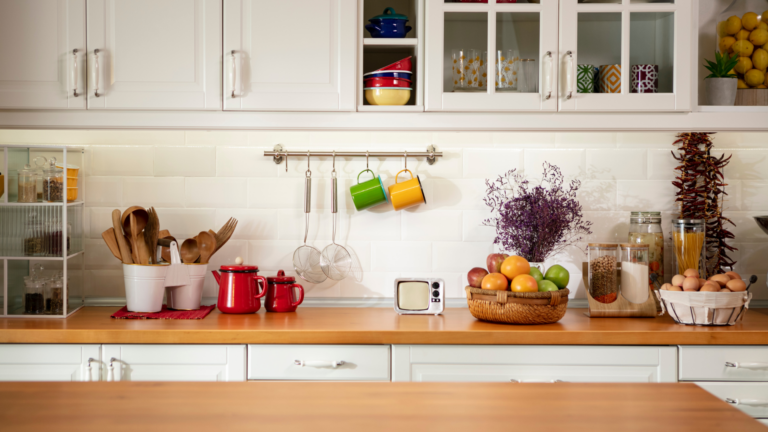

20 No-Regrets Steps To Choosing A Kitchen Backsplash
Selecting the perfect kitchen backsplash might seem overwhelming with countless options available. This important design element not only protects your walls from splashes but also ties your entire kitchen aesthetic together.
Follow these twenty steps to make a backsplash decision you’ll love for years to come, avoiding costly mistakes and design regrets along the way.
1. Establish Your Budget First
Before falling in love with that hand-painted Italian tile, know exactly what you can spend. Kitchen projects have a sneaky way of expanding beyond initial estimates!
Setting a clear budget helps narrow down material options and prevents heartbreak when you discover that gorgeous marble mosaic costs more than your entire remodel. Remember that installation costs often equal or exceed material costs.
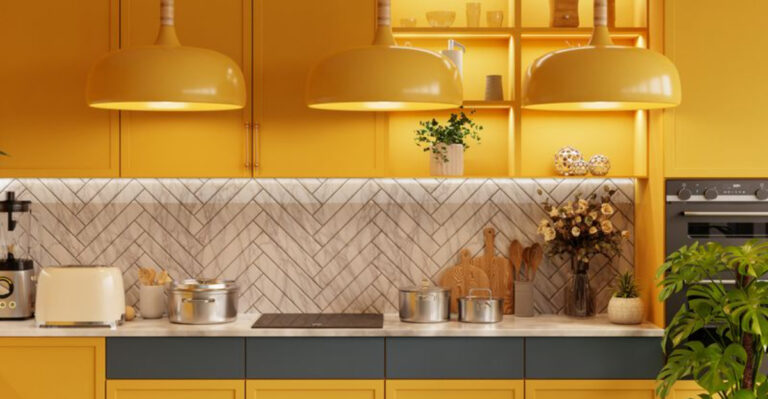
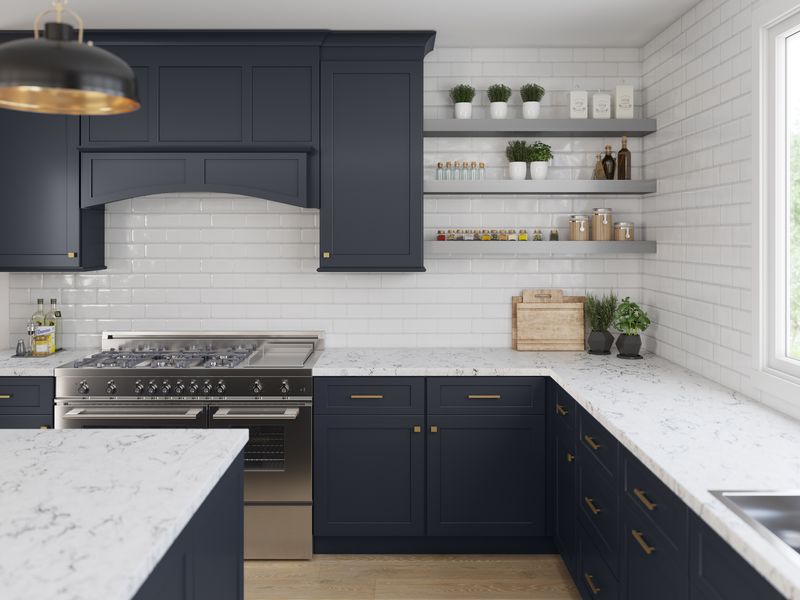
2. Consider Your Kitchen’s Style
Your backsplash should complement, not fight with, your kitchen’s overall design language. Farmhouse kitchens sing with subway tiles or rustic stone, while sleek contemporary spaces call for glass or large-format tiles.
Would you wear cowboy boots with a tuxedo? The same principle applies here. Creating harmony between your backsplash and existing elements ensures a cohesive look that feels intentional rather than accidental.
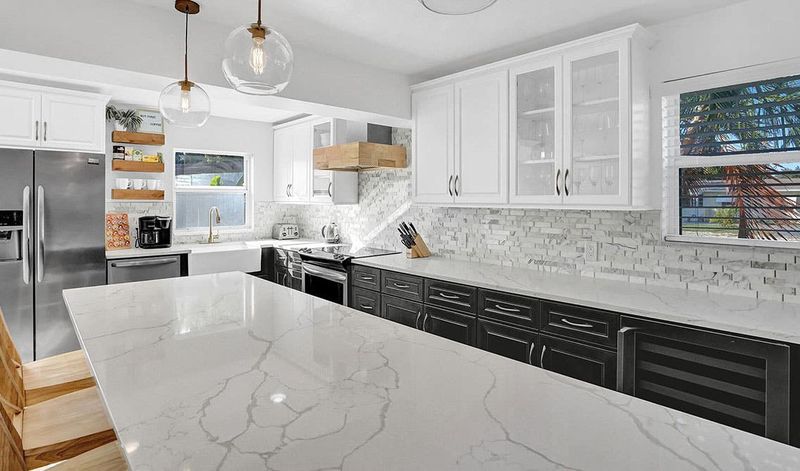
3. Coordinate With Countertops
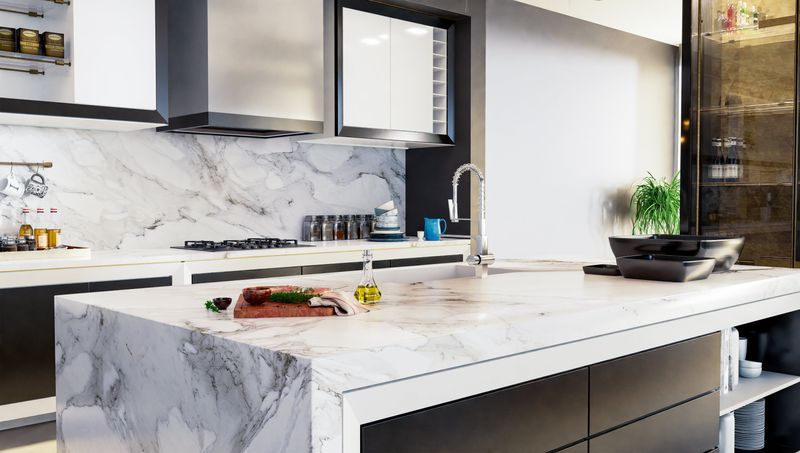
Think of your countertop and backsplash as dance partners – they need to move well together! Busy granite patterns usually pair best with simpler backsplashes that don’t create visual competition.
When one element makes a bold statement, let the other play a supporting role. Solid-colored countertops offer more freedom for patterned or textured backsplashes. The transition between these surfaces happens at eye level, making their relationship particularly important.
4. Test Your Lighting
What looks perfect in the showroom might transform completely under your kitchen’s unique lighting conditions. Glossy tiles can create beautiful reflections or annoying glare depending on your lighting setup.
Grab samples and tape them to your wall for several days. Check how they look at different times – morning sunlight, evening lamp light, and under task lighting. Materials with metallic elements or glass can dramatically change appearance as lighting conditions shift.
5. Think About Maintenance Needs

Cooking splatters, grease, and everyday messes will inevitably find your backsplash. Natural stone requires regular sealing while grout lines can become cleaning nightmares if not properly maintained.
How much scrubbing are you willing to do? Families with young chefs might prefer larger tiles with minimal grout lines. Glass and ceramic options typically offer the easiest cleaning experience, while textured surfaces might require more elbow grease.
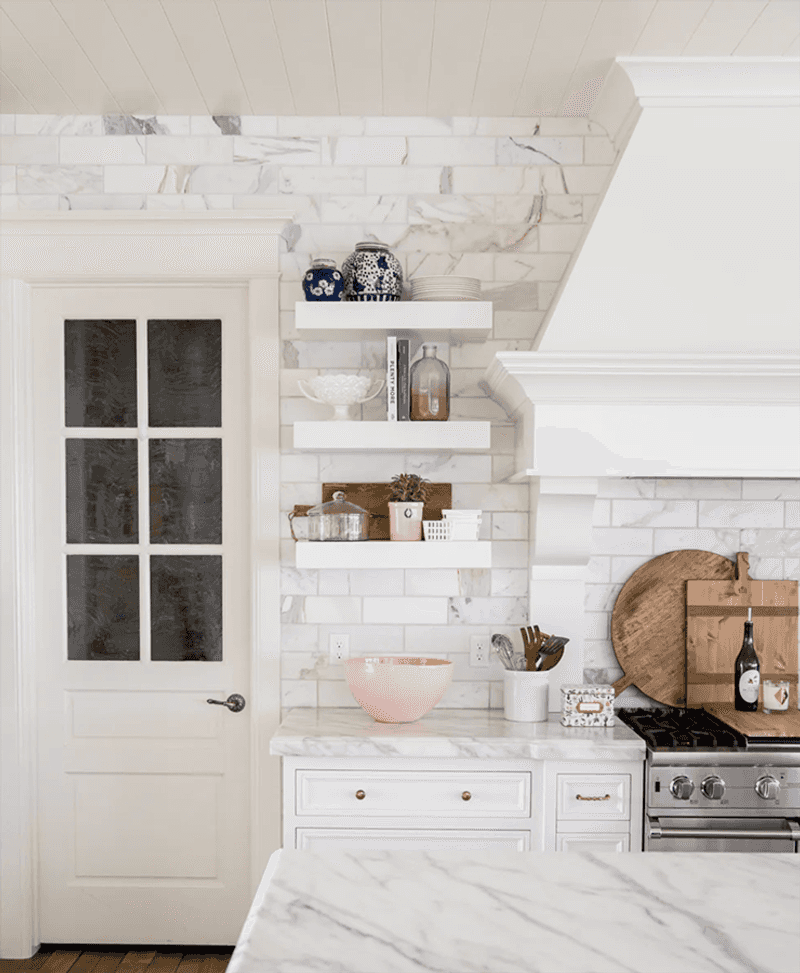
6. Consider the Visual Height
How high should your backsplash climb? Standard installations run from countertop to upper cabinets, but full-wall treatments create dramatic statements and can actually make small kitchens feel larger.
Visual weight matters too! Darker tiles installed higher can make ceilings feel lower. For kitchens with windows, consider whether to run tile around them or stop at the sill. These decisions significantly impact both functionality and aesthetics.
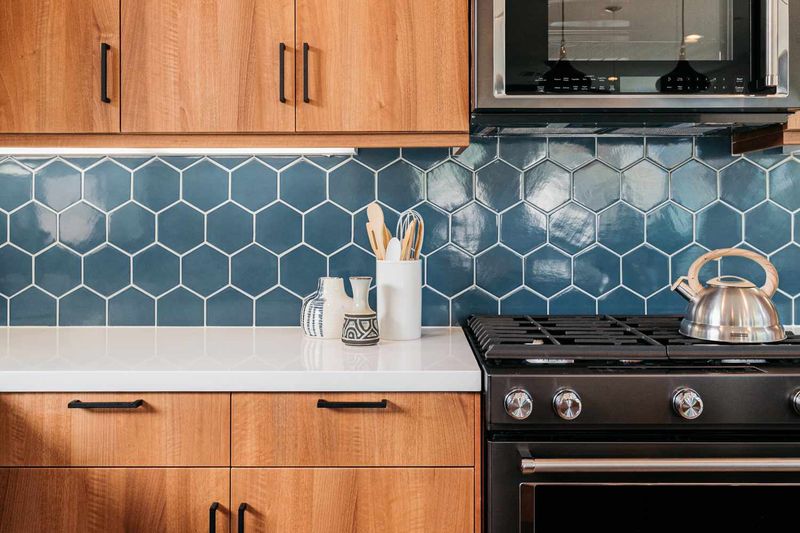
7. Explore Material Options
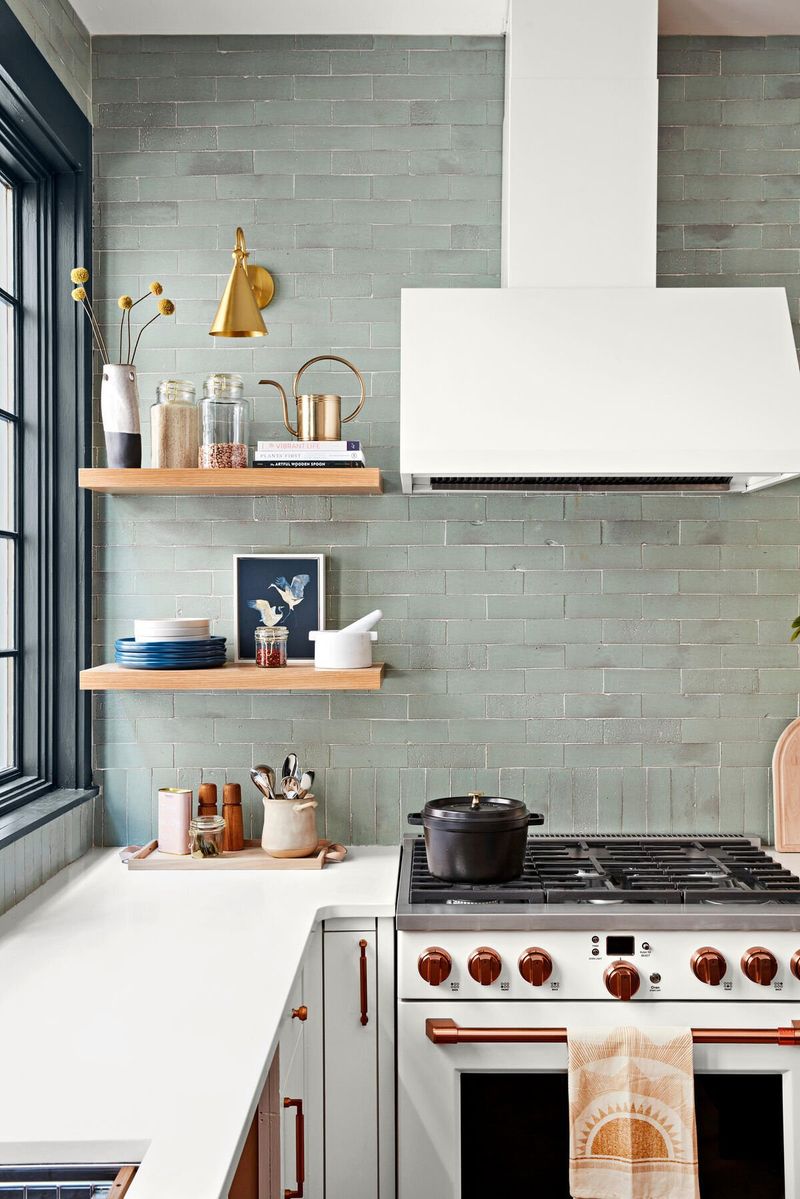
The world of backsplash materials extends far beyond basic ceramic tile! Glass, metal, natural stone, porcelain, cement, and even wood can create stunning effects with different price points and practical considerations.
Feeling adventurous? Consider unexpected materials like recycled glass, leather tiles, or thermoplastic panels. Each material brings unique characteristics – reflectivity, texture, durability, and maintenance requirements – that will impact both your daily experience and long-term satisfaction.
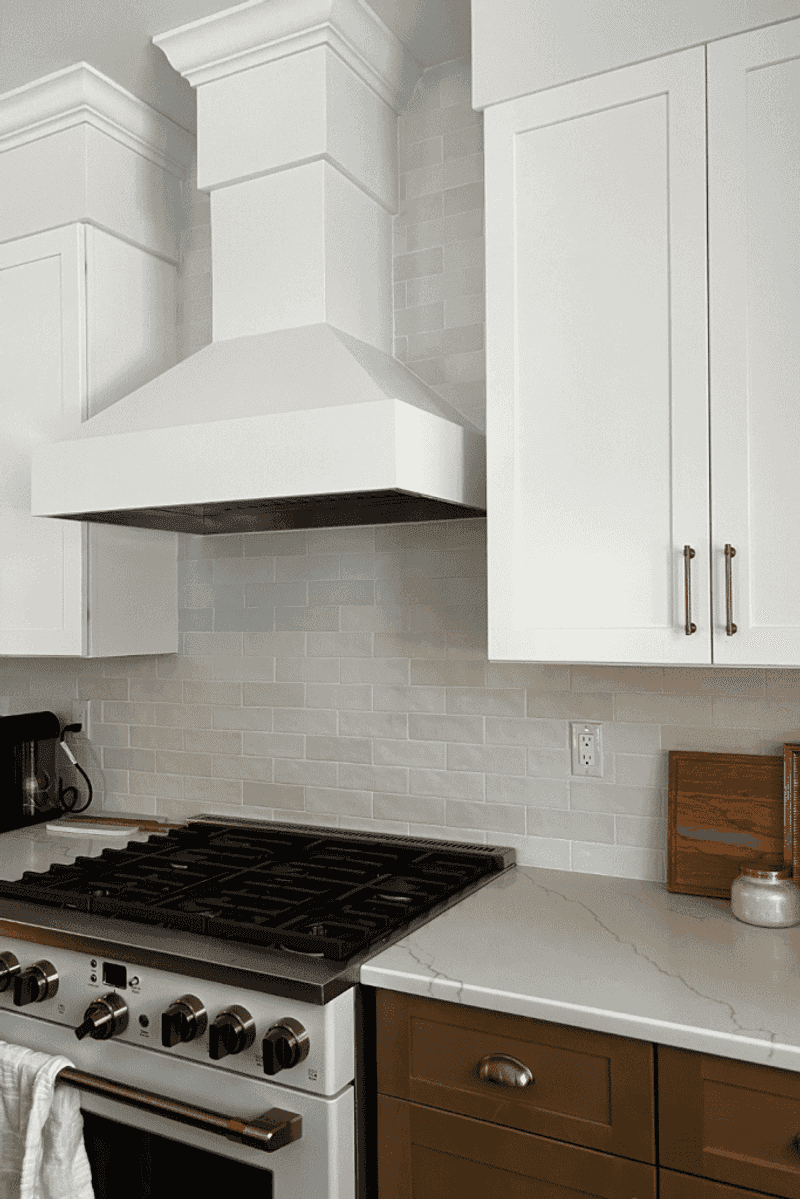
8. Don’t Forget About Grout
Grout isn’t just functional—it’s a design element that can dramatically change your backsplash’s appearance! Matching grout creates a seamless look, while contrasting grout highlights tile patterns and shapes.
Have you considered colored grout? It’s not just white or beige anymore! Beyond aesthetics, remember that lighter grouts show stains more readily, especially in cooking zones. Epoxy grouts offer superior stain resistance but come with higher installation costs.
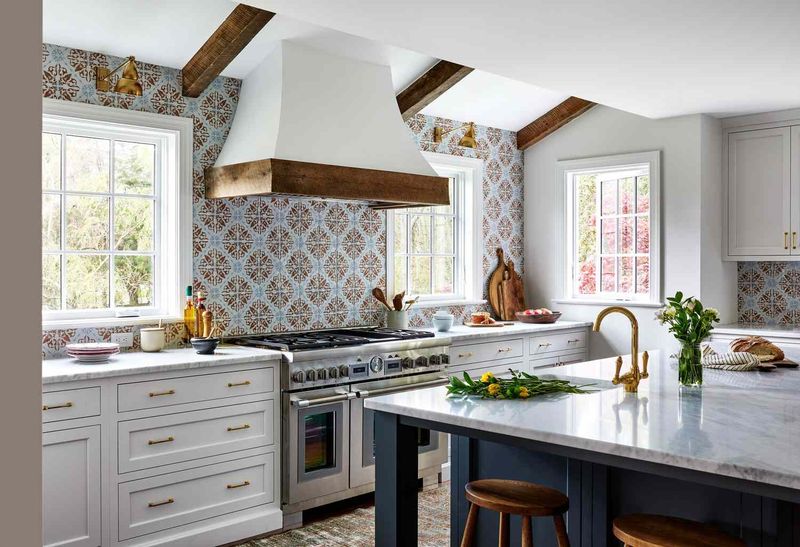
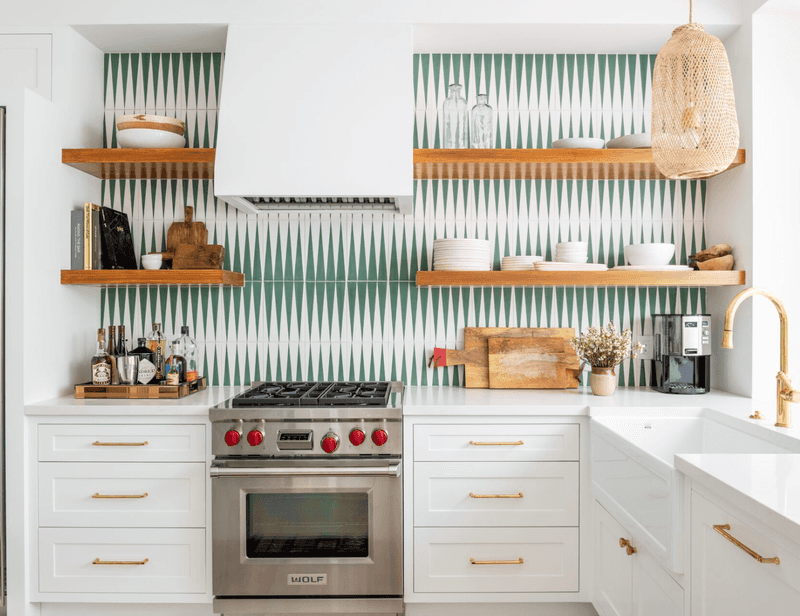
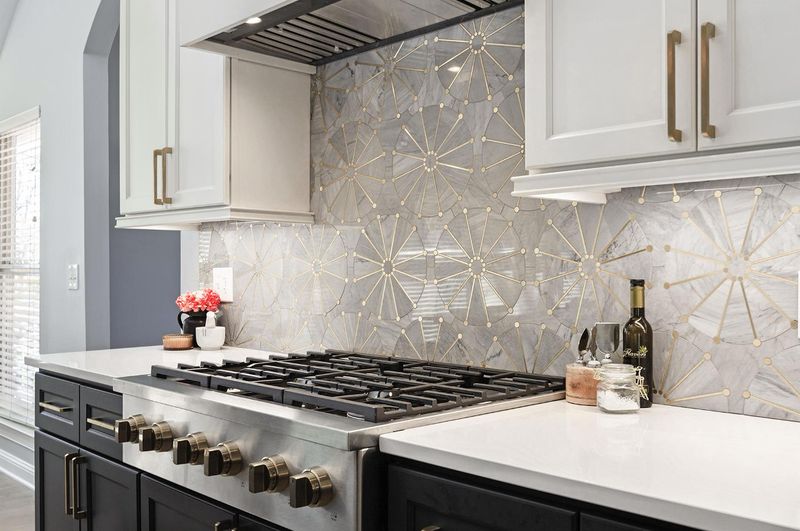
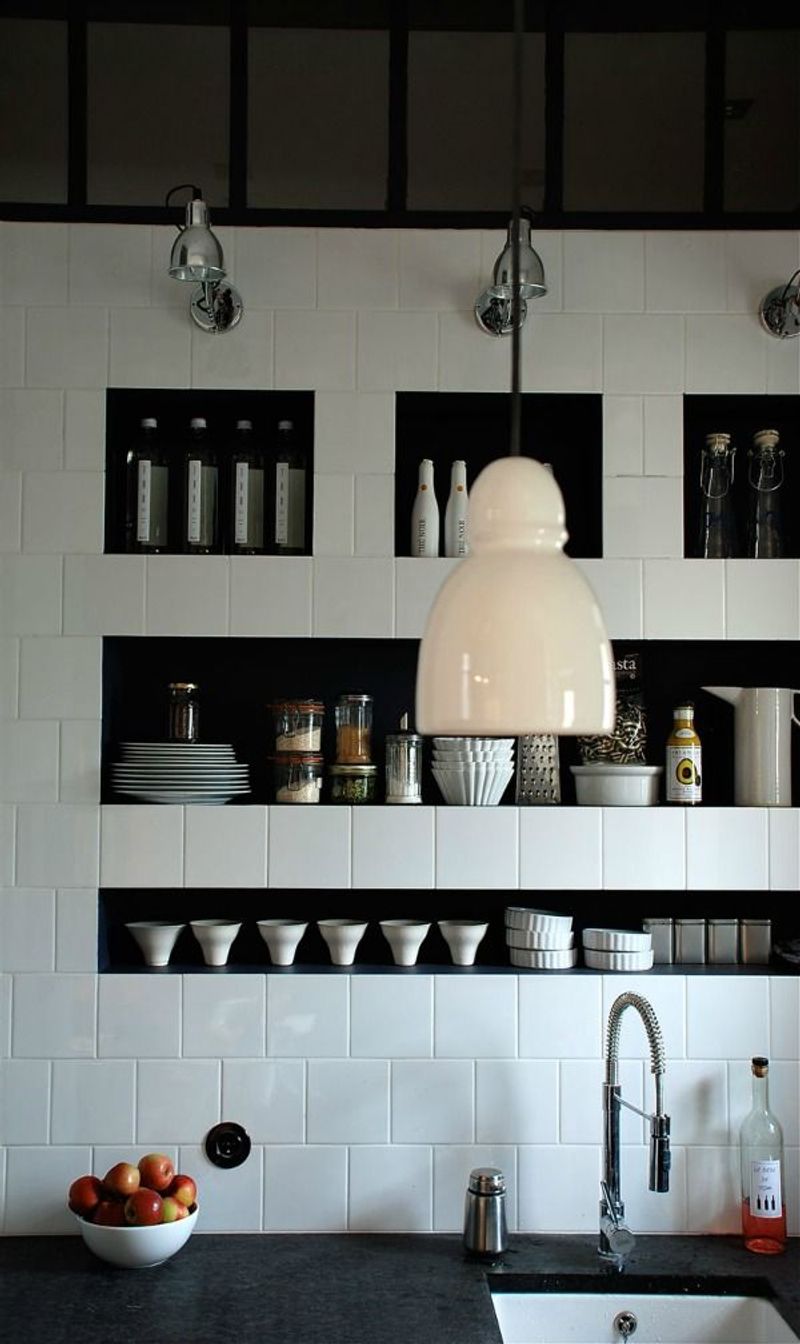
9. Map Out Focal Points
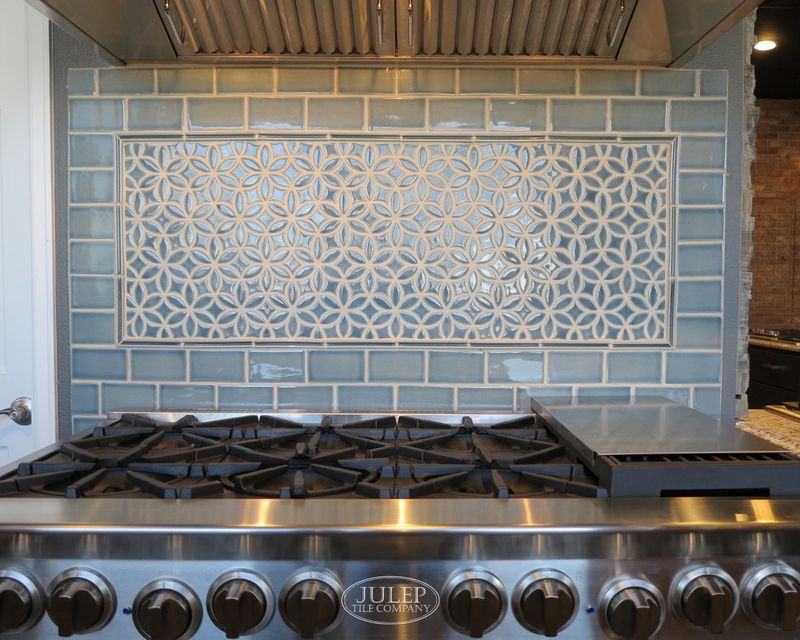
Every kitchen has natural focal areas—typically behind the range or sink—where your eye naturally lands. These spots are perfect for special accent tiles, mosaics, or pattern changes that add personality.
Think of these areas as the “statement necklace” for your kitchen outfit. The space behind your cooktop especially benefits from special attention since it’s both highly visible and functional. Just ensure these focal points enhance rather than fight with other kitchen elements.
10. Consider Future-Proofing
While that trendy hexagon tile might look amazing today, will you still love it in five years? Kitchens are significant investments, and backsplashes can be costly to replace.
Trendy patterns and colors can quickly date your kitchen. If you’re concerned about longevity, consider classic options like subway tiles or neutral stones that have stood the test of time. Save trendier choices for easily changeable elements like paint colors or accessories.
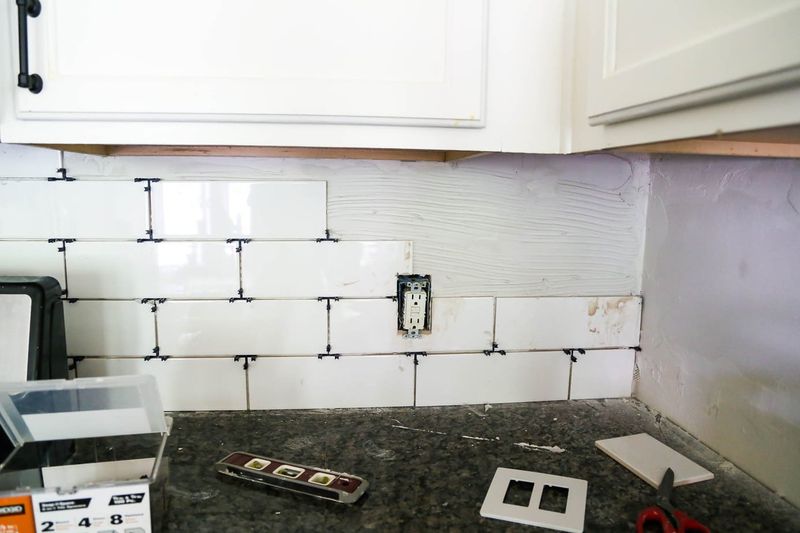
11. Account for Outlets and Switches
Nothing ruins a beautiful backsplash faster than poorly placed electrical outlets cutting through your carefully chosen pattern! Plan their placement thoughtfully before installation begins.
Modern kitchens often require numerous outlets for appliances. Consider under-cabinet outlets or specialized pop-up versions that minimize visual disruption. If standard wall outlets are necessary, coordinate plate covers to blend with your backsplash or make them deliberately decorative.
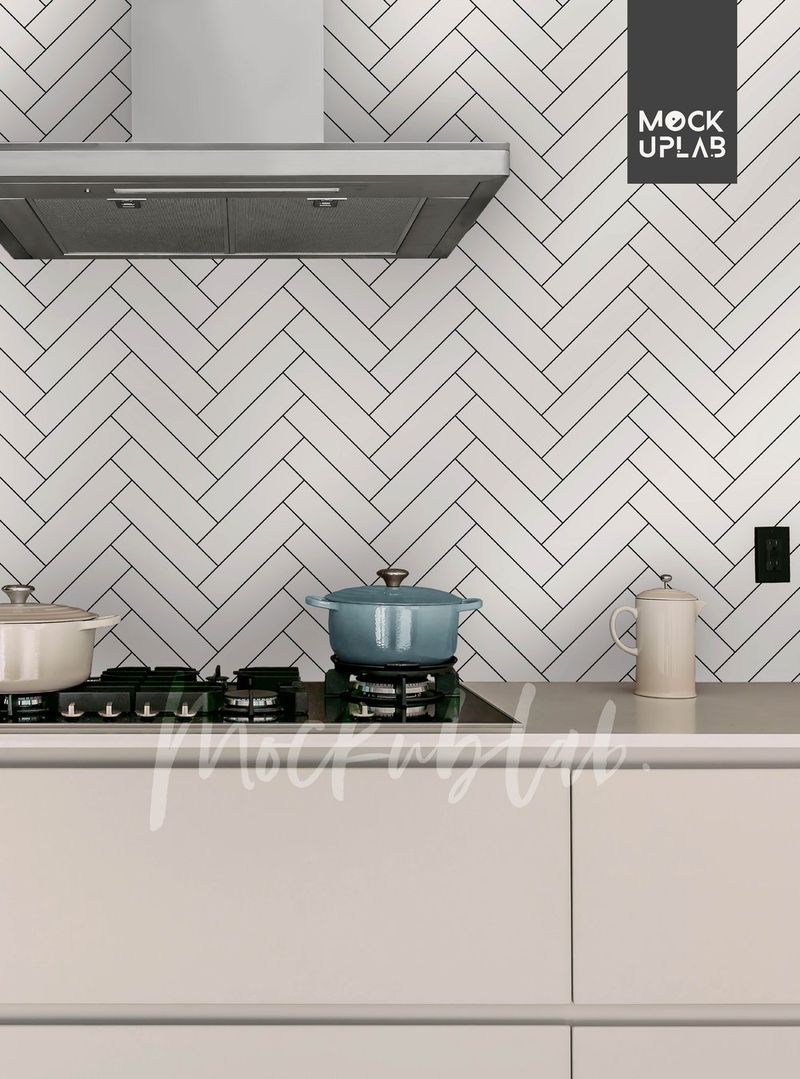
12. Think About Scale and Proportion
Tiny mosaic tiles can look busy in a large kitchen while oversized tiles might overwhelm smaller spaces. The size of your kitchen should influence tile dimensions and pattern scale.
Large-format tiles create fewer grout lines, making small kitchens feel more spacious. Vertical installations can make ceilings appear higher, while horizontal patterns visually widen narrow spaces. Consider your kitchen’s proportions carefully when selecting tile size and orientation.
13. Collect Inspiration Systematically
Random Pinterest scrolling can leave you more confused than ever! Create specific inspiration boards categorized by style, material, or color to identify patterns in what you’re consistently drawn to.
What elements keep appearing in your favorite images? Is it color, texture, pattern, or something else? This systematic approach helps clarify your true preferences beyond momentary attractions. Save images of kitchens with similar layouts to yours for the most relevant inspiration.
14. Request Multiple Quotes
Installation costs can vary dramatically between professionals, sometimes exceeding material costs! Get at least three detailed quotes that specify timeline, materials, and exactly what prep and finish work is included.
Experienced installers might charge more but often deliver superior results that last longer. Ask specifically about how they’ll handle tricky areas like corners, edges, and outlets. Remember that the cheapest quote isn’t always the best value in the long run.
15. Order Extra Materials
Running short on tiles mid-installation is a nightmare scenario! Industry professionals recommend ordering 10-15% extra to account for cuts, breaks, and future repairs.
What happens if a pot crashes against your backsplash next year? Having matching replacement tiles on hand is invaluable, especially since manufacturing variations between batches can make perfect matches impossible later. Store extras in a climate-controlled space to prevent deterioration.
16. Create Full-Size Mockups
Before committing, tape paper templates or actual tiles to your wall in the planned pattern. This real-world preview reveals potential issues invisible in small samples or digital renderings.
Living with your mockup for several days helps confirm your choice. Take photos from different angles and distances to see how the pattern reads. This step seems tedious but prevents expensive regrets and helps installers understand your exact vision.
17. Consider Special Features
Modern backsplashes can incorporate practical innovations beyond mere decoration! Integrated knife slots, recessed niches for cooking essentials, or built-in measurement conversions add functionality to beauty.
Tech-forward kitchens might benefit from backsplashes with integrated charging stations or smart home controls. These custom elements require advance planning but create truly personalized spaces. Just ensure these features won’t interfere with the primary splash-protection purpose.
18. Address Corner Transitions
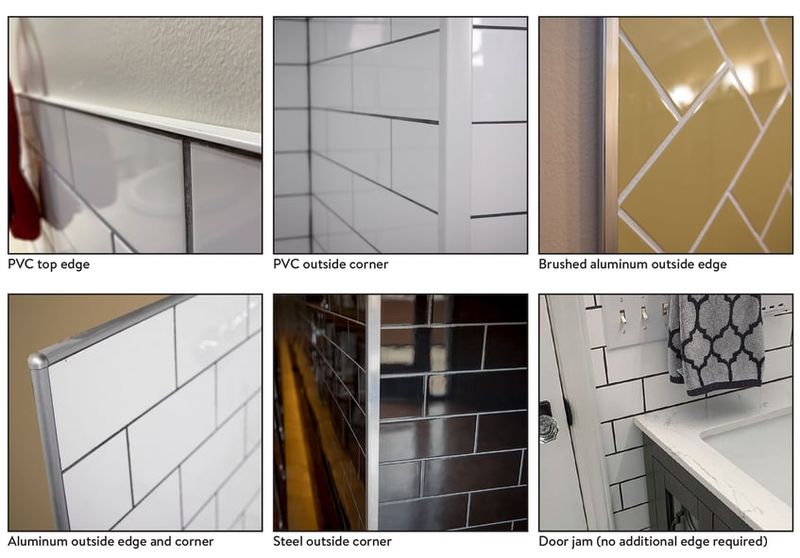
Corners and edges deserve special attention during planning! Unresolved transitions can make an otherwise beautiful backsplash look amateur. Specialized trim pieces create professional-looking edges where tiles end.
L-shaped kitchens present particular challenges where two walls meet. Will your pattern continue around the corner or change direction? Bullnose or Schluter strips provide clean finished edges where backsplashes end at open wall sections. These small details significantly impact the final look.
19. Prepare for Installation Disruption
Backsplash installation creates significant kitchen disruption! Establish a realistic timeline with your contractor and prepare alternative meal plans during the work period.
Dust containment matters tremendously, especially if you’re keeping existing countertops. Proper wall preparation often takes longer than the actual tile installation. Most backsplash projects require 2-4 days from start to finish, including drying time between stages.
20. Trust Your Instincts

After all the research, sometimes your gut feeling matters most. If a particular material or pattern consistently draws your attention, it’s probably right for you regardless of current trends.
Your kitchen should reflect your personality and preferences above all else. While professional advice is valuable, you’re the one living with the results every day. The most successful backsplashes balance practical considerations with personal joy—creating spaces that feel uniquely yours.