20 Easy DIY Jobs That Will Save You Money Around The House
Looking to save some cash while sprucing up your home? You don’t need to call in expensive professionals for every little job around the house.
With a few basic tools and a bit of elbow grease, you can tackle many household repairs and improvements yourself!
These 20 simple DIY projects will not only save you money but also give you that satisfying feeling of accomplishment when you step back and admire your handiwork.
1. Unclog Drains Without Chemicals
Forget those expensive drain cleaners that eat through your pipes over time! A simple mixture of baking soda and vinegar followed by hot water works wonders on slow drains. To try this miracle solution, pour half a cup of baking soda down the drain, followed by half a cup of vinegar.
Listen for that satisfying fizz as they react together, breaking down the gunk inside. After about 30 minutes, flush everything away with hot water. Regular maintenance this way prevents major clogs and saves you from emergency plumber visits that can cost hundreds.
2. Paint Your Own Walls

Professional painters charge anywhere from $2-$6 per square foot, which adds up quickly in larger rooms. Taking on this task yourself can save hundreds or even thousands depending on your home size. What makes this project so doable is that mistakes are easily fixed while the paint is wet.
Just remember to prep properly with drop cloths, painter’s tape, and a good quality roller. Weekend warriors often find that painting provides one of the biggest visual impacts for relatively little investment. Plus, you’ll gain the confidence to tackle more ambitious DIY projects in the future.
3. Fix Leaky Faucets
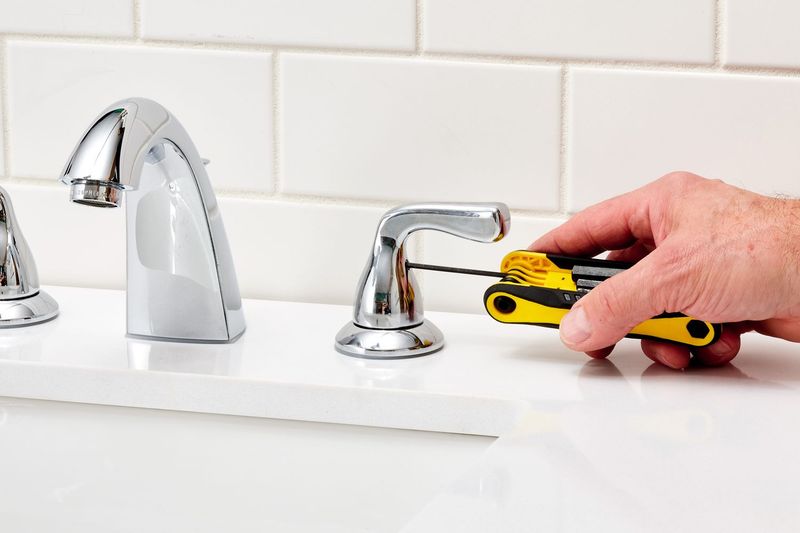
Those persistent drips aren’t just annoying – they’re literally money going down the drain! A leaky faucet can waste up to 3,000 gallons of water annually, adding unnecessary dollars to your utility bills.
Armed with a wrench, screwdriver, and replacement washers or cartridges (usually under $20), you can solve this problem in under an hour. The trick is turning off the water supply first and placing a towel in the sink to prevent small parts from disappearing down the drain.
YouTube tutorials make this process surprisingly straightforward, even for first-timers. The satisfaction of silence after fixing that irritating drip? Priceless.
4. Clean Your Own Gutters
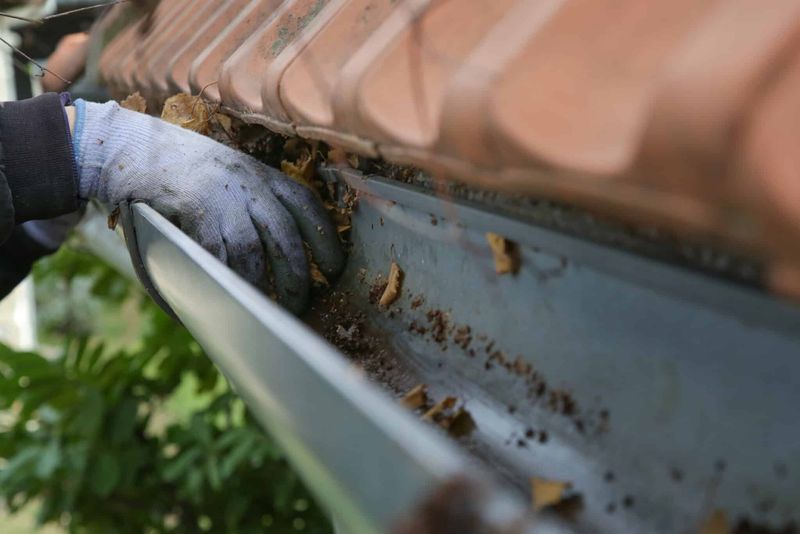
Hiring someone to clean your gutters typically costs between $100-$200, yet it’s something most homeowners can handle safely with a sturdy ladder and garden hose.
While not the most glamorous task, clearing leaves and debris from gutters prevents costly water damage to your home’s foundation, walls, and landscaping. Safety first though – always have someone spot you on the ladder and wear gloves to protect against sharp edges.
For an even better solution, consider installing inexpensive mesh gutter guards after cleaning. They dramatically reduce how often you’ll need to perform this chore in the future.
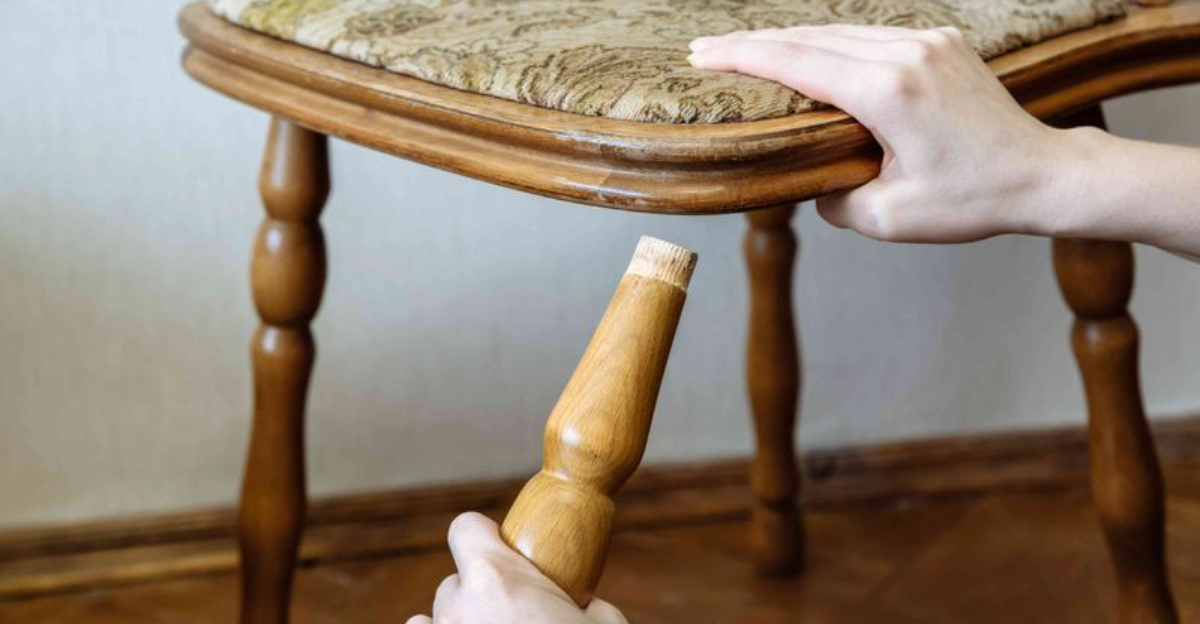
5. Make Simple Furniture Repairs
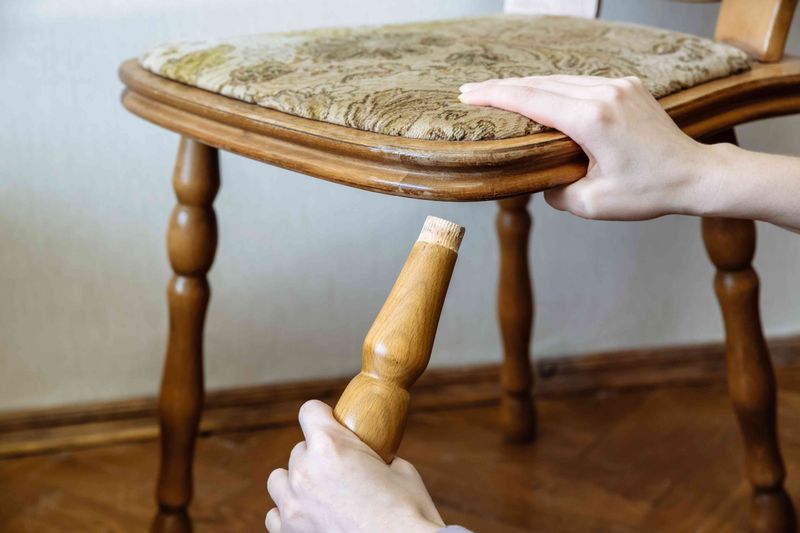
Got a wobbly chair or table? No need to replace it! Wood glue, clamps, and a few hours of drying time can restore stability to loose joints that plague wooden furniture.
Many people assume furniture repair requires specialized skills, but straightforward fixes like tightening screws, reinforcing joints, or touching up scratches are surprisingly manageable. For deeper scratches in wood, try rubbing a walnut over the area – the natural oils work like magic to camouflage the damage.
By extending the life of your existing pieces, you avoid the considerable expense of replacement furniture while keeping perfectly good items out of landfills.
6. Install Your Own Ceiling Fan
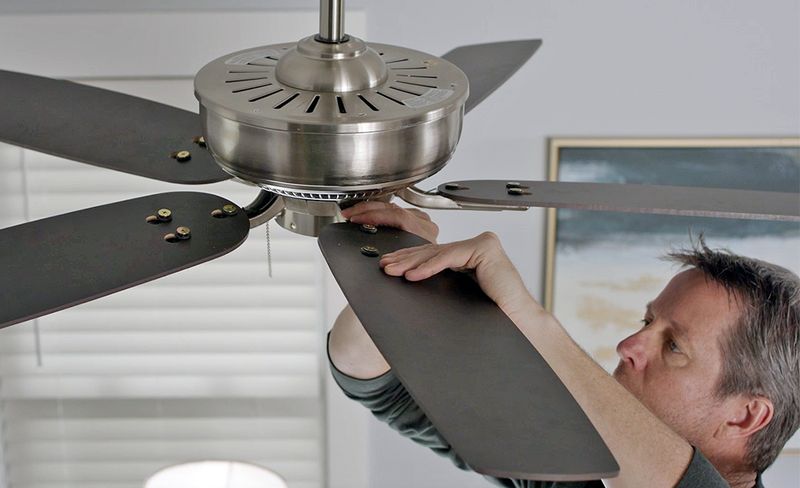
Swapping out that dated light fixture for a ceiling fan can save on cooling costs while updating your room’s look. Electricians might charge $150-$300 for this service, but with basic wiring knowledge, you can tackle it yourself.
The secret is working safely – always turn off power at the breaker box and verify with a voltage tester before touching any wires. Most fans come with detailed instructions and color-coded wiring that makes connections straightforward.
Beyond saving on installation costs, a ceiling fan can reduce your summer cooling expenses by up to 40% when used properly. Talk about a project that pays for itself!
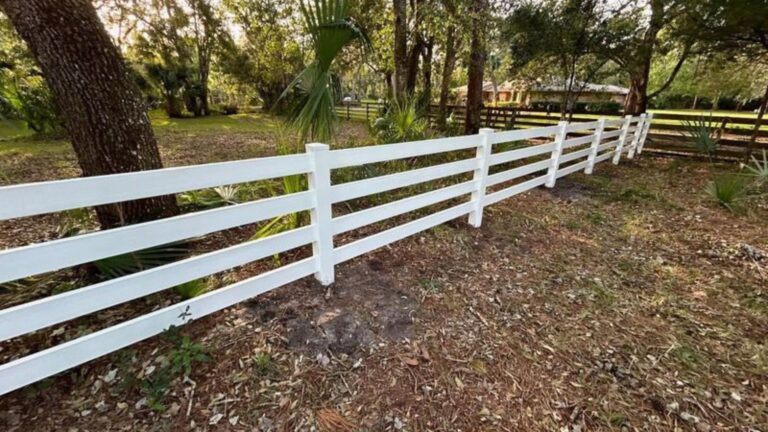
7. Seal Drafty Windows and Doors
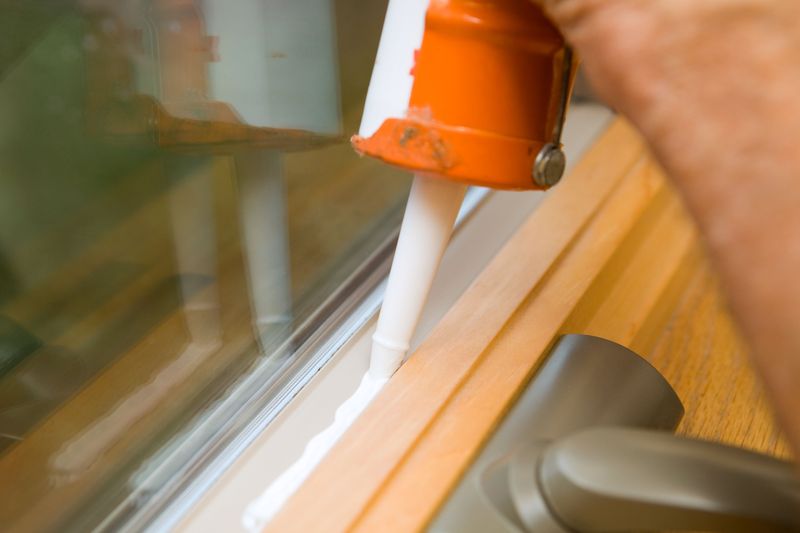
Chilly drafts aren’t just uncomfortable – they’re costing you money with every heating bill. Weatherstripping and caulk are inexpensive materials that pay for themselves many times over in energy savings. On a windy day, run your hand along window frames and door edges to locate air leaks.
For gaps around movable parts like doors, self-adhesive weatherstripping works best. For fixed cracks around window frames, a small bead of caulk creates an airtight seal.
This simple afternoon project can reduce your heating and cooling costs by up to 20% annually. Plus, your rooms will maintain more consistent temperatures, making your whole home more comfortable year-round.
8. Replace Your Own Air Filters

Would you believe something as simple as changing your HVAC filters regularly can save you hundreds in energy costs and potential repairs? Many homeowners forget this essential maintenance task. Fresh filters allow your heating and cooling systems to operate efficiently, using less energy while extending equipment life.
Most filters need replacing every 1-3 months, depending on your home’s dust levels and whether you have pets. Learning where your filter is located takes minutes, and replacement filters typically cost $10-20. Compare that to HVAC service calls starting at $75 just for the visit, not including any actual work performed!
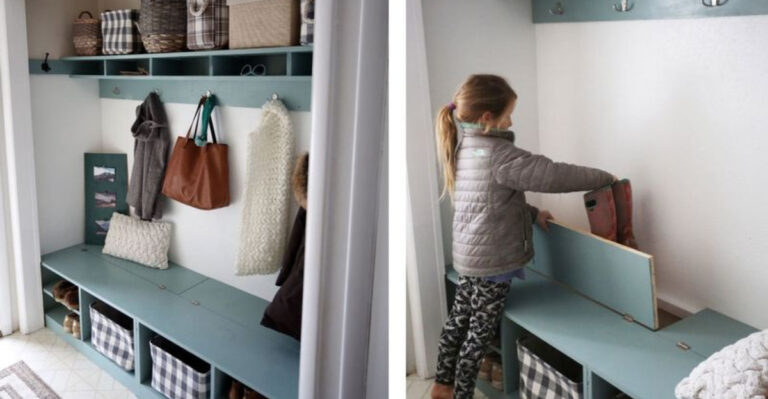
9. Build Simple Shelving
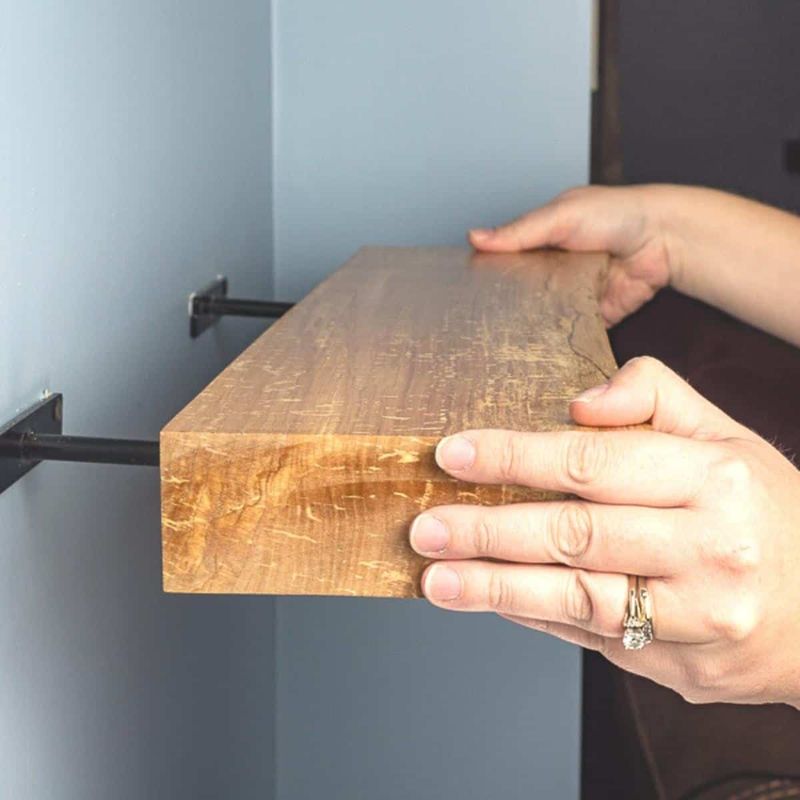
Custom shelving from professionals can cost hundreds or even thousands depending on materials and complexity. Meanwhile, creating basic wall shelves requires minimal tools and moderate DIY skills. For beginners, floating shelves with hidden brackets offer clean lines and straightforward installation.
All you need is a drill, level, stud finder, and screws appropriate for your wall type. Pre-cut boards from hardware stores eliminate the need for power saws.
Beyond the obvious storage benefits, well-placed shelving adds character and value to your home. Plus, there’s something deeply satisfying about displaying your books and treasures on shelves you built with your own hands.
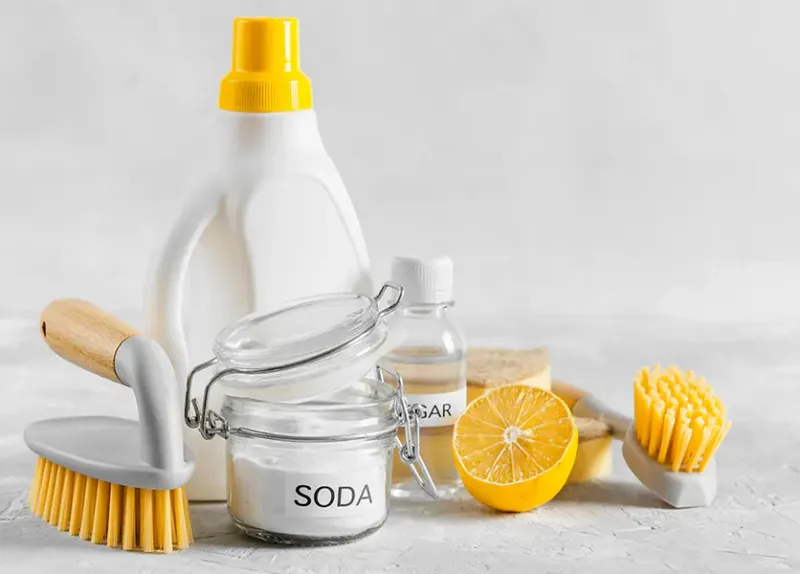
10. Make Your Own Cleaning Products
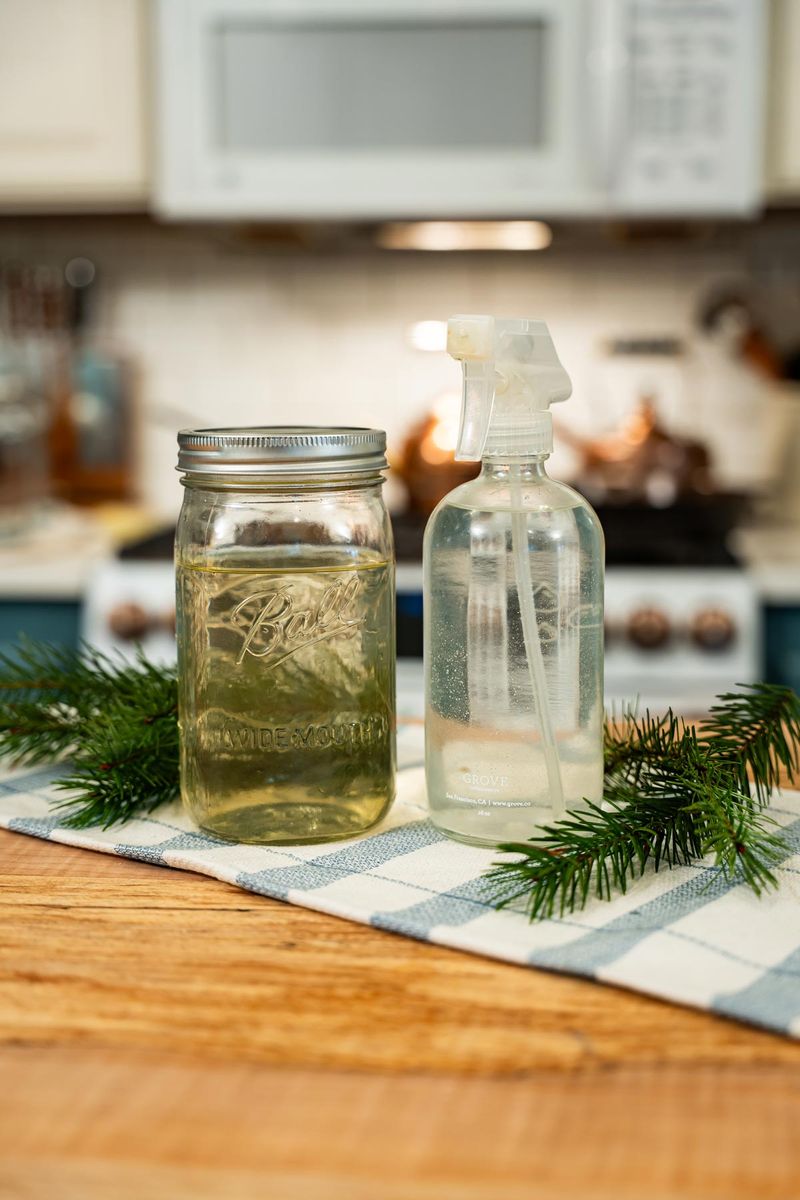
Commercial cleaning products often carry hefty price tags for what’s essentially scented chemicals in fancy packaging. Switching to homemade alternatives saves money while reducing harmful substances in your home. Vinegar, baking soda, castile soap, and essential oils form the foundation of effective DIY cleaners.
For example, a simple all-purpose cleaner made with vinegar, water, and a few drops of dish soap tackles most kitchen messes for pennies per spray.
By mixing your own cleaning solutions in reusable bottles, you’ll save roughly $200-300 annually while creating less plastic waste. Your lungs will thank you for the reduction in harsh chemical fumes too!
11. Patch Drywall Holes
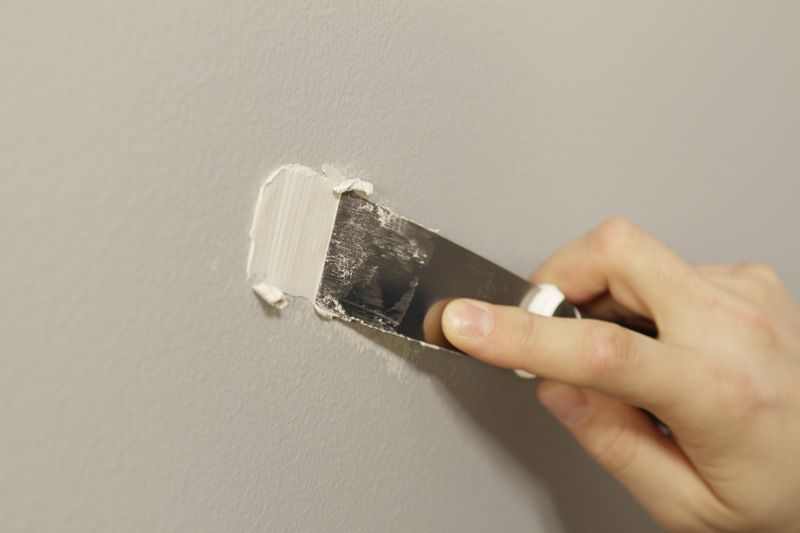
Small wall damages from doorknobs, furniture bumps, or picture hanging gone wrong are inevitable in any home. Calling a professional for these minor fixes can feel like overkill when the repair is so manageable.
Armed with spackling compound, a putty knife, and some sandpaper, you can make those holes disappear in an afternoon. For larger holes, inexpensive patch kits include everything needed, including mesh backing for structural support.
The trick to professional-looking results lies in applying multiple thin layers rather than one thick glob. Once painted, your repair will be virtually invisible, saving you the $100+ a handyman would charge for this quick fix.
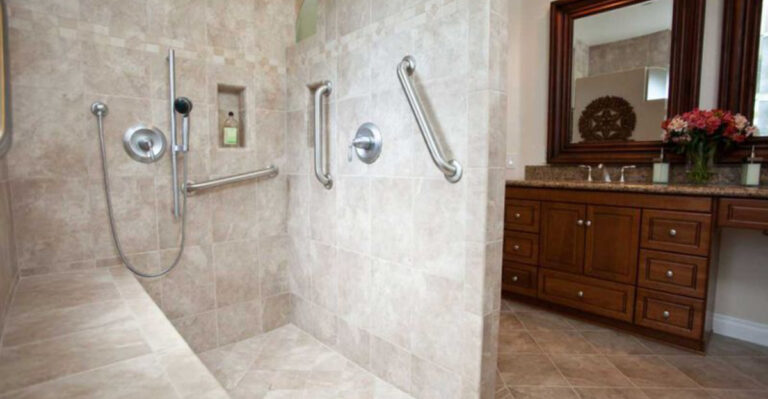
12. Refresh Grout Lines
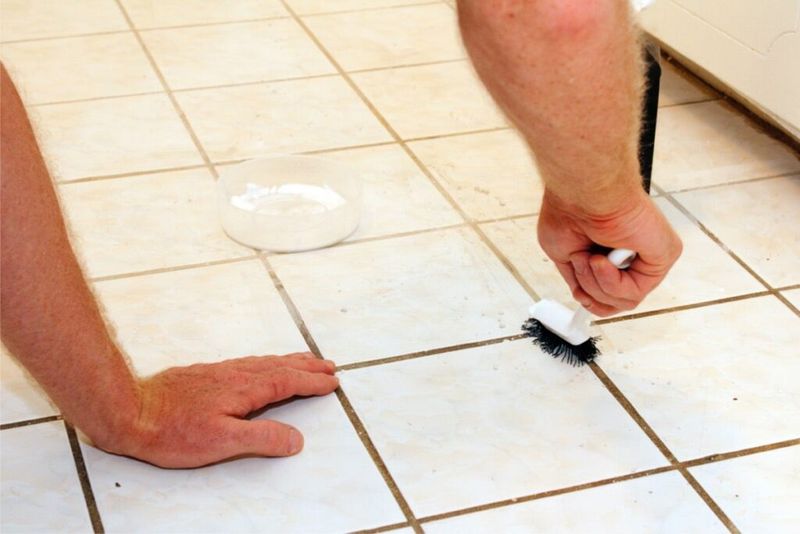
Grimy grout can make even the cleanest bathroom or kitchen look dingy. Before you consider expensive retiling, try refreshing what you already have with some elbow grease and the right products. A simple paste of baking soda and water applied with an old toothbrush works wonders on mildly discolored grout.
For tougher stains, specialized grout cleaners followed by a grout sealer can restore that like-new look. For truly hopeless cases, consider grout colorant – essentially paint designed specifically for grout lines.
At around $10-20 per kit, it’s a fraction of the cost of retiling, which can run thousands for even modest-sized rooms.
13. Fix Running Toilets
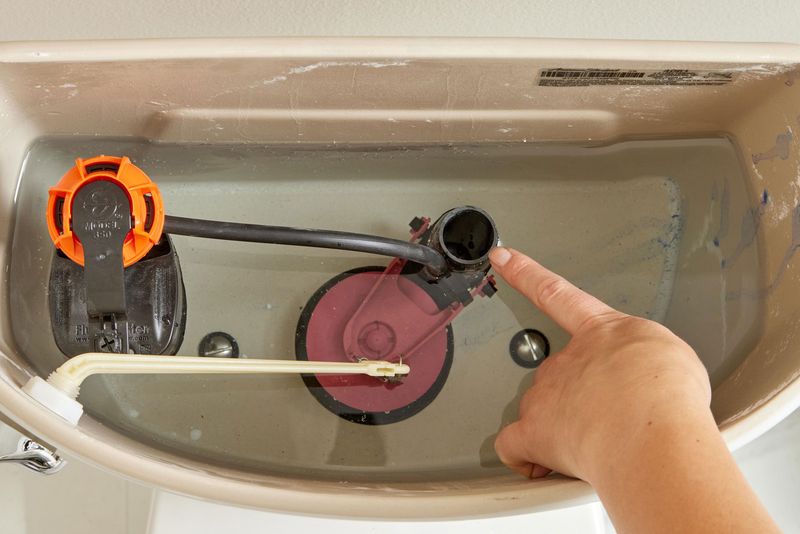
That constant hissing sound from your bathroom isn’t just annoying – it’s literally flushing money away! A running toilet can waste up to 200 gallons daily, potentially adding hundreds to your yearly water bill. Usually, the culprit is a worn flapper valve or faulty fill valve inside the tank.
Replacement parts typically cost under $20 at hardware stores and install without special tools. Simply turn off the water supply, flush to empty the tank, and swap out the parts.
With easy-to-follow instructions on the packaging and countless online tutorials, this 30-minute fix delivers immediate savings. The peaceful silence afterward is just a bonus!
14. Refinish Wood Floors
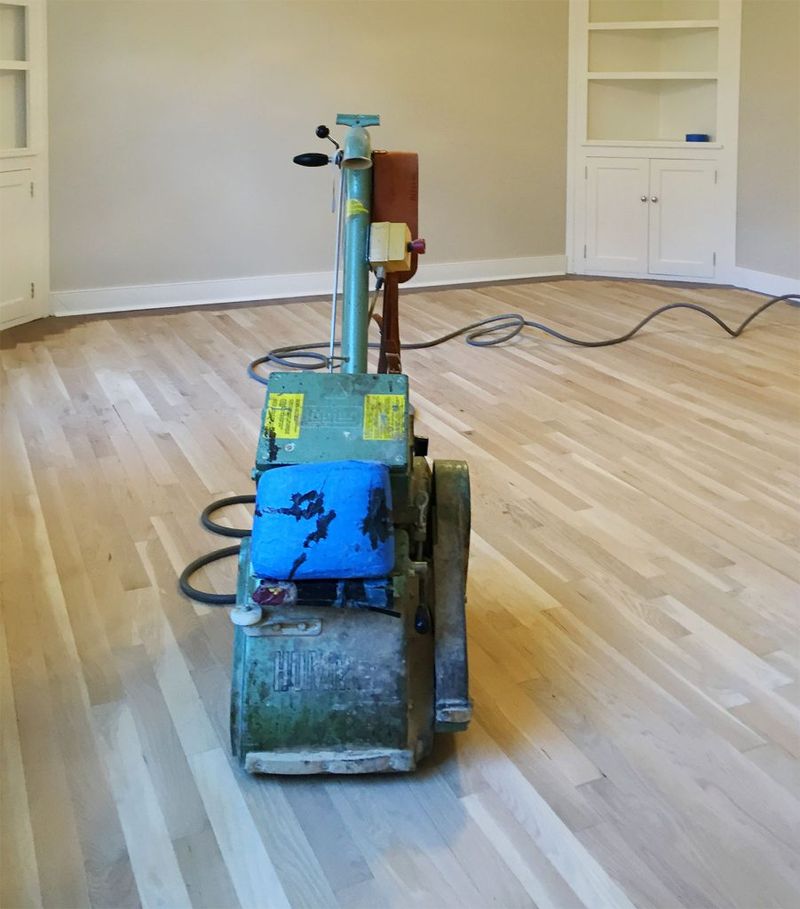
Professional floor refinishing costs $3-5 per square foot – that’s $1,500-2,500 for an average living room! With some patience and the right equipment, you can achieve impressive results yourself for a fraction of that price.
Renting a floor sander runs about $50-75 daily, while materials like sandpaper, stain, and polyurethane add another $100-200 depending on your space. The process involves sanding away the old finish, cleaning thoroughly, applying stain if desired, and sealing with protective polyurethane.
While time-consuming (plan for a long weekend), DIY floor refinishing delivers dramatic results that transform tired spaces into showcase rooms. The satisfaction matches the substantial savings!
15. Install a Programmable Thermostat
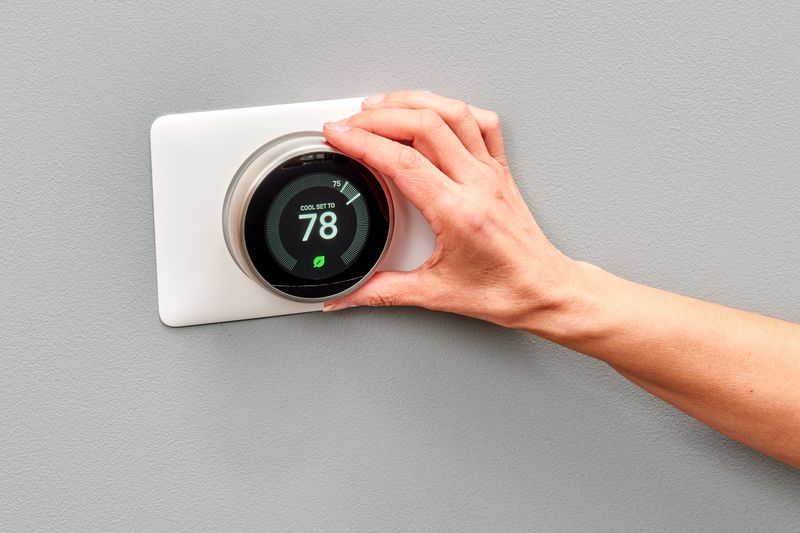
Smart home upgrades don’t get much more practical than a programmable thermostat. While professional installation might cost $100-200, most models are designed for straightforward DIY installation. Modern units come with detailed instructions and often helpful video tutorials.
The process typically involves turning off power to your HVAC system, removing the old thermostat, connecting a few clearly labeled wires, and mounting the new unit. Beyond installation savings, the real benefit comes from energy efficiency.
Programming your thermostat to reduce heating or cooling when you’re away or sleeping can trim 10-15% off your energy bills – that’s $180 annually for the average household!
16. Restore Caulking Around Tubs and Sinks
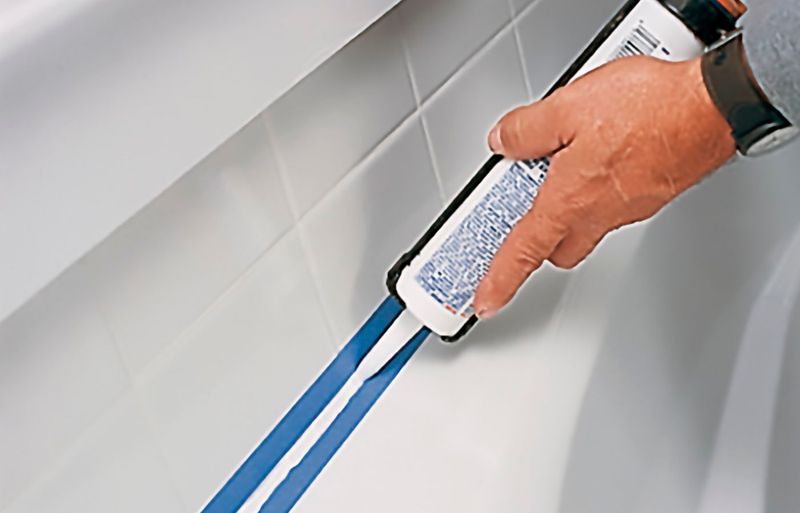
Cracked or moldy caulk isn’t just unsightly – it can lead to water damage in hard-to-reach places. Plumbers or handymen might charge $100+ for this simple job that requires minimal materials and moderate patience.
After removing old caulk with a utility knife and cleaning surfaces thoroughly, applying fresh caulk is surprisingly straightforward. The trick is using painter’s tape on both sides of where you’ll apply caulk to create clean, professional-looking lines.
Besides preventing potentially expensive water damage, fresh caulking instantly brightens bathrooms and kitchens. This two-hour project typically costs under $10 in materials but adds both functional protection and visual appeal to your home.
17. Replace Cabinet Hardware
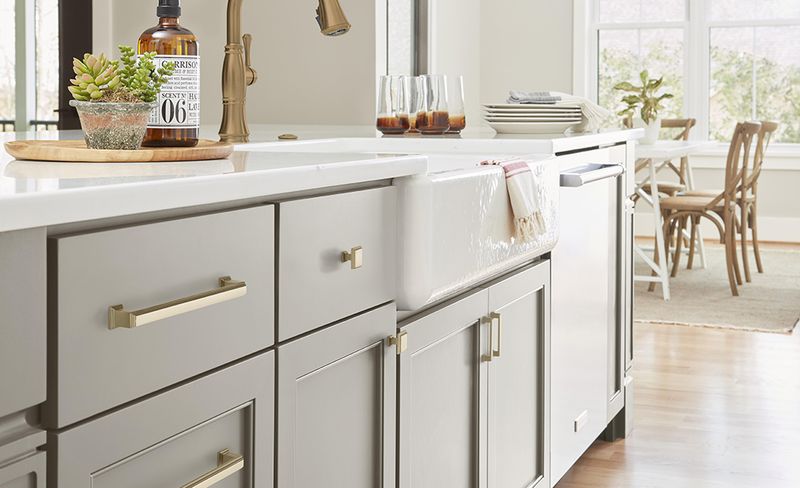
Kitchen and bathroom makeovers don’t have to involve costly renovations. Something as simple as swapping dated pulls and knobs for modern alternatives can transform the entire look of your cabinetry. With just a screwdriver and measuring tape, you can update dozens of hardware pieces in an afternoon.
The key is ensuring new pulls match the existing hole pattern or filling and redrilling if necessary. New hardware typically costs $2-10 per piece – far less than new cabinets at thousands of dollars.
This high-impact, low-cost upgrade offers perhaps the best visual return on investment of any DIY project, especially in kitchens where cabinetry dominates the space.
18. Install a New Shower Head

Stepping into a shower with weak water pressure can start your day on the wrong foot. Upgrading to a high-quality shower head costs a fraction of what a plumber would charge for this simple task. No special tools required – just an adjustable wrench and some plumber’s tape to ensure a leak-free seal.
Simply unscrew the old head, clean any mineral deposits from the pipe threads, wrap with tape, and attach the new fixture. Beyond the immediate pleasure of improved shower experience, modern low-flow models can reduce water usage by 40% without sacrificing pressure.
That translates to lower water bills and reduced water heating costs – savings that quickly offset the $25-100 investment.
19. Power Wash Your Home’s Exterior
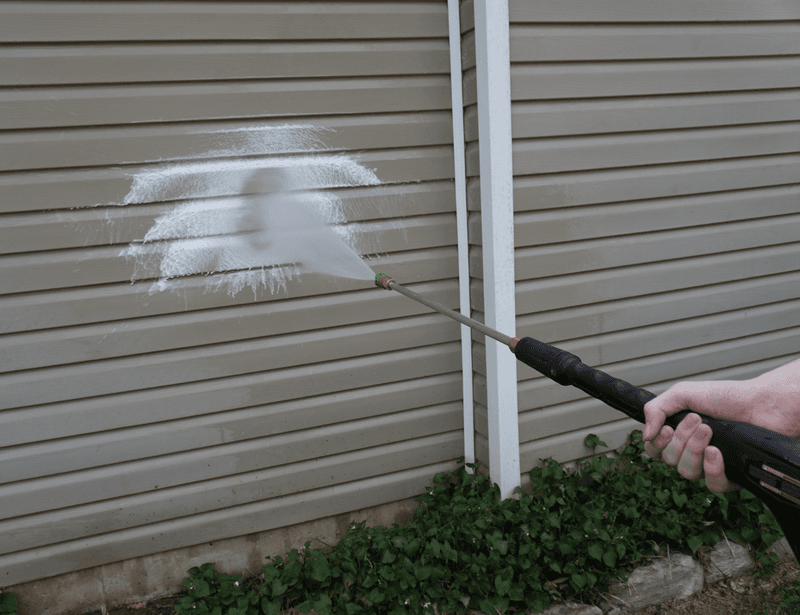
Hiring professionals to power wash your home’s exterior, driveway, and deck can cost $300-600 depending on your property size. Meanwhile, renting a power washer runs about $40-75 per day – perfect for weekend warriors. Years of accumulated dirt, mildew, and grime vanish almost magically under the powerful spray.
The transformation can be so dramatic that many homeowners mistake it for a fresh paint job! Beyond aesthetic improvements, regular cleaning prevents premature deterioration of siding, concrete, and wood surfaces.
This preservation aspect makes power washing one of the most financially savvy maintenance tasks you can perform yourself, potentially extending the life of expensive exterior features by years.
20. Create Compost from Kitchen Scraps
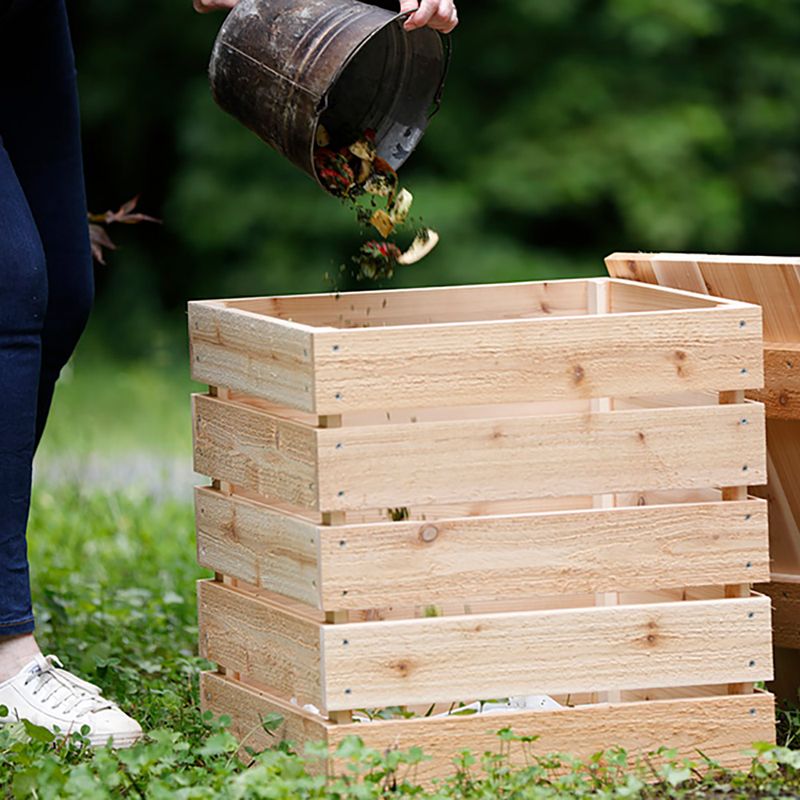
Why pay for expensive garden soil amendments when you can make your own black gold from kitchen waste? Starting a compost bin costs next to nothing yet provides rich organic matter that would otherwise cost $5-10 per bag at garden centers.
Collecting vegetable scraps, coffee grounds, eggshells, and yard waste in a simple bin creates the perfect environment for nature’s recycling process. The resulting compost improves soil structure, adds nutrients, and helps retain moisture in garden beds.
For apartment dwellers, compact worm composting systems offer similar benefits in smaller spaces. Either way, you’ll reduce garbage output while creating valuable growing medium – a double financial win!