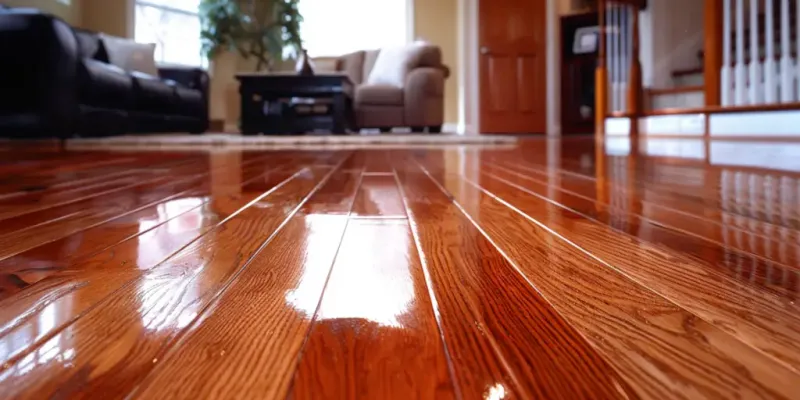
Ditch The Sanding. Here Are 17 Better Ways To Revive Hardwood Floors
If your hardwood floors are starting to look worn out but the thought of sanding makes you want to put it off even longer, you’re definitely not the only one.
It’s a common issue, and not everyone has the time, or the patience, for all that dust and disruption. The good news is, sanding isn’t your only option.
There are easier, cleaner ways to refresh your floors that don’t involve turning your home into a construction zone. It’s a relief to know you can get them looking good again without going through the full, messy process.
1. Chemical Etchers for Deep Cleaning
Chemical etchers break down built-up grime that regular cleaners can’t touch. They work by gently dissolving the top layer of finish without removing the actual wood.
Most home improvement stores carry these miracle workers, and they’re surprisingly affordable compared to renting a sanding machine. Just pour, spread, and watch years of dirt disappear before your eyes!
2. Revitalizing Oil Treatments
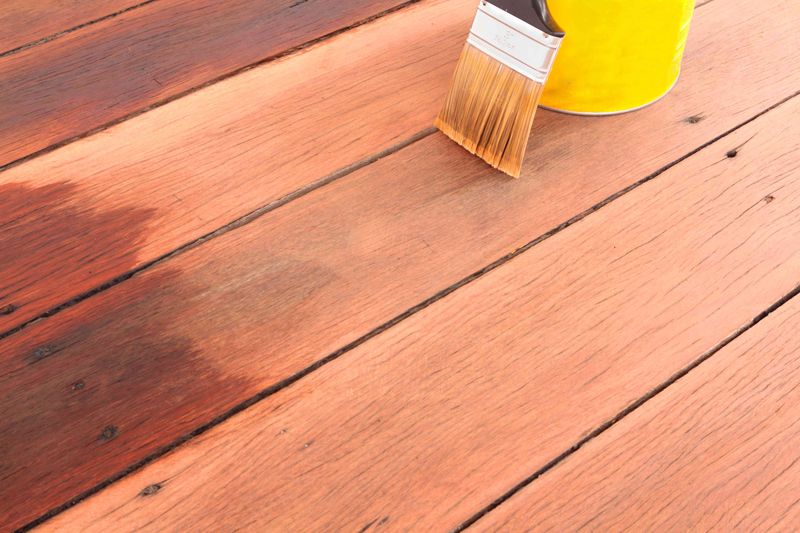
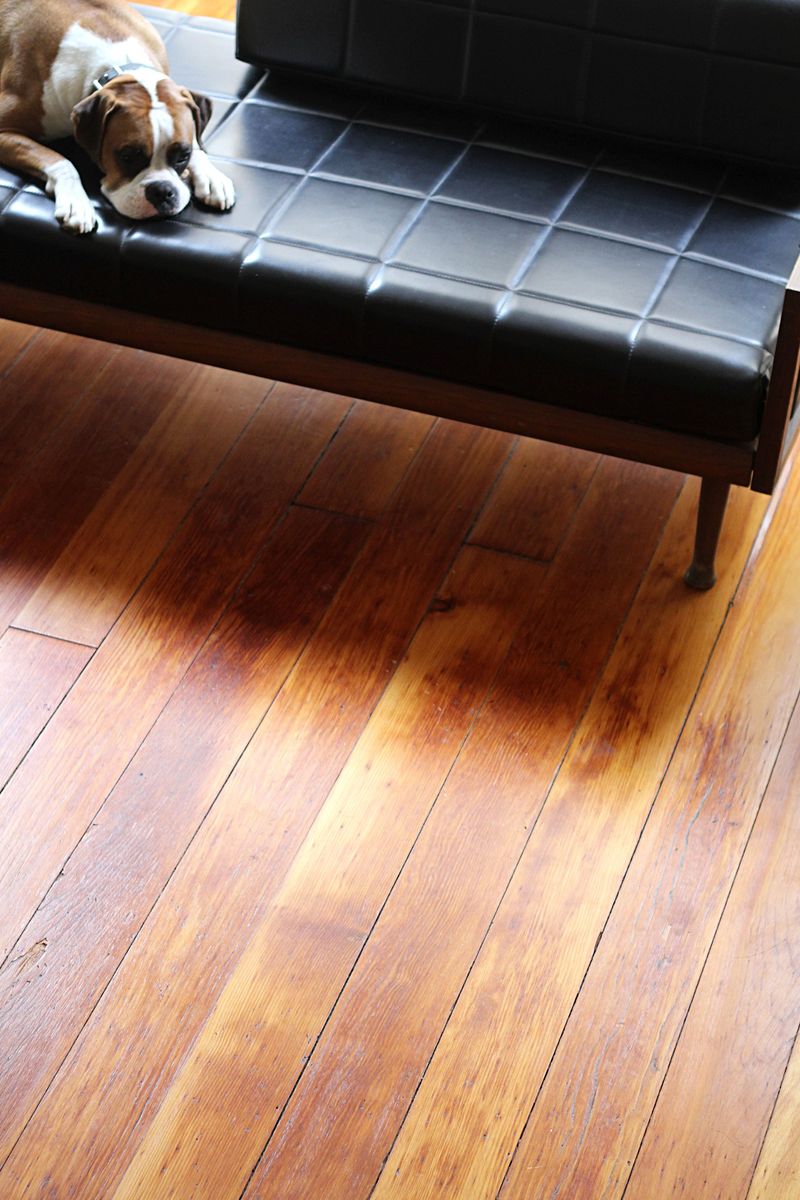
When your floors look thirstier than a marathon runner, oil treatments swoop in to save the day! These natural formulas penetrate deep into wood pores, restoring moisture and bringing back that rich color.
Though they don’t fix deep scratches, oils work wonders for dryness and minor surface issues. Simply apply with a microfiber mop, wait for absorption, and buff away excess for floors that look practically reborn.
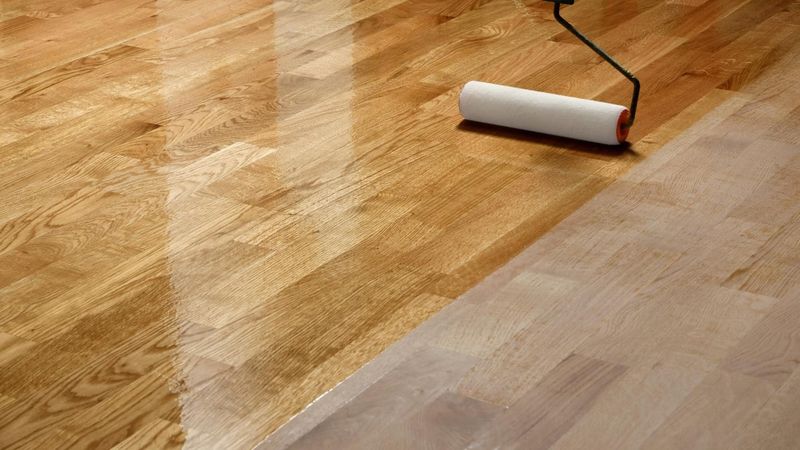
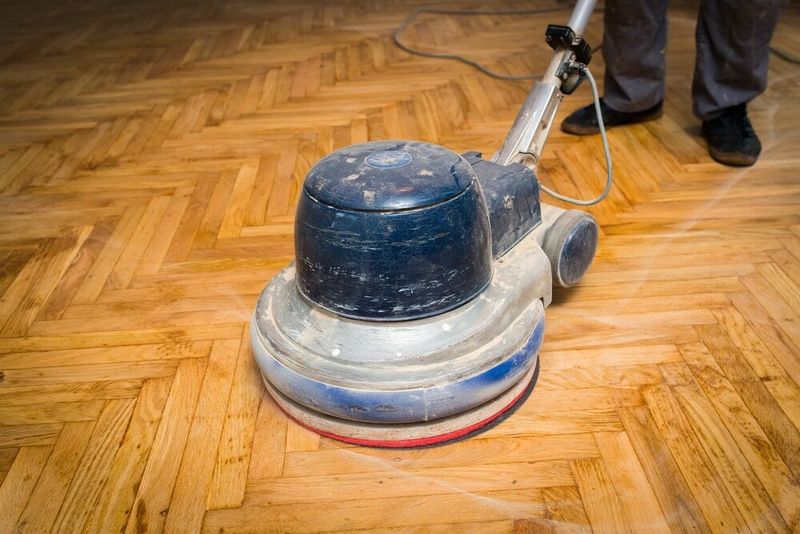
3. Screen and Recoat Process
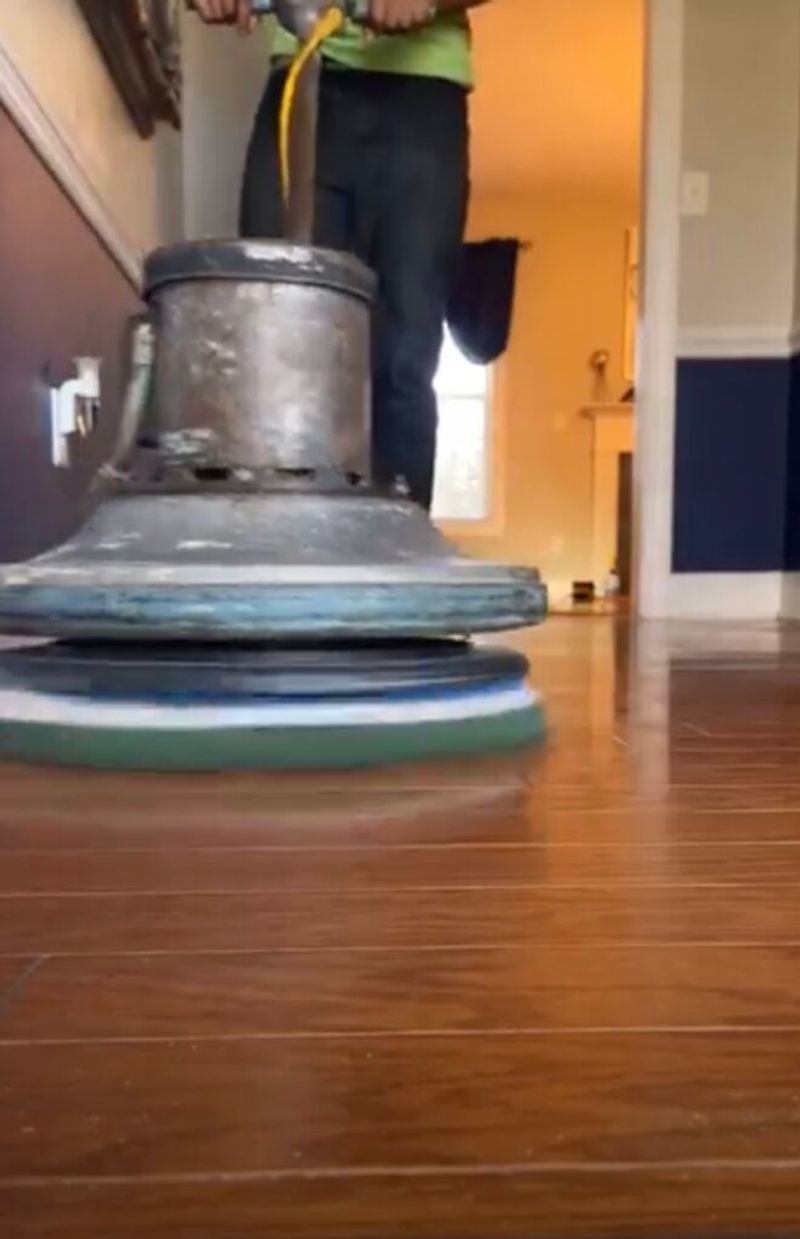
Halfway between cleaning and refinishing sits the magical screen and recoat process. Using a floor buffer with a screening pad (looks like a giant scratchy pad), you’ll rough up just the finish—not the wood.
This creates a surface that new polyurethane can bond to. The beauty? It’s way less messy than sanding and costs about half as much. Your floors get a fresh coat without the demolition-zone vibe in your house.
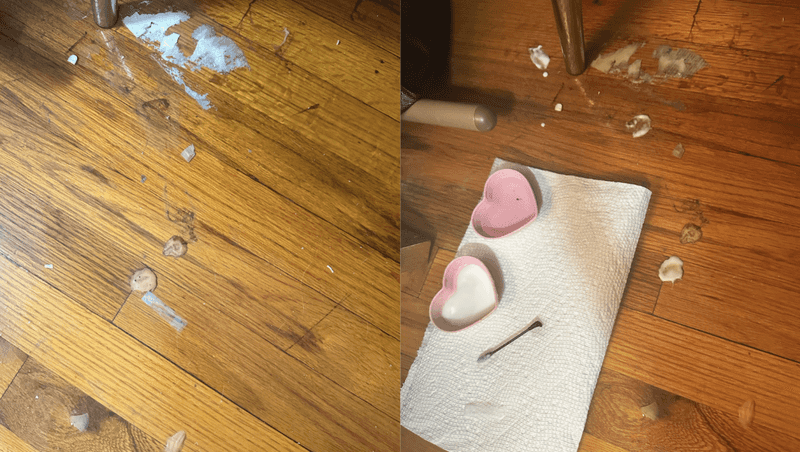
4. Repairing with Wood Filler
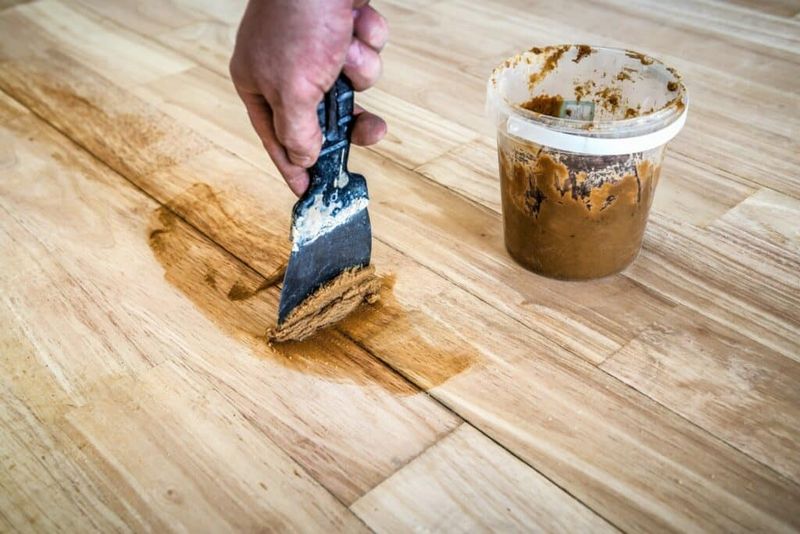
Got gouges deeper than philosophical conversations at 2 AM? Wood filler is your new best friend! This putty-like substance comes in various wood tones and hardens to create a durable patch.
Where it really shines is fixing those spots that make you cringe every time you walk by. After applying, let it dry completely, then sand just that spot and touch up with stain. Those embarrassing floor wounds? What wounds?
5. UV-Cured Coating Systems
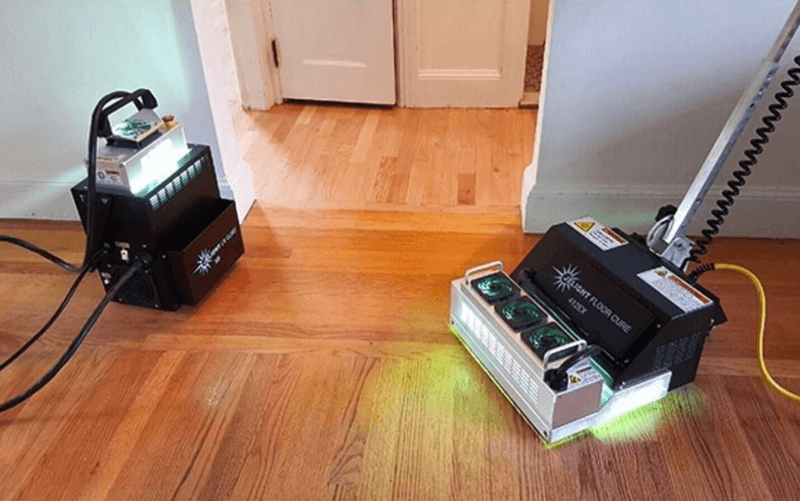
Space-age technology for your floors? Yes, please! UV-cured coatings use ultraviolet light to instantly harden a special finish, creating a super-durable shield for your floors.
The coolest part? You can walk on them almost immediately after application. No more camping in hotels while waiting for floor finishes to dry!
Though pricier than traditional methods, the convenience and durability make this option worth every penny for busy households.
6. Steam Cleaning for Deep Restoration
If your floors could talk, they’d beg for a steam cleaning! This method uses high-temperature vapor to penetrate wood pores, lifting dirt that’s been hiding for years.
Steam also helps remove dust mites and other allergens lurking in your flooring. The magic happens when you see the true color of your wood emerging from under layers of grime.
Just be careful as too much moisture can damage wood, so use equipment specifically designed for hardwood floors.
7. Microfiber Burnishing Technique
Sometimes old-school methods outshine modern solutions! Microfiber burnishing involves buffing floors with special microfiber pads and a small amount of hardwood-specific polish.
The friction creates heat that helps the polish bond with existing finish. What’s awesome is you can do this by hand for small areas or rent a buffer for larger spaces.
Many pro cleaners swear by this technique for floors that need a quick refresh without major intervention.
8. Laminate Floor Restorer Products
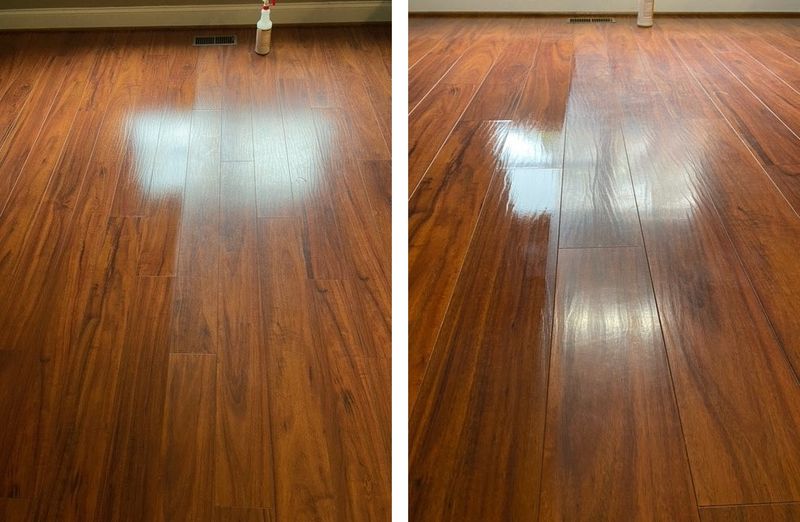
Though technically designed for laminate, these restorer products work surprisingly well on real hardwood too!
They contain polymers that fill in micro-scratches and add a protective layer without building up like wax. How easy are they to use? Just mop on and let dry—no buffing required.
The results won’t last as long as professional refinishing, but for a quick fix that costs under $20, it’s hard to beat this option when company’s coming tomorrow!
9. Coconut Oil and Vinegar Magic
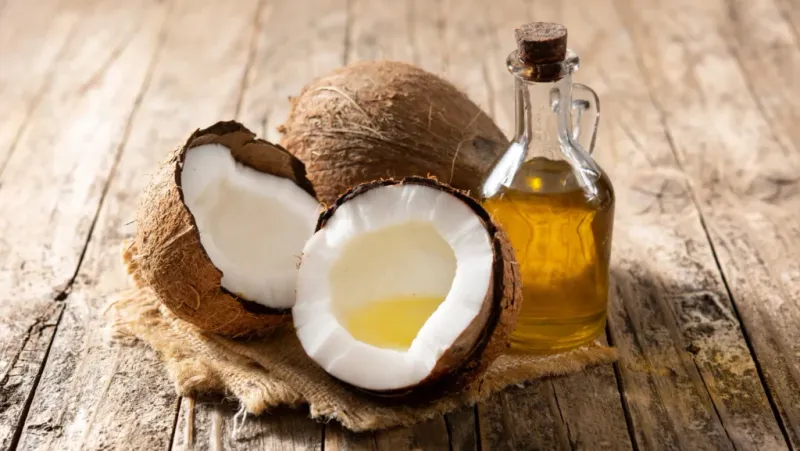
Who knew your kitchen pantry held the secret to gorgeous floors? Mixing coconut oil with white vinegar creates a natural cleaner and restorer that works wonders on tired wood.
The vinegar cuts through grime while the oil conditions the wood. There’s something satisfying about watching this homemade solution bring out grain patterns you forgot existed!
Mix 1/4 cup coconut oil with 1/2 cup white vinegar and apply sparingly with a soft cloth.
10. Walnut Rub Scratch Repair
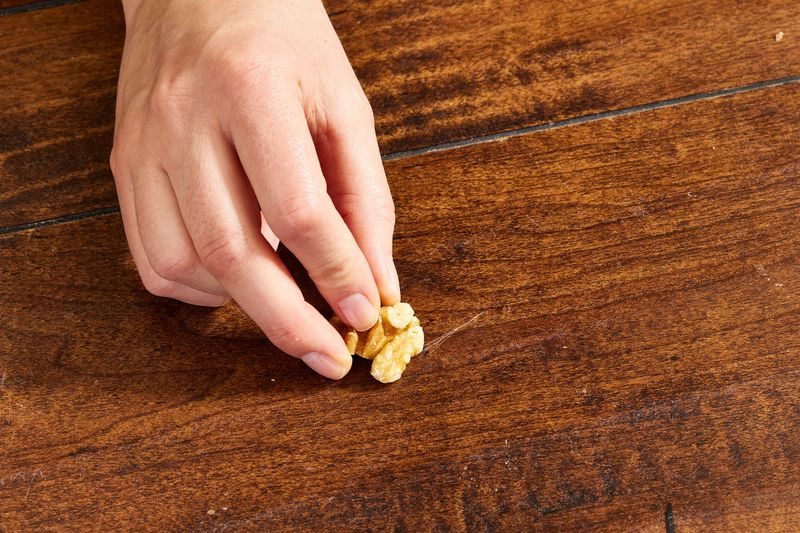
Got a handful of walnuts? Then you’ve got a floor repair kit! The oils in walnuts work like magic on scratches in medium to dark wood floors.
Simply crack open a walnut and rub the meat directly on the scratch, letting the natural oils penetrate the wood. The heat from friction helps too.
This trick works because walnut oil is similar to the oils naturally found in wood. Your guests will never believe you fixed that eyesore with something from your snack drawer!
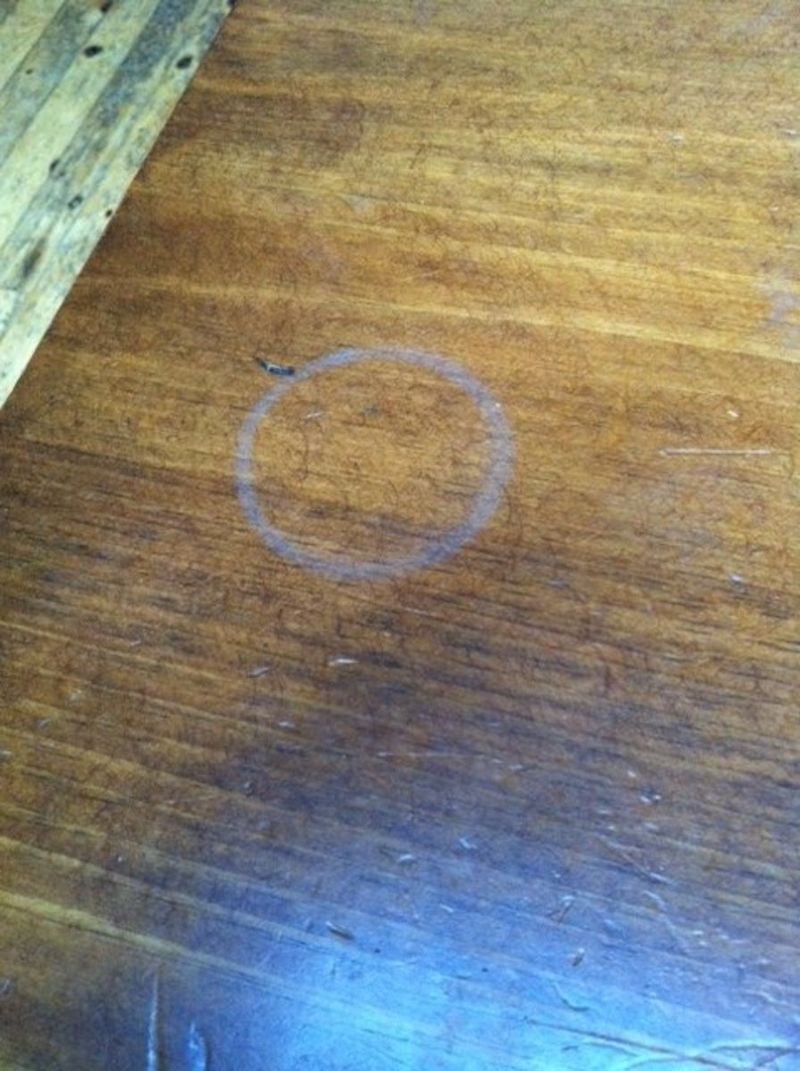
11. Hydrogen Peroxide Whitening
Dark water stains on light wood floors? Hydrogen peroxide to the rescue! This common household product works as a mild bleaching agent that can lighten discoloration without damaging the wood structure.
Simply soak a clean cloth in 3% hydrogen peroxide and place it over the stain. Leave it for a few hours, checking periodically.
The transformation can be almost miraculous for those ugly water rings that have haunted you for years!
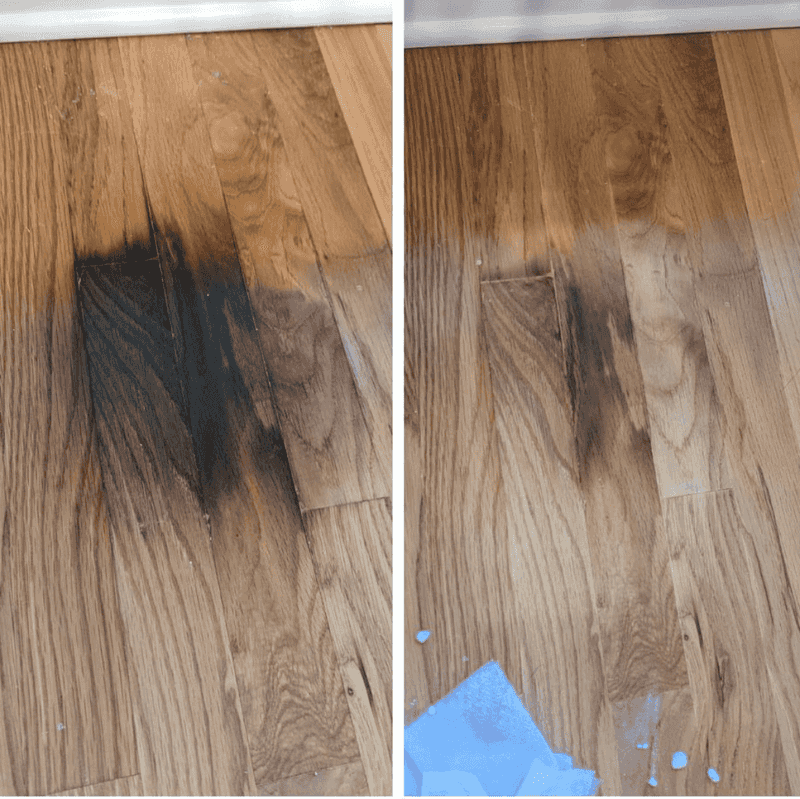
12. Iron-Out Method for Water Rings
That ring from where someone forgot a coaster? It’s about to disappear! Place a clean cotton cloth over the water mark, then run a medium-hot iron over it for just a few seconds.
The heat causes the trapped moisture to evaporate through the cloth. It sounds like something from a questionable DIY video, but professional restorers use this technique all the time!
Just be careful not to hold the iron in one spot too long or you’ll have a burn mark instead.
13. Gel Stain Touch-Up Pens
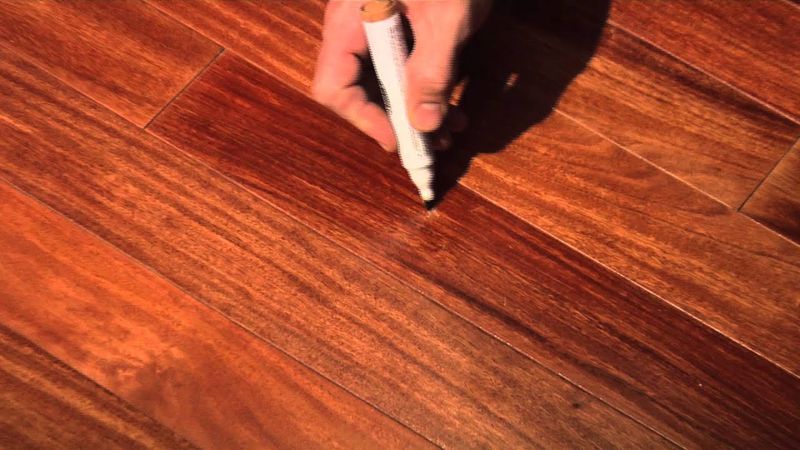
Think of these as makeup for your floors! Gel stain pens come in various wood tones and allow for precise application to scratches and worn edges.
Unlike liquid stains, the gel stays put instead of bleeding into surrounding areas. They’re especially handy for those high-traffic zones where finish wears away near doorways or under chairs. For best results, clean the area thoroughly before application and let dry completely before walking on it.
14. Tea Bag Staining Method
When lighter spots appear on your dark floors, raid your tea stash! Black tea contains tannins that naturally stain wood in a way that looks authentic rather than painted-on.
Brew extra-strong black tea, let it cool, then apply with a cloth to the lighter areas. Multiple applications may be needed for darker woods.
This old-school technique has been used for centuries by woodworkers, long before commercial stains existed. Plus, it smells way better than chemical solutions!
15. Baking Soda Paste for Grease Spots
Dropped some cooking oil on your beautiful floors? Baking soda creates a miracle paste that pulls grease right out of wood pores.
Mix baking soda with just enough water to form a thick paste, then spread it over the grease spot. As it dries, it literally draws the oil upward.
The science behind this is super cool – the alkaline nature of baking soda helps break down the acidic components in grease without harming the wood finish.
16. Orange Oil Rejuvenation
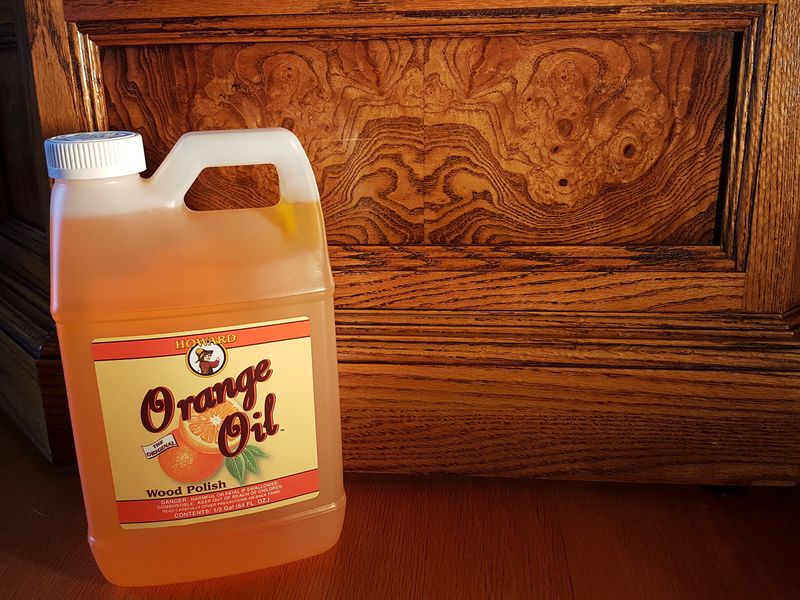
Orange oil doesn’t just smell amazing—it actually feeds your thirsty wood floors! This citrus-derived product contains d-limonene, which dissolves stubborn grime while adding moisture back into dried-out wood.
Where it really shines is on floors that look dull and lifeless. Just a small amount on a microfiber mop brings back incredible shine without leaving residue.
As a bonus, most bugs hate the smell, so you’re basically pest-proofing while beautifying!
17. Acrylic Floor Polish for Quick Shine
When guests are coming in an hour and your floors look sad, acrylic polish delivers emergency shine! Unlike traditional wax, it doesn’t build up or yellow over time.
The liquid goes on milky white but dries completely clear in about 30 minutes. Though not a permanent fix, it creates a protective barrier that can last several months with proper care.
Just remember to thoroughly clean floors first—this stuff seals in dirt as effectively as it seals in shine!